The Ultimate Guide to Perfect Spinach and Cheese Stuffed Chicken Breasts Spinach and Cheese Stuffed Chicken Breast is the epitome of weeknight elegance: simple enough for a quick meal, yet impressive enough for a date night. This dish transforms lean, often dry, chicken into a succulent, flavor-packed experience by encasing a creamy, herbaceous filling inside….
The Ultimate Guide to Perfect Spinach and Cheese Stuffed Chicken Breasts
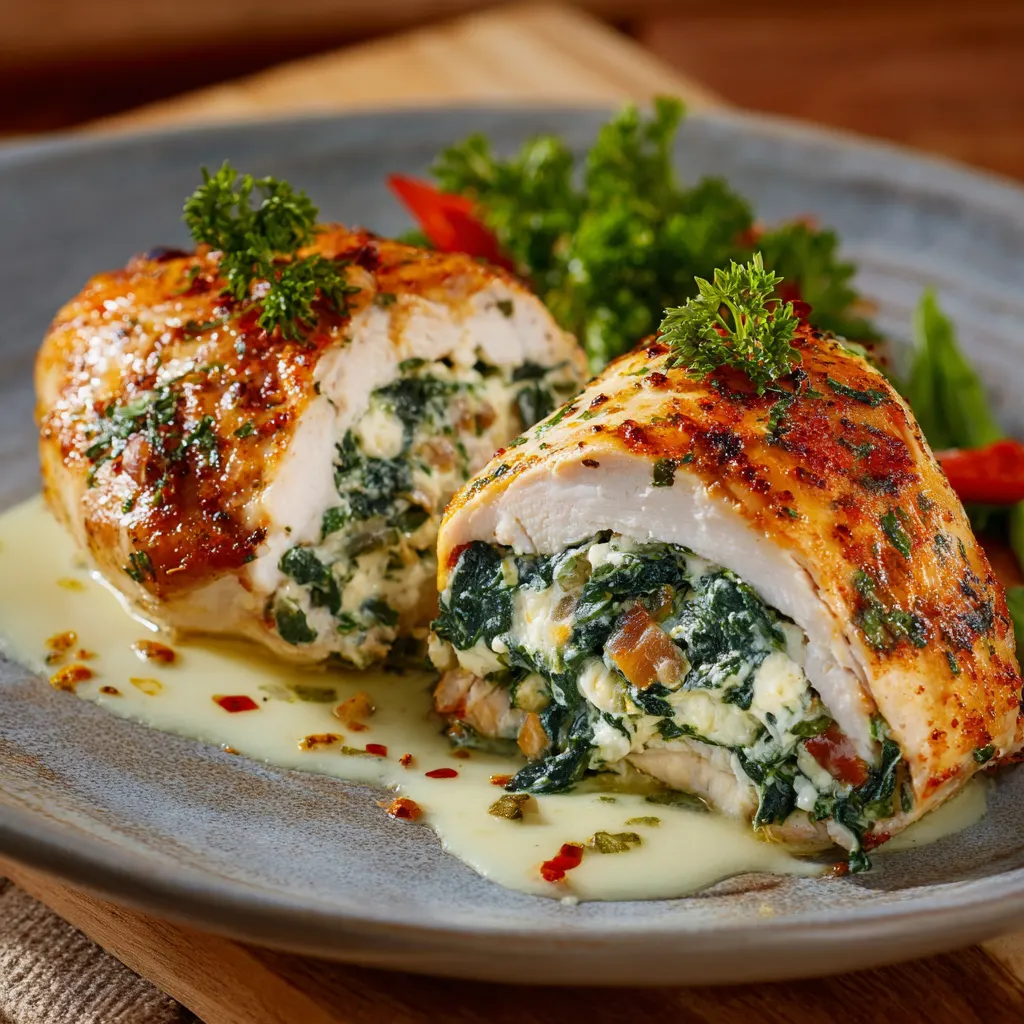
Spinach and Cheese Stuffed Chicken Breast is the epitome of weeknight elegance: simple enough for a quick meal, yet impressive enough for a date night. This dish transforms lean, often dry, chicken into a succulent, flavor-packed experience by encasing a creamy, herbaceous filling inside. The key to its success lies in balancing the richness of the cheese with the earthy flavor of the spinach, all while ensuring the chicken remains perfectly moist. By focusing on proper preparation techniques, selecting the right cheeses, and employing a strategic sear-then-bake cooking method, you can consistently achieve a golden, flavorful crust and an irresistibly molten interior.
The Classic Recipe
This recipe yields four servings and utilizes the most common and beloved combination of cheeses and aromatics, employing the highly recommended sear-then-bake method for superior crust development and juicy results.
Ingredients
For the Chicken and Seasoning:
-
4 boneless, skinless chicken breasts (about 1.5-2 lbs total), even thickness
-
1 tablespoon olive oil or canola oil
-
1 teaspoon Kosher salt (divided)
-
½ teaspoon black pepper (divided)
-
½ teaspoon garlic powder
-
½ teaspoon paprika or Italian seasoning
For the Creamy Spinach and Cheese Filling:
-
10 ounces fresh spinach (or 5 ounces frozen chopped spinach, thawed)
-
4 ounces cream cheese, softened
-
¼ cup shredded mozzarella cheese
-
¼ cup grated Parmesan cheese
-
2 cloves garlic, freshly minced or pressed
-
Pinch of red pepper flakes (optional, for a slight kick)
Step-by-Step Instructions
-
Prepare the Spinach (Crucial Step): If using fresh spinach, sauté or wilt it briefly in a skillet until soft, then remove and cool. If using frozen, thaw completely. In either case, place the spinach in a clean kitchen towel or cheesecloth and squeeze out every drop of excess moisture. Finely chop the drained spinach.
-
Mix the Filling: In a medium bowl, combine the softened cream cheese, mozzarella, Parmesan, minced garlic, chopped spinach, a pinch of salt, and red pepper flakes (if using). Mix thoroughly until the filling is uniform and creamy. Set aside.
-
Prepare and Season the Chicken: Place the chicken breasts on a cutting board. Using a sharp paring knife, cut a horizontal pocket into the thickest side of each breast, cutting about three-quarters of the way through, but leaving a hinge on the opposite side. Season the chicken generously inside and out with the remaining salt, pepper, garlic powder, and paprika.
-
Stuff the Breasts: Divide the spinach and cheese mixture evenly among the four chicken pockets, using a spoon to gently push the filling to the back. Do not overstuff. Use one or two wooden toothpicks to securely close the opening of each chicken breast, sealing the filling inside.
-
Sear the Chicken: Preheat a large, oven-safe skillet (cast iron is ideal) over medium-high heat. Add 1 tablespoon of olive oil. Once hot, place the stuffed chicken breasts in the skillet. Sear for 3 to 4 minutes per side, until a deep golden-brown crust develops.
-
Bake to Finish: Transfer the entire skillet to a preheated oven at 400°F (200°C). Bake for 10 to 15 minutes, or until the thickest part of the chicken reaches an internal temperature of 165°F (74°C).
-
Rest and Serve: Remove the skillet from the oven and let the chicken rest for 5 to 10 minutes on a cutting board. Crucially, remove all toothpicks before serving.
Mastering the Filling: Texture and Flavor Secrets
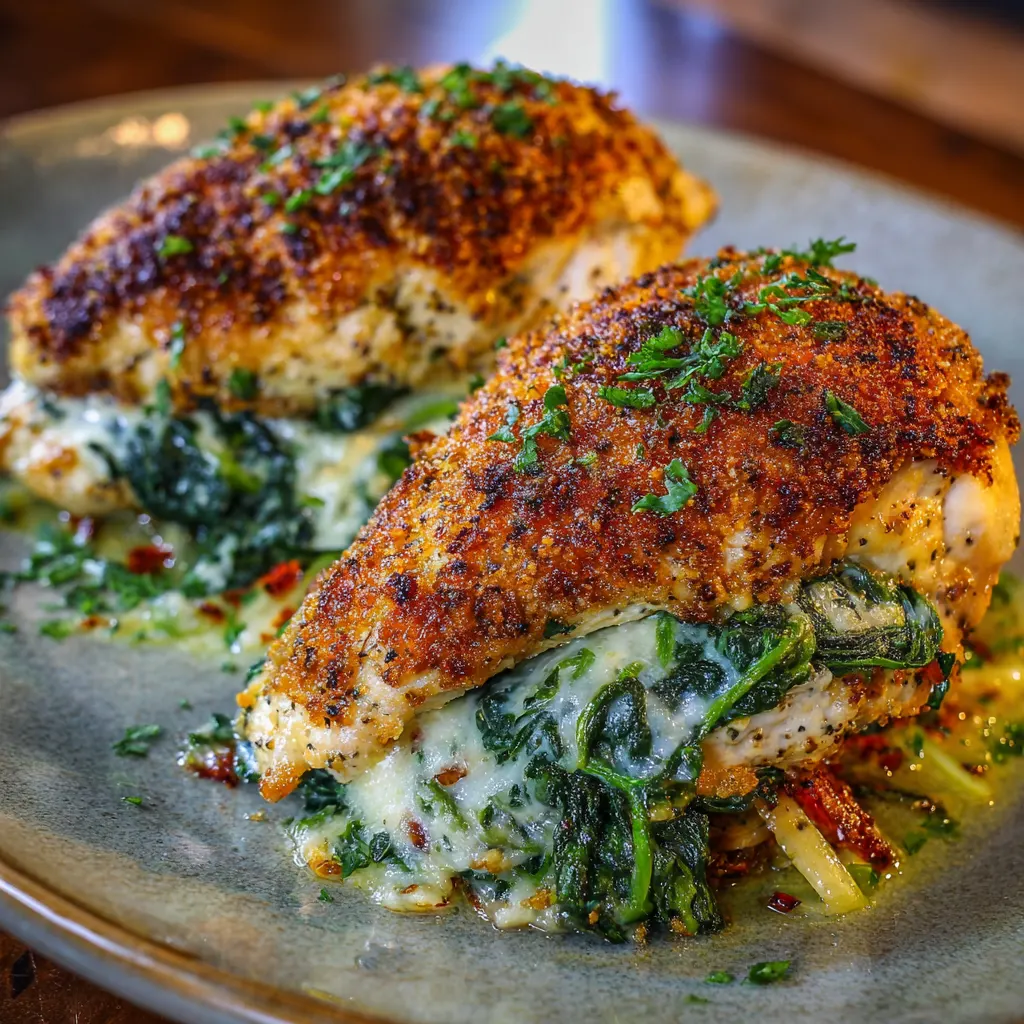
The heart of this dish is the filling, and its success hinges entirely on texture and flavor balance. High-quality stuffed chicken breasts feature a filling that remains creamy and cohesive, not watery or runny.
The Moisture Control Mandate
The single most critical step in preparing the filling is eliminating excess moisture from the spinach. Spinach is high in water content, and if you skip this step, the liquid will leach out during baking, resulting in a soggy filling, a loose chicken pocket, and a watery pan.
-
Fresh Spinach: Must be wilted (via sautéing or microwaving) and then thoroughly wrung out.
-
Frozen Spinach: Must be completely thawed and then aggressively squeezed in a kitchen towel or paper towels until it looks like a dry, tightly packed ball.
Choosing the Perfect Cheese Blend
The best fillings use a combination of cheeses to achieve both creaminess and flavor complexity:
-
The Binder (Creaminess): Use a soft, high-fat cheese as the base.
-
Cream Cheese: The most popular choice, as it stays creamy and holds its shape exceptionally well. Ensure it is softened before mixing.
-
Ricotta: Provides a lighter, airier texture, but you must drain it first if it appears watery.
-
Boursin: A flavorful shortcut. Using Garlic & Fine Herbs Boursin cheese eliminates the need for extra garlic and seasoning.
-
-
The Melt (Texture): A shredded cheese that melts smoothly and offers the classic cheese pull.
-
Mozzarella: Low moisture, classic melting ability.
-
Fontina or Gouda: Excellent melting cheeses that add a nutty flavor complexity.
-
-
The Flavor (Pungency): A sharp, salty cheese to cut through the richness of the cream cheese.
-
Parmesan or Asiago: Essential for umami and a salty finish.
-
Elevating the Aromatics
While the classic recipe is excellent, incorporating additional aromatics ensures a dynamic flavor profile:
-
Sun-Dried Tomatoes: Finely chop oil-packed sun-dried tomatoes (pat them dry first) and fold them into the mixture for a burst of sweet-tart intensity and color.
-
Herbs: Freshly chopped basil, oregano, or thyme can instantly brighten the filling. Italian seasoning is a common dried substitute.
-
Spices: A small amount of smoked paprika or a pinch of cayenne or red pepper flakes adds complexity and warmth without making the dish overly spicy.
Expert Chicken Preparation and Stuffing Techniques
Achieving the perfect, uniform chicken breast requires attention to both cutting and securing the meat. The goal is to create a secure vessel that cooks evenly and prevents the precious filling from escaping.
The Two Primary Preparation Methods
-
The Pocket Cut (Most Recommended): This method is easiest and best for containing the filling. Place the chicken breast flat and use a sharp knife to slice a deep pocket horizontally into the thickest side, making sure not to cut all the way through the other three sides. The pocket should be about 75% the depth of the breast.
-
Pounding and Rolling (Alternate Method): This works best for chicken breasts that are very thick. Place the breast between two sheets of plastic wrap and pound it to an even, thin thickness (about ½ inch). Place the filling near one end and tightly roll the chicken around it like a jelly roll. This method requires kitchen twine or more toothpicks to secure the seams.
Stuffing and Securing for Success
-
Seasoning Inside and Out: Always season the interior of the chicken pocket with salt and pepper before stuffing. This layer of seasoning is essential for overall flavor depth.
-
The Right Amount of Filling: Do not overstuff the chicken. The general rule is about ⅓ to ½ cup of filling per large breast. Overstuffing causes the chicken to split during cooking, leading to cheese leakage and uneven cooking.
-
Sealing the Pocket: Use two to three standard wooden toothpicks placed horizontally along the opening to cinch the edges together. For a rolled breast, use cotton kitchen twine to tie it securely in two or three places. Always make a mental note or set a reminder to remove them before serving.
Achieving Even Thickness
For the chicken to cook uniformly—essential in any stuffed preparation—the breasts should be as close to the same size and thickness as possible. If one breast is significantly thicker than the others, gently pound the thick end with the flat side of a meat mallet to match the rest of the batch. This ensures every piece is done at the same time and temperature.
Choosing Your Cook Method for Maximum Juiciness
The biggest challenge with chicken breasts is preventing them from drying out. Using a combination of high-heat searing and moderate oven baking is the most reliable method for a juicy interior and a beautiful, golden-brown exterior.
The Sear-Then-Bake Method (Best for Flavor and Texture)
As outlined in the classic recipe, this method is prized by chefs and home cooks alike:
-
Searing (Medium-High Heat): Searing for 3-4 minutes per side in an oven-safe skillet (like cast iron) achieves the Maillard reaction, developing a rich, savory crust and locking in surface moisture.
-
Baking (400°F): Finishing the chicken in a hot oven ensures the heat penetrates evenly to the center, cooking the thickest part without burning the crust. The temperature of 400°F (200°C) is high enough to finish cooking quickly but not so high as to dry the chicken out.
Alternate Cooking Techniques
-
Straight Baking (Simplicity): If you prefer not to sear, you can place the seasoned, stuffed breasts directly in a baking dish at 375°F (190°C). To prevent the chicken from drying out, consider drizzling the breasts with a little butter or olive oil, or adding a small amount of chicken stock to the bottom of the dish and covering the dish loosely with foil for the first half of the cooking time.
-
Air Frying (Crispy Exterior): Preheat your air fryer to 380°F (195°C). Lightly spray the stuffed breasts with oil and air fry for 12 to 18 minutes, flipping halfway through, until the internal temperature is reached. This yields a remarkably crispy exterior without a heavy crust.
Temperature and Resting: The Keys to Doneness
-
The Absolute Rule: Chicken must reach an internal temperature of 165°F (74°C). Use an instant-read thermometer inserted into the thickest part of the breast, away from the filling. Never rely on visual cues.
-
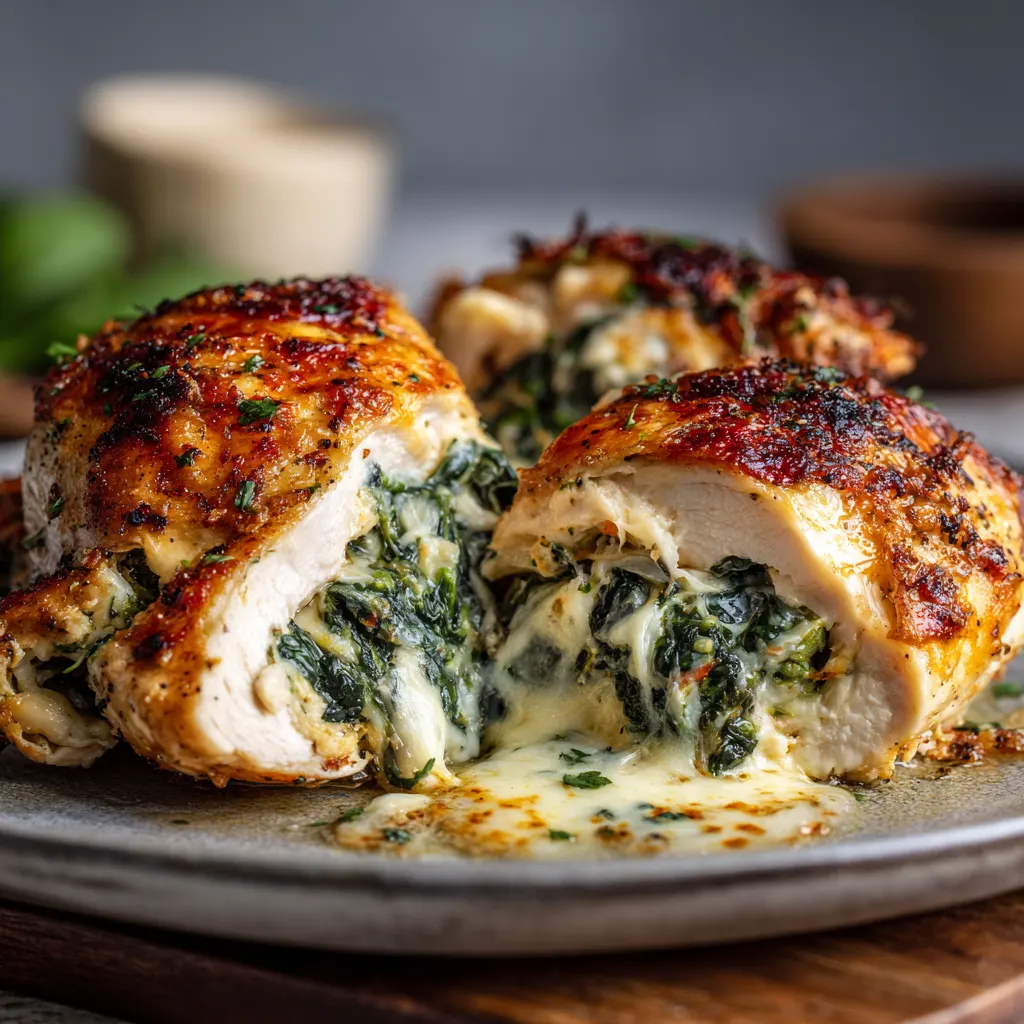
The Carryover Cook: Because chicken continues to cook once removed from the heat (carryover cooking), many chefs recommend pulling the chicken at 160°F (71°C) to ensure it reaches the final, safe temperature of 165°F as it rests. This prevents accidental overcooking.
-
Resting is Non-Negotiable: After cooking, let the chicken rest for 5 to 10 minutes. This allows the muscle fibers to relax and redistribute the juices throughout the meat, resulting in a significantly juicier chicken breast.
Flavor Pairings, Sides, and Meal Prep Optimization
Spinach and Cheese Stuffed Chicken Breasts are versatile, pairing beautifully with a wide range of starches and vegetables. Proper planning also makes this an excellent candidate for meal preparation.
The Best Sides and Sauces
Since the chicken is already rich and creamy, aim for side dishes that provide contrast in texture or flavor.
Classic Side Dishes:
-
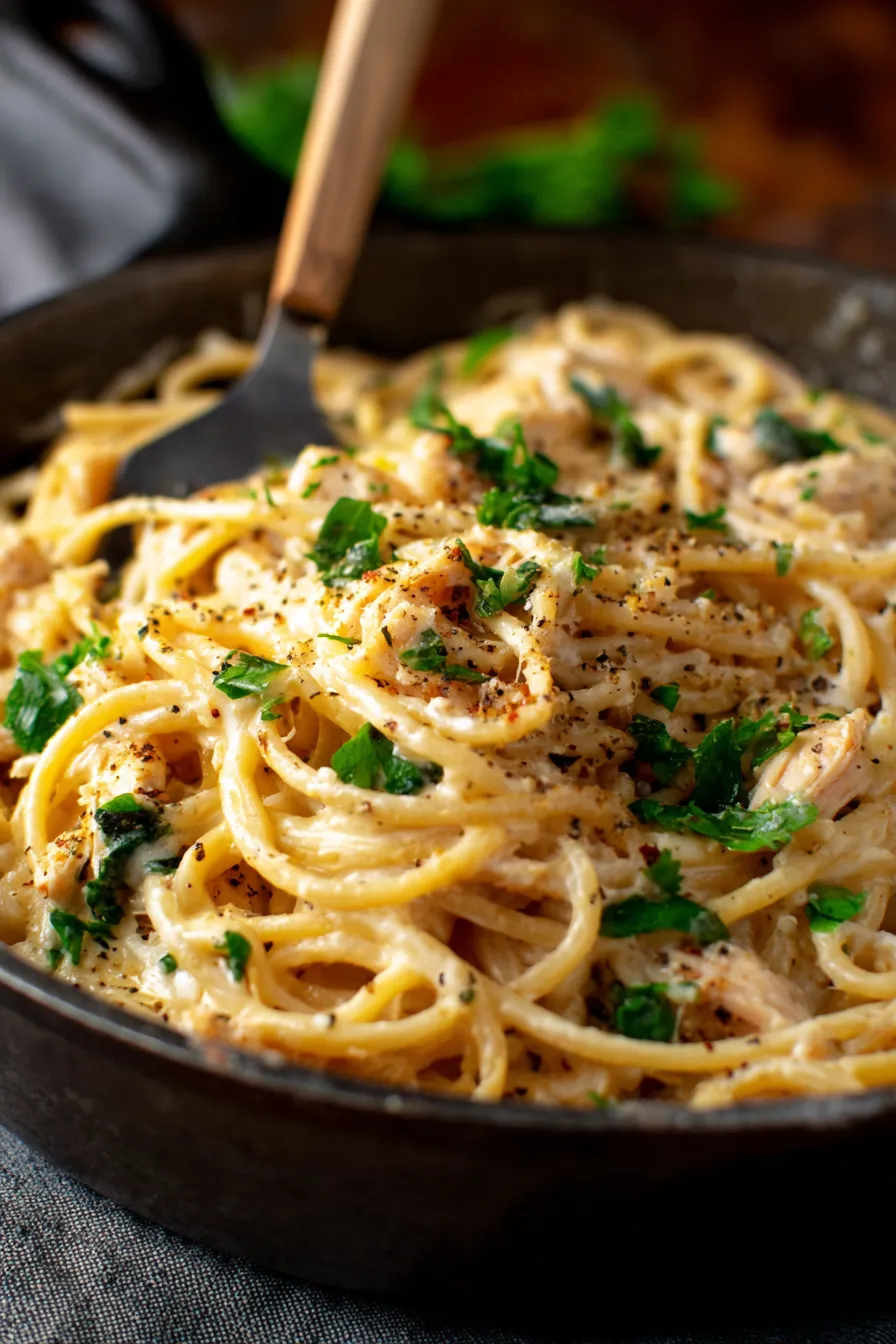
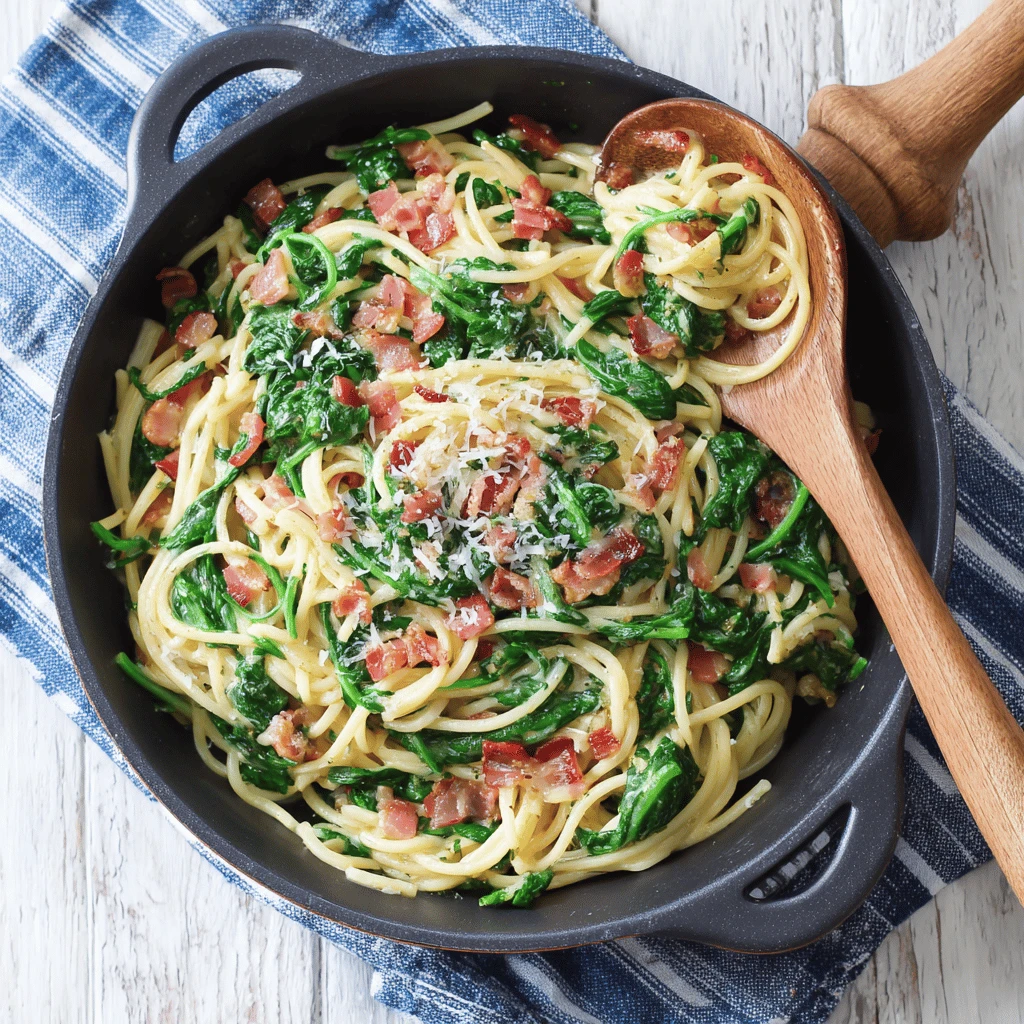
Pasta: Simple buttered egg noodles or a light lemon-parmesan pasta complement the creamy filling without overwhelming it.
-
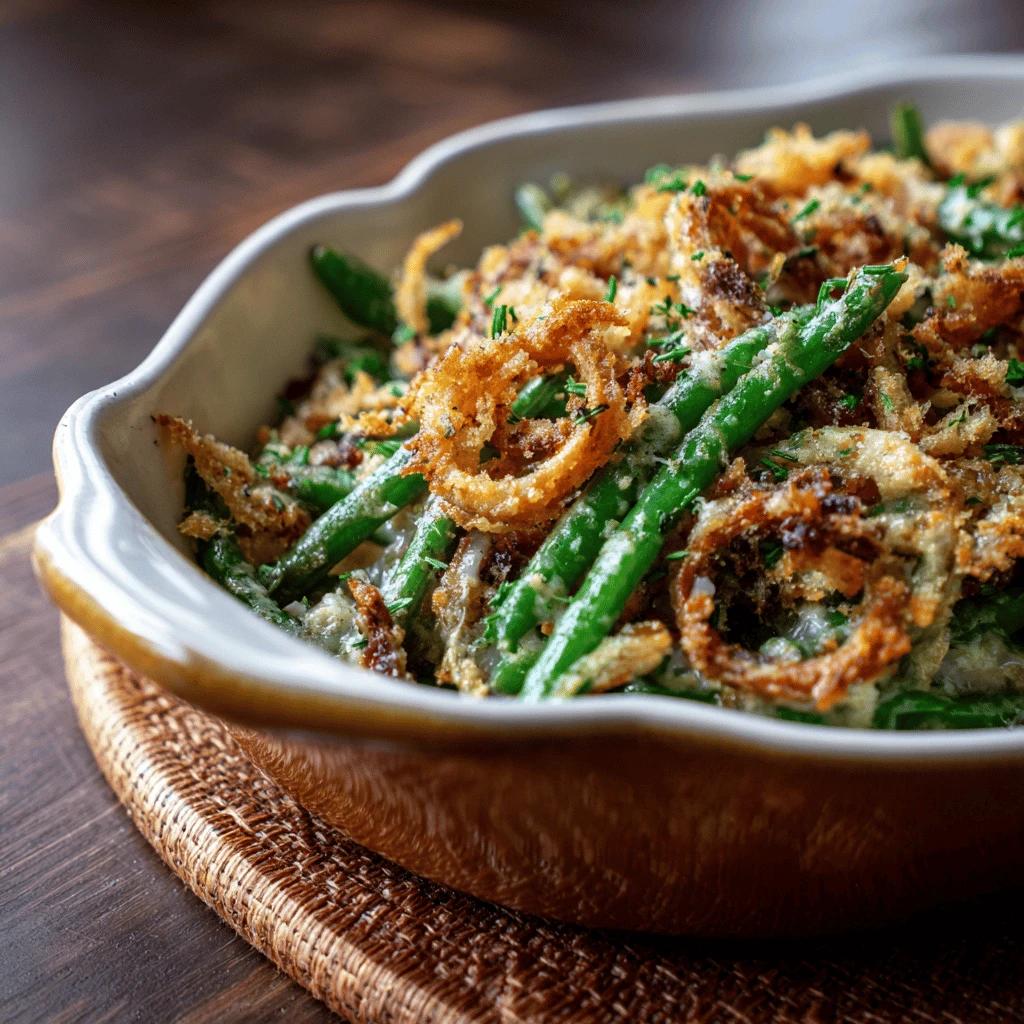
Roasted Vegetables: Asparagus, green beans, or broccoli roasted with olive oil and a squeeze of lemon provide a fresh, slightly crisp counterpoint.
-
Potatoes: Roasted garlic mashed potatoes or crispy smashed potatoes add comfort and substance.
-
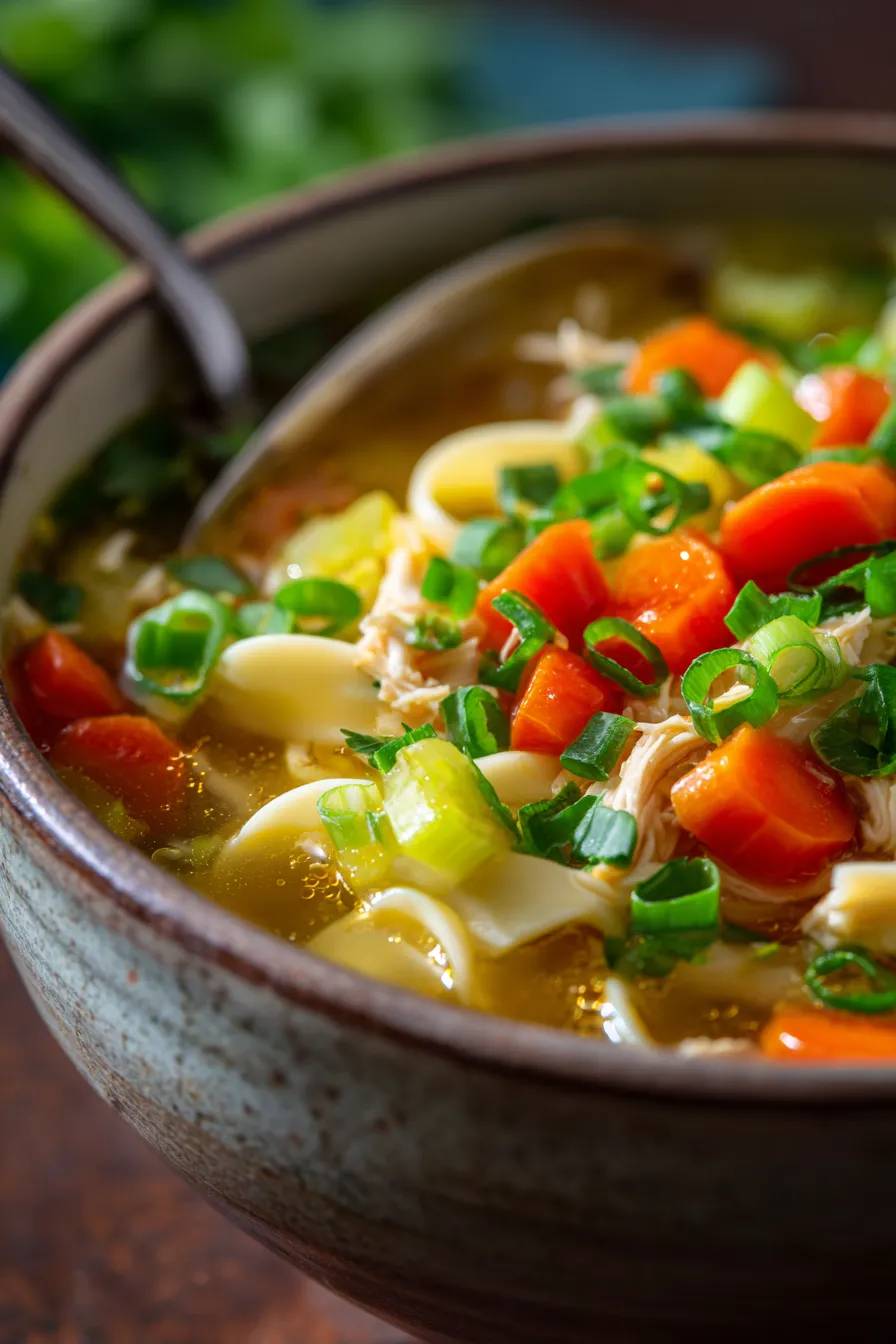
Rice/Grains: A light pilaf, risotto, or quinoa provides a neutral base to soak up the pan juices.
Sauce Recommendations: While the dish is perfectly saucy inside, an optional light pan sauce can elevate it further.
-
Simple Marinara: A warm marinara sauce served on the side, particularly if the filling uses Italian-style cheeses (Ricotta, Parmesan), adds tang and moisture.
-
Lemon-Butter Sauce: After removing the chicken to rest, deglaze the skillet with a splash of white wine or chicken broth, reduce slightly, and finish with a small knob of cold butter and a squeeze of fresh lemon juice.
Optimization and Make-Ahead Tips
This dish is a fantastic candidate for preparing in advance or freezing for later.
-
Make-Ahead Filling: The spinach and cheese mixture can be prepared and stored in an airtight container in the refrigerator for up to three days.
-
Stuffing in Advance: You can stuff and secure the chicken breasts up to 24 hours before cooking. Place them in a single layer in a sealed dish and refrigerate. This even allows the seasoning to penetrate the meat better.
-
Freezing: Stuffed chicken breasts freeze remarkably well. Prepare and stuff the chicken, but do not cook it. Wrap each breast tightly in plastic wrap, then place them in a freezer-safe bag. They can be frozen for up to two months. Thaw overnight in the refrigerator before proceeding with the searing and baking steps.
-
Using Leftovers: Leftover stuffed chicken is excellent sliced and served cold over a bed of mixed greens for lunch, or chopped and added to a frittata or omelet the following morning. Reheat gently in a 350°F oven to avoid drying out the meat.