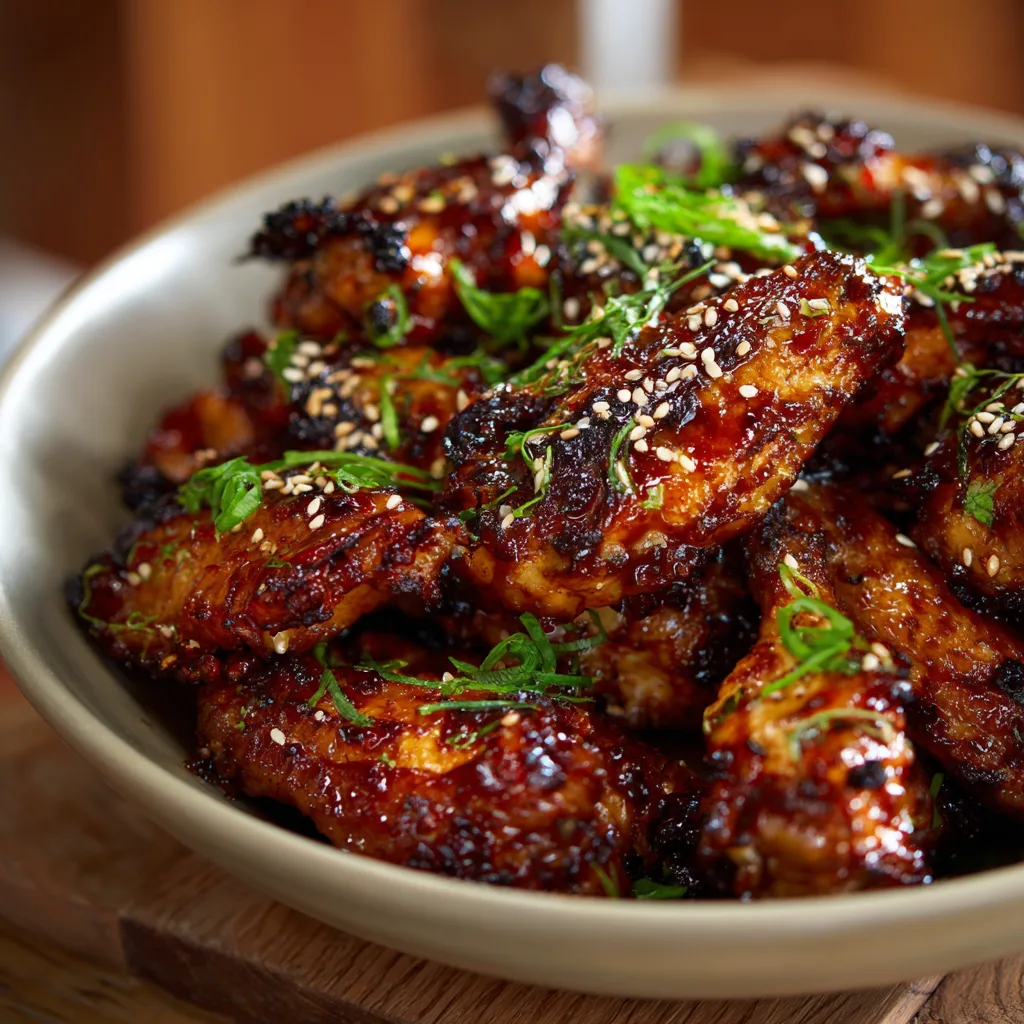
Sticky Teriyaki Chicken Wings are a culinary masterpiece—the perfect fusion of savory soy, bright ginger, sweet glaze, and irresistible, crispy chicken skin. More than just a simple appetizer, these wings represent the pinnacle of flavor balance, making them a staple for game days, gatherings, or weeknight meals. The key to perfection lies in a two-part…
Sticky Teriyaki Chicken Wings are a culinary masterpiece—the perfect fusion of savory soy, bright ginger, sweet glaze, and irresistible, crispy chicken skin. More than just a simple appetizer, these wings represent the pinnacle of flavor balance, making them a staple for game days, gatherings, or weeknight meals. The key to perfection lies in a two-part approach: achieving maximum crispness on the wing itself and crafting a deeply flavored, ultra-glossy glaze that clings beautifully without making the skin soggy. By utilizing techniques refined across countless kitchens, from traditional Japanese methods to modern American preparation, anyone can create wings that are tender, juicy, and finger-licking sticky.
Ingredients
For the Wings (Approx. 3 lbs)
-
3 lbs whole chicken wings, separated into drumettes and wingettes (tips discarded)
-
2 tsp baking powder (aluminum-free)
-
1 tsp sea salt
-
½ tsp black pepper
-
1 Tbsp neutral oil (canola, vegetable, or grapeseed)
For the Sticky Teriyaki Glaze (Approx. 1 cup)
-
½ cup low-sodium soy sauce (or Tamari/Coconut Aminos for gluten-free)
-
½ cup packed light brown sugar or honey
-
¼ cup Mirin (Japanese sweet rice wine) or Sake
-
2 Tbsp rice vinegar
-
2 cloves garlic, minced
-
1 Tbsp fresh ginger, grated
-
1 tsp cornstarch or tapioca starch (optional, for thickening)
-
1 Tbsp cold water (for mixing with cornstarch)
For Garnish
-
1 Tbsp toasted sesame seeds
-
2 scallions (green onions), thinly sliced
Step-by-Step Instructions
1. Prepare and Crisp the Wings
-
Preheat and Prep: Preheat your oven to 425°F (220°C). Line a large rimmed baking sheet with aluminum foil or parchment paper and place a wire rack inside. This setup is crucial for air circulation and crisping.
-
Dry and Season: Pat the chicken wings thoroughly dry using paper towels. This step removes surface moisture, which is the most important factor in achieving crispy skin. In a large bowl, toss the wings with neutral oil, baking powder, salt, and pepper. The baking powder helps raise the skin’s pH, promoting browning and crispiness.
-
Bake: Arrange the wings in a single layer on the prepared wire rack, ensuring they do not touch. Bake for 45 to 55 minutes, flipping them halfway through, until they are golden brown, fully cooked, and the skin is visibly crisp.
2. Craft the Sticky Glaze
-
Combine Ingredients: While the wings are baking, combine the soy sauce, brown sugar (or honey), Mirin, rice vinegar, minced garlic, and grated ginger in a small saucepan.
-
Simmer and Reduce: Bring the mixture to a gentle boil over medium heat, then immediately reduce the heat to a low simmer. Cook for 5 to 7 minutes, stirring occasionally, until the sugar is dissolved and the sauce has reduced slightly.
-
Thicken (Optional): If a thicker sauce is desired, whisk together the cornstarch (or tapioca starch) and cold water in a separate small bowl to create a slurry. Pour the slurry into the simmering sauce, whisking constantly. Cook for one minute until the sauce thickens to a syrupy consistency that coats the back of a spoon. Remove from heat.
3. Glaze and Serve
-
Toss and Coat: Once the wings are cooked and crispy, remove them from the oven and transfer them to a clean, large mixing bowl. Pour about three-quarters of the prepared teriyaki glaze over the hot wings.
-
Toss Gently: Use tongs or a spatula to gently toss the wings, ensuring every piece is completely coated in the sticky glaze.
-
Final Broil (Optional): For an extra-sticky, caramelized finish, return the glazed wings to the wire rack. Brush with a little more glaze and place them under the broiler for 1 to 2 minutes, watching carefully to prevent burning.
-
Garnish: Transfer the wings to a serving platter. Drizzle with any remaining glaze from the bowl, and immediately garnish with toasted sesame seeds and sliced scallions. Serve hot.
The Science of Crisp and Tender: Wing Preparation Secrets
The ultimate teriyaki chicken wing is defined by its textural contrast: meat that is tender and infused with flavor, encased in skin that is shatteringly crisp. This is perhaps the most difficult aspect of wing preparation, as glazing the wings too early will cause the skin to steam, resulting in a rubbery texture. Top recipes rely on several key preparation techniques and cooking methods to achieve this signature crunch.
The Power of Patting and Powder
The primary enemy of crispiness is moisture. Even wings straight from the package harbor surface moisture. Before seasoning, every single wing piece must be meticulously patted dry with paper towels. Once dry, the addition of a small amount of aluminum-free baking powder is a secret weapon adopted by many culinary experts.
Baking powder, when combined with salt and heat, subtly raises the pH level on the chicken skin’s surface. This chemical reaction breaks down peptide bonds in the skin, allowing the surface to dry out and brown more effectively, mimicking the result of deep-frying without the need for oil submersion. It ensures a thin, crisp crust forms during the initial high-heat bake.
Choosing the Best Cooking Method
While deep-frying guarantees a fast, crispy finish, modern optimization favors high-heat, low-effort techniques:
-
High-Heat Baking (400°F–425°F): This is the most common and reliable method. Cooking the wings on a wire rack placed over a baking sheet is non-negotiable. This prevents the wings from sitting in rendered fat, allowing air to circulate around the entire surface, essentially creating a mini convection effect that renders the fat and dries the skin. Baking times typically range from 45 to 55 minutes.
-
Air Frying: An air fryer is highly efficient for wings, as its powerful convection heat achieves crispiness in less time, often 25–30 minutes at 400°F. This method requires smaller batches but delivers excellent results for texture.
-
Braising and Baking (The Two-Step Method): For maximum tenderness and deep, penetrating flavor, some authentic recipes utilize a two-step process. First, the wings are braised gently in the teriyaki sauce base on the stovetop for about 15 minutes. This tenderizes the meat and infuses flavor deep into the muscle while simultaneously rendering out some of the fat. The wings are then removed, dried, and finished in a very hot oven (430°F) to rapidly crisp the skin and caramelize the surface before the final glaze application.
Mastering the Teriyaki Glaze: Ingredients and Reduction Techniques
The word “Teriyaki” itself translates to teri (luster or glaze) and yaki (broil or grill), emphasizing the importance of a shiny, caramelized finish. Achieving that perfect “sticky” texture requires understanding the balance of traditional ingredients and the non-negotiable process of sauce reduction.
The Essential Flavor Profile
A high-quality teriyaki sauce is a symphony of five main components:
-
Soy Sauce: Provides the foundational saltiness and umami. Using low-sodium soy sauce is advisable to prevent the final glaze from becoming overpowering as it reduces and concentrates.
-
Sweetener: Crucial for the teri (luster). Traditional Japanese recipes often use a combination of sugar and Mirin. Many home recipes substitute brown sugar or honey, which adds a deeper, richer caramelized flavor that contributes significantly to the stickiness. Honey, in particular, creates a super-gooey texture.
-
Mirin/Sake: Mirin (sweet rice wine) adds a delicate sweetness and depth, while its slight alcoholic content helps carry flavors. If unavailable, dry Sake can be used, often requiring a little extra sugar to compensate for the sweetness of Mirin.
-
Aromatics: Fresh ginger and garlic are essential additions in most popular recipes, moving beyond the strictest traditional definition of teriyaki to add a pungent, complex backbone of flavor. The aromatics should be simmered in the sauce to release their oils.
-
Acidity (Optional but Recommended): A splash of rice vinegar or lime juice is often included to cut through the richness and sweetness, balancing the overall flavor profile.
The Art of Reduction
The key to a truly sticky glaze is reduction, not just thickening. Boiling the sauce down allows excess water to evaporate, concentrating the sugars and resulting in a thick, syrupy consistency.
-
Natural Reduction: The most flavorful method involves simmering the glaze base until it reduces by about 30–50% of its original volume. This process can take 5–10 minutes, depending on the heat. The sauce is ready when it coats the back of a spoon thickly and runs off slowly.
-
Slurry Thickening: For speed and consistency, many recipes employ a thickening agent like cornstarch (cornflour) or tapioca starch mixed with cold water (a slurry). This method thickens the sauce instantly but can sometimes dilute the deep, caramelized flavor if not simmered long enough. It’s best used after the sauce has already simmered for a few minutes to ensure the aromatics have released their flavor.
Crucially, the sticky glaze should be applied to the wings only after they are fully cooked and crispy. Tossing the hot, crispy wings directly into the thick, reduced sauce ensures maximum clinging power and prevents the skin from losing its crunch.
Flavor Customization and Global Twists
While the classic Teriyaki flavor profile is universally loved, the wing is an ideal canvas for creativity. Optimizing the recipe for specific flavor preferences or dietary needs allows for endless variations.
Adding Heat and Spice
For those who enjoy a kick, incorporating chili heat transforms the dish into a spicy teriyaki version (known as Teba Shioyaki or simply spicy glazed wings).
-
Sriracha or Chili Garlic Sauce: Whisking 1–2 tablespoons of Sriracha or Sambal Oelek directly into the sauce mixture before reduction adds a bright, lingering heat.
-
Red Pepper Flakes: A teaspoon of crushed red pepper flakes added to the glaze during simmering provides visible flecks of heat and a subtle, sustained spice.
-
Fresh Chiles: Thinly sliced jalapeños or Thai bird chiles can be added as a garnish alongside the scallions for a fresh, sharp burst of spice when consumed.
Citrus and Tangy Brightness
The inherent richness of chicken fat and the deep sweetness of the glaze can be perfectly counterbalanced with citrus notes.
-
Lime Zest and Juice: Adding the zest and juice of one lime to the finished glaze, as suggested by some top recipes, introduces a refreshing, aromatic tang that brightens the entire dish.
-
Orange Concentrate: A tablespoon of frozen orange juice concentrate, often found in “no-marinating” recipes, provides a sweet, slightly acidic citrus depth that pairs exceptionally well with soy and ginger.
Dietary and Ingredient Swaps
Teriyaki wings can easily be adapted for different dietary needs without sacrificing the sticky texture.
-
Gluten-Free: Substitute standard soy sauce with Tamari or Coconut Aminos. Tamari offers a richer, darker flavor, while Coconut Aminos is a lower-sodium, lower-glycemic option that works perfectly with the honey or sugar base.
-
Sugar Alternatives: Replace white or brown sugar with honey or agave nectar. These liquid sweeteners reduce and thicken more aggressively than granulated sugar, guaranteeing an extra-sticky coating.
-
Umami Boost: For a richer, deeper flavor without extra salt, add a teaspoon of toasted sesame oil to the finished glaze or a small amount of dark soy sauce for color.

Perfect Pairings: Serving Suggestions and Presentation
The final presentation and accompanying side dishes are what elevate the sticky teriyaki wings from a simple snack to a complete, balanced meal. The richness of the wings demands sides that offer contrast, cooling effects, and textural diversity.
The Finishing Touch: Essential Garnishes
Garnishing is not just about aesthetics; it adds crucial texture and freshness. Never skip these steps:
-
Toasted Sesame Seeds: White or black sesame seeds should be lightly toasted in a dry pan until fragrant before use. They provide a delightful, nutty crunch that contrasts beautifully with the soft, sticky glaze.
-
Scallions (Spring Onions): Thinly sliced scallions are essential for a pop of color and a fresh, mild onion bite. For a professional presentation, some chefs suggest slicing them thinly and allowing them to curl in a small bowl of ice water for a minute before draining.
Complementary Side Dishes
Since the wings are rich, sweet, and savory, the best side dishes are light, simple, and absorbent.
-
Rice: The classic pairing. Plain steamed Jasmine or Basmati rice is perfect for soaking up any excess sticky glaze that drips off the wings. For a healthier option, brown rice or cauliflower rice works well.
-
Green Vegetables: Offer a refreshing, crisp counterpart. Steamed or lightly sautéed Pak Choi (Bok Choy) with a sprinkle of salt, or a simple Asian-style cucumber and sesame salad, provides the necessary vegetable component.
-
Cooling Slaw: A simple coleslaw or cabbage slaw dressed in a light rice vinegar and ginger dressing offers a creamy, cool texture that contrasts the hot, sticky wings.
Tips for Entertaining and Reheating
Sticky Teriyaki Wings are ideal for large gatherings because they can be mostly prepared in advance.
-
Advance Prep: The teriyaki glaze can be made up to three days ahead of time and stored in the refrigerator. The wings can be braised (using the two-step method) and cooled a day ahead.
-
Serving Large Batches: For buffets, transfer the freshly glazed wings to a slow cooker or Crock-Pot set to the “Warm” setting. The low heat keeps the wings hot without burning the glaze and maintains a high level of stickiness.
-
Reheating: To revive leftover wings, avoid the microwave, which will turn them soggy. Instead, place them on a wire rack on a baking sheet and heat in an oven or toaster oven at 400°F (200°C) for about 8–10 minutes. The high, dry heat will re-crisp the skin and reactivate the sticky glaze.