The Softest, Melt-in-Your-Mouth Glazed Donuts with Milk Bread Dough Picture this: a Saturday morning, the air still cool and quiet, but your kitchen is already humming with the promise of something truly special. For me, that ‘something’ almost always involves the comforting aroma of baking bread. I remember a particularly dreary, rain-lashed day when my…
The Softest, Melt-in-Your-Mouth Glazed Donuts with Milk Bread Dough
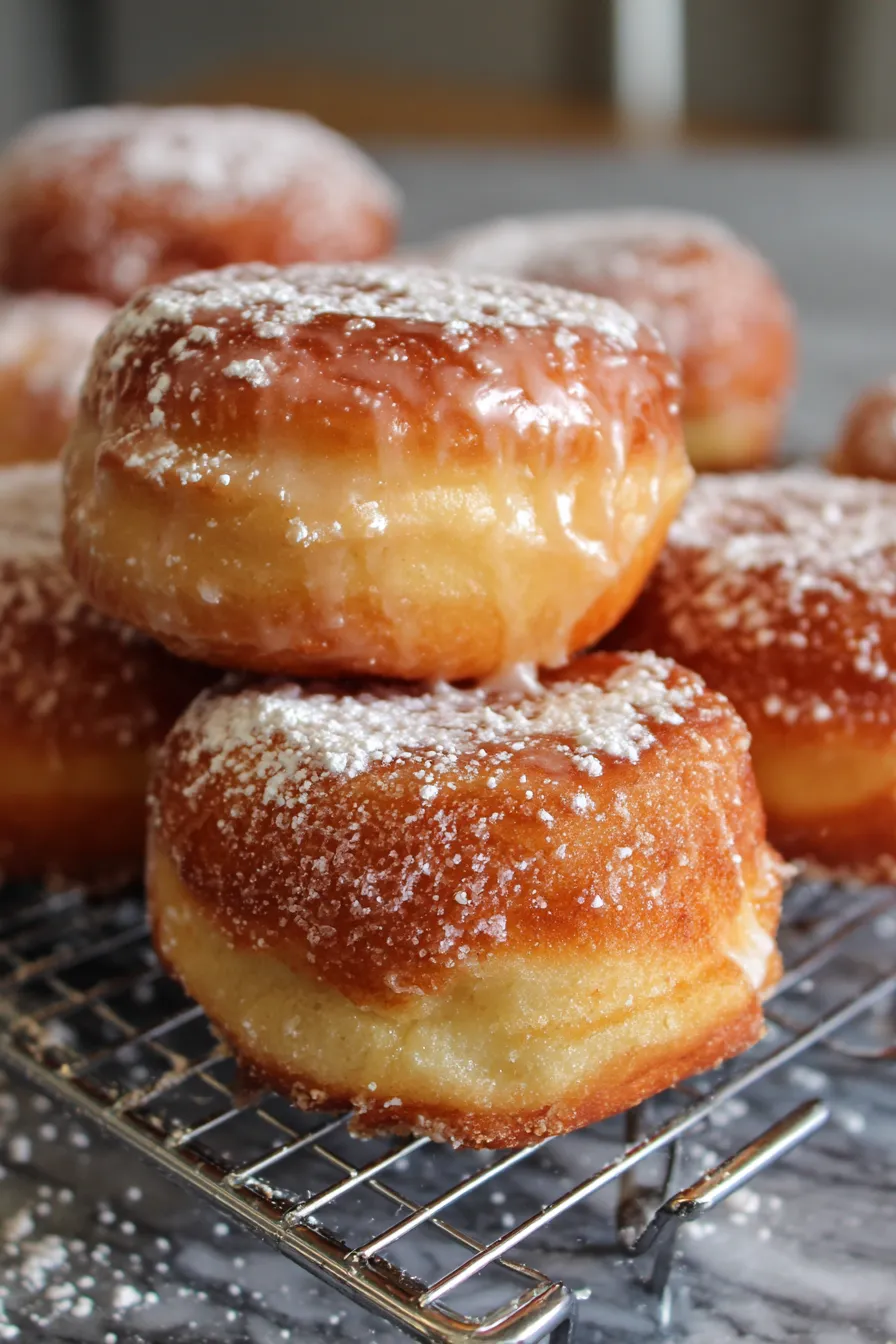
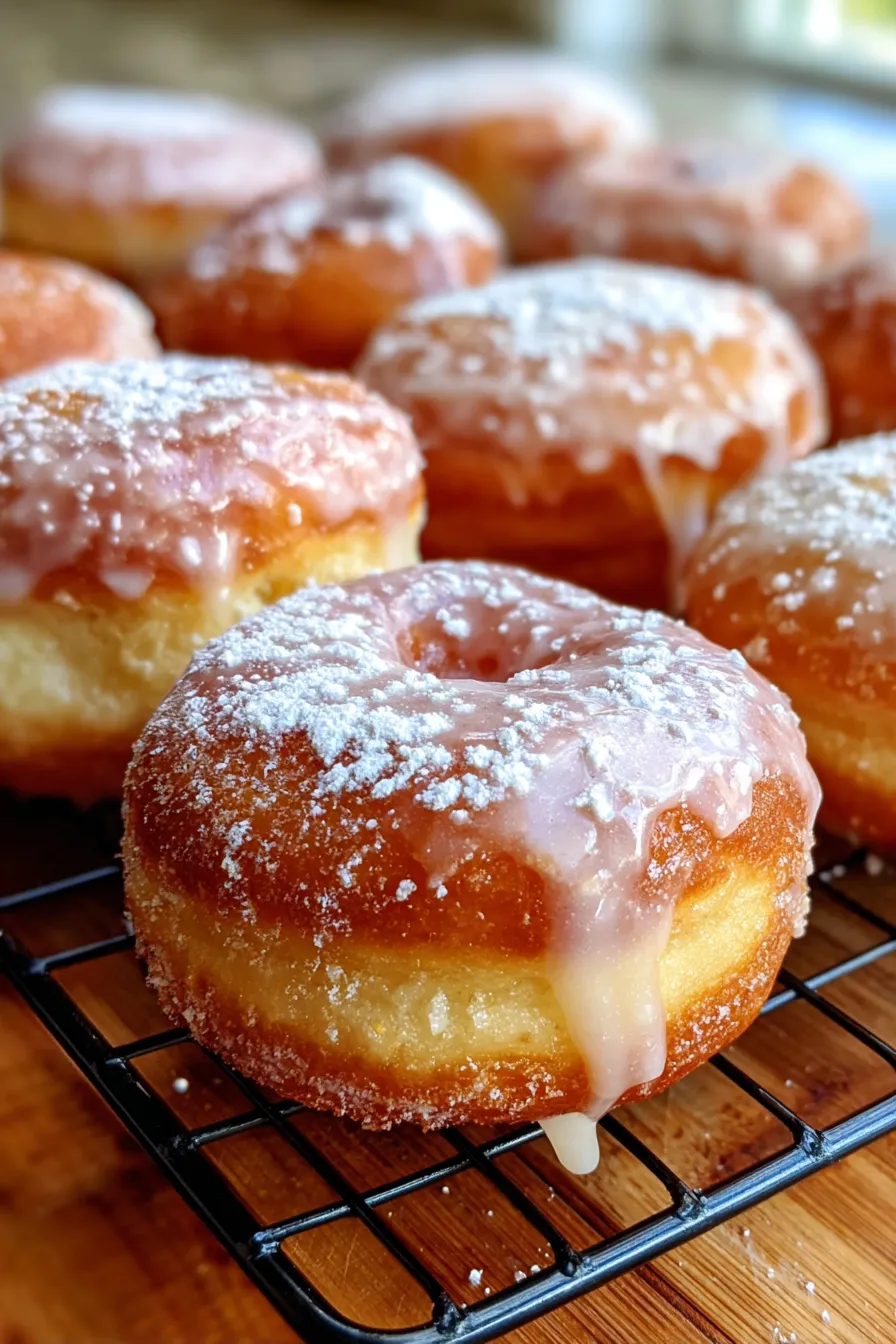
Picture this: a Saturday morning, the air still cool and quiet, but your kitchen is already humming with the promise of something truly special. For me, that ‘something’ almost always involves the comforting aroma of baking bread. I remember a particularly dreary, rain-lashed day when my youngest, eyes wide with a craving for ‘cloud-like sweets,’ inspired me to finally tackle a recipe I’d been dreaming about. That day, Glazed Donuts with Milk Bread Dough became our kitchen’s new star. These aren’t just any donuts; they’re a symphony of pillowy softness and delicate sweetness, a true labor of love that transforms a simple craving into an unforgettable experience. They’ve become our ultimate homemade donuts, a real comfort food that brings everyone to the table with eager smiles.
The secret to their ethereal texture? It all lies in the incredible Japanese milk bread dough. This unique approach, often using a ‘tangzhong’ starter, creates a dough so tender, so moist, it redefines what a donut can be. Forget dense, chewy versions you might be used to; these are light as air, with a delicate chew that gives way to a melt-in-your-mouth experience. The subtle sweetness of the dough itself perfectly complements the shimmering vanilla glaze, creating a balanced, irresistible sweet treat that will quickly become your favorite easy baking project.
After countless joyful (and delicious!) experiments, I’ve refined this recipe to be not only foolproof but also incredibly rewarding. This isn’t just a guide; it’s a meticulously tested, family-favorite method designed to bring bakery-quality glazed donuts right into your home kitchen. Get ready to embark on a delightful baking journey that promises fluffy perfection with every single bite. Trust me, once you make these, you’ll never go back to store-bought!
Why You’ll Love This Recipe
❤️ Here’s why these Glazed Donuts with Milk Bread Dough will become your new favorite:
- Unparalleled Softness: The tangzhong method in the milk bread dough creates an incredibly tender crumb, making these donuts unbelievably soft and pillowy. They truly melt in your mouth!
- Perfectly Balanced Sweetness: Not overly sugary, the subtle sweetness of the dough beautifully complements the classic vanilla glaze, creating a harmonious flavor profile that will keep you reaching for more.
- Achievable for Home Bakers: While they look impressive, our detailed instructions and expert tips break down each step, ensuring even novice bakers can achieve perfectly golden, fluffy donuts.
- Customizable Glaze: The base glaze is a classic for a reason, but it’s also a blank canvas! Easily adapt it with sprinkles, chocolate drizzle, or a touch of citrus zest for endless variations.
- Nostalgic Comfort: There’s something inherently comforting and joyful about homemade donuts. This recipe evokes warmth, happiness, and the simple pleasure of sharing delicious treats with loved ones.
- Weekend Project Perfection: Baking these donuts is a delightful weekend activity. The process is enjoyable, and the reward of fresh, warm donuts straight from your kitchen is simply unmatched.
- Better Than Store-Bought: Once you taste these homemade beauties, you’ll never look back! The freshness, quality of ingredients, and the love put into each batch make them superior to any store-bought alternative.
- Freezer-Friendly (Mostly!): While best fresh, the plain donuts can be frozen before glazing, allowing you to enjoy a quick donut fix whenever the craving strikes.
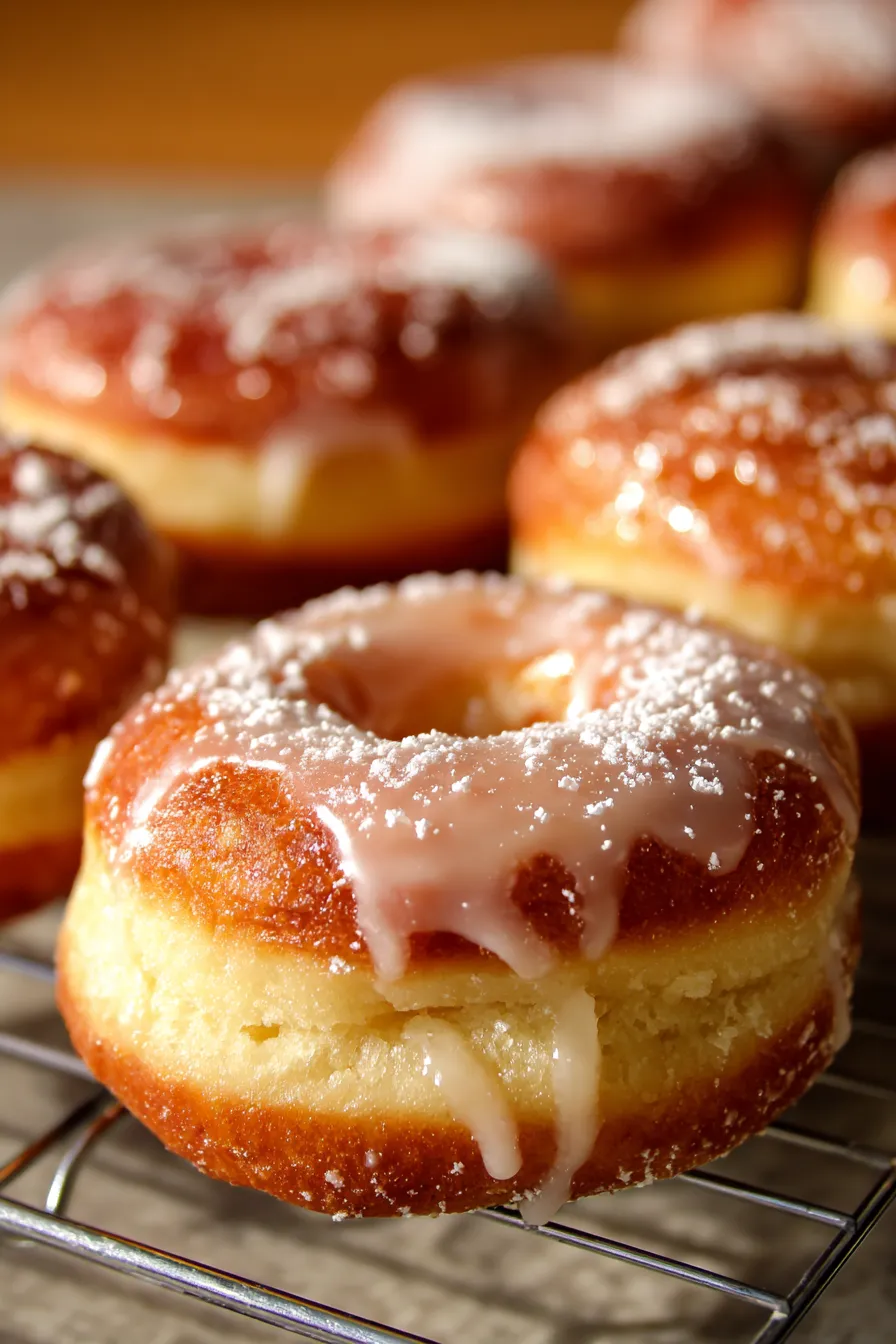
- Impressive Presentation: From their perfectly puffed golden exterior to the shimmering, delicate glaze, these donuts are a feast for the eyes as well as the palate, making them perfect for brunches or special occasions.
- Therapeutic Baking Experience: The act of kneading the dough, watching it rise, and frying these golden rings can be incredibly therapeutic. It’s a wonderful way to de-stress and create something truly special.
What You Need
You only need a few simple pantry staples for this recipe! Most of the ingredients are likely already in your kitchen, making these Glazed Donuts with Milk Bread Dough an accessible and rewarding baking project. Check the full printable recipe card below for detailed measurements and a complete list of what you’ll need.
Expert Tips
💡 Master your homemade donuts with these pro tips:
- The Tangzhong Method is Key: Don’t skip this step! Cooking a small portion of flour and liquid into a paste (tangzhong) before adding it to your dough gelatinizes the starches. This allows the dough to absorb more liquid, resulting in an incredibly soft, moist, and airy texture that stays fresh longer. Ensure your tangzhong cools completely before adding it to the yeast mixture to avoid killing the yeast.
- Warmth for Rising: Yeast loves warmth! Find a cozy, draft-free spot for your dough to rise. A slightly warm oven (turned off, with just the light on) or a warm kitchen counter works wonders. Don’t rush the rising process; a slow, steady rise builds flavor and a superior texture in your Glazed Donuts with Milk Bread Dough.
- Don’t Over-Flour: A common mistake! Resist the urge to add too much flour during kneading. A slightly tacky dough that pulls away from the sides of the bowl (if using a mixer) is exactly what you’re aiming for. Too much flour will result in dense, dry donuts. If it’s too sticky to handle, add a tiny bit at a time, just enough to make it manageable.
- Perfect Proofing: The “poke test” is your friend for the second rise. Gently poke the shaped donut dough with a floured finger. If the indentation springs back slowly, leaving a slight dimple, it’s perfectly proofed and ready for frying. If it springs back immediately, it needs more time. If it collapses, it’s unfortunately over-proofed.
- Oil Temperature is Crucial: This is arguably the most important tip for frying! Use a reliable thermometer to maintain an oil temperature of 325-350°F (160-175°C). Too cool, and your donuts will soak up too much oil, becoming greasy. Too hot, and they’ll brown too quickly on the outside, leaving the inside raw. Adjust heat as needed between batches.
- Don’t Overcrowd the Pot: Fry only 2-3 donuts at a time, depending on your pot size. Overcrowding drops the oil temperature too quickly and results in uneven cooking. Give them space to puff up and cook properly, ensuring each donut achieves that beautiful golden-brown perfection.
- Flip Only Once (or Twice): For an even golden-brown color and that beautiful “white ring” (the sign of a well-proofed and fried donut), let them cook for 1-2 minutes per side until deeply golden. Excessive flipping isn’t necessary and can interfere with the cooking process.
- Drain Properly: As soon as donuts come out of the oil, transfer them immediately to a wire rack set over a baking sheet lined with paper towels. This allows excess oil to drip off, preventing sogginess and ensuring a light, crispy exterior before glazing.
- Glaze While Warm: Dip your donuts in the glaze while they are still warm (but not piping hot, as it could melt the glaze) for the best absorption and a smooth, even coating. The warmth helps the glaze set beautifully, creating that iconic shimmery finish.
- Sift Your Powdered Sugar: For a lump-free, silky smooth glaze, always sift your powdered sugar. This simple step makes a huge difference in the final texture and appearance of your Glazed Donuts with Milk Bread Dough.
- Experiment with Flavors: Don’t be afraid to customize! Add a teaspoon of almond extract, a pinch of cinnamon, or even some citrus zest to your glaze for an extra burst of flavor. A sprinkle of flaky sea salt on top of the still-wet glaze can also be surprisingly delicious and elevate the sweetness.
- Safety First with Hot Oil: Always be cautious when working with hot oil. Use a deep, heavy-bottomed pot to prevent splattering, and never leave hot oil unattended. Have a lid nearby in case of a grease fire (though unlikely with proper care and vigilance).
- Use a Stand Mixer if Possible: While kneading by hand is wonderfully therapeutic, a stand mixer fitted with a dough hook makes the process much easier and ensures proper gluten development. Knead until the dough is smooth, elastic, and passes the “windowpane test” (stretching a small piece of dough thin enough to see light through it without tearing).
Variations & Substitutions
Feeling creative? These Glazed Donuts with Milk Bread Dough are a fantastic canvas for your culinary imagination! Here are some ideas to switch things up:
- Chocolate Glaze: For a decadent twist, melt 1/2 cup chocolate chips with 2 tbsp heavy cream or milk, then whisk in 1 cup powdered sugar until smooth.
- Maple Bacon: Add a touch of maple extract to your vanilla glaze and top with crispy, crumbled bacon bits right after glazing. Sweet and savory perfection!
- Spiced Donuts: Incorporate 1/2 tsp cinnamon and a pinch of nutmeg into the dough along with the flour for a warmer, spiced flavor profile, especially cozy during cooler months.
- Lemon Glaze: For a bright, tangy kick, add 1-2 tbsp fresh lemon juice and 1 tsp lemon zest to the basic powdered sugar glaze.
- Filled Donuts: Instead of cutting out holes, leave the dough rounds whole. Fry as usual, then use a piping bag with a long, thin nozzle to fill them with your favorite jam, pastry cream, or chocolate hazelnut spread.
- Mini Donuts: Use a smaller donut cutter or a round piping tip to create adorable mini donuts. Adjust frying time accordingly (they will cook much faster!).
- Baked Option (Healthier Alternative): While frying yields the classic texture, you can bake these too! Place shaped donuts on a parchment-lined baking sheet, brush lightly with melted butter, and bake at 375°F (190°C) for 10-12 minutes or until golden. They’ll be more cake-like but still delicious.
- Gluten-Free Flour: While not tested with this specific recipe, a 1:1 gluten-free baking flour blend (containing xanthan gum) might work, though the texture will be different and potentially denser. Adjust liquid as needed, as GF flours can absorb differently.
- Vegan Option: Substitute dairy milk with a rich plant-based milk (like oat or soy), butter with vegan butter sticks, and eggs with flax eggs (1 tbsp ground flaxseed + 3 tbsp water per egg, let sit 5 mins). Note that texture may vary slightly, but a delicious vegan donut is certainly achievable!
Storage & Freezing
Homemade donuts are always a treat, and knowing how to store them properly ensures you can savor their deliciousness for as long as possible:
- Best Fresh: Glazed donuts are undeniably best enjoyed on the day they are made. The light, airy texture and shimmering glaze are at their peak when fresh from the kitchen, offering that melt-in-your-mouth experience.
- Room Temperature: If you have leftovers, store glazed donuts in an airtight container at room temperature for up to 1-2 days. The glaze may soften slightly and become a little sticky, but they will still be delicious. Avoid refrigerating glazed donuts, as it can dry them out and make them dense and chewy.
- Plain Donut Storage (Pre-Glaze): Unglazed, fried donuts can be stored in an airtight container at room temperature for up to 2 days. For a fresh-like experience, reheat them gently in the microwave for 10-15 seconds before glazing and serving.
- Freezing Dough (Unfried): You can freeze the shaped, un-fried donut dough for later! Place the cut donuts on a parchment-lined baking sheet and freeze until solid. Transfer to a freezer-safe bag or container, ensuring they don’t stick together, and freeze for up to 2-3 weeks. When ready to use, thaw overnight in the refrigerator, then bring to room temperature and proof until puffy before frying.
- Freezing Fried Donuts (Unglazed): Allow freshly fried (unglazed) donuts to cool completely. Arrange them in a single layer on a baking sheet and freeze until solid. Once frozen, transfer to a freezer-safe bag or container, separating layers with parchment paper, and freeze for up to 1 month. To serve, thaw at room temperature, then warm gently in a microwave or oven, and glaze as desired. This is a great way to have fresh-tasting Glazed Donuts with Milk Bread Dough ready on demand!
FAQ
Q: Why are my donuts dense?
A: This is often due to over-flouring the dough during kneading or shaping, or not allowing the dough to proof (rise) enough before frying. Make sure your dough is slightly tacky, not stiff, and always passes the poke test before frying. An under-activated yeast can also be a culprit, so ensure your milk is at the right temperature for the yeast.
Q: Can I make the dough ahead of time?
A: Yes! You can prepare the dough up to the first rise, then gently punch it down, cover tightly with plastic wrap, and refrigerate overnight (up to 24 hours). The cold fermentation can even enhance the flavor! Just be sure to bring it back to room temperature for about 30-60 minutes before shaping, then proceed with the second proofing as usual.
Q: What kind of oil is best for frying donuts?
A: Neutral-flavored oils with a high smoke point are best for frying donuts. Vegetable oil, canola oil, sunflower oil, or peanut oil are all excellent choices. Avoid olive oil or butter, which have lower smoke points and can burn easily, imparting an off-flavor to your Glazed Donuts with Milk Bread Dough.
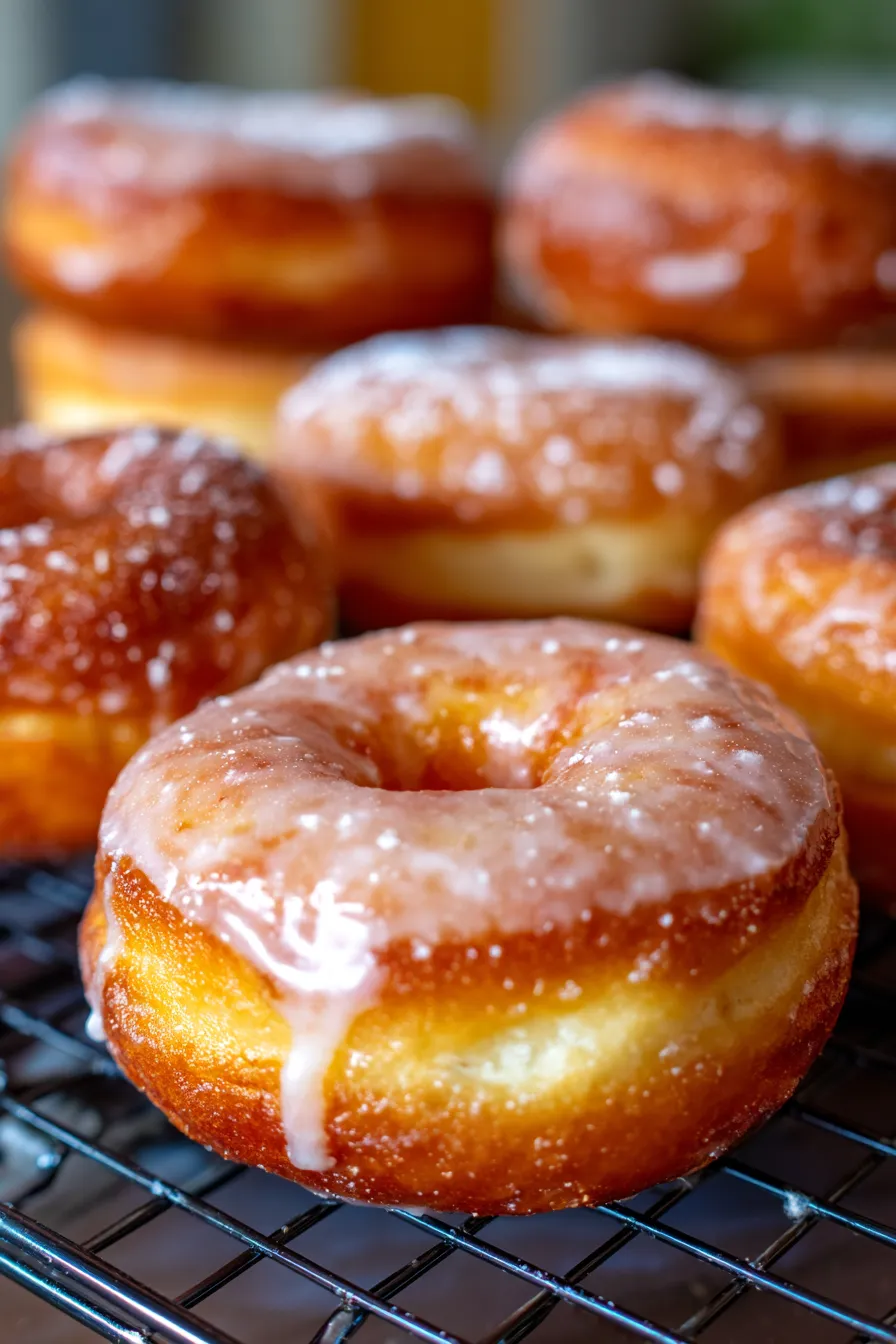
Q: How do I get that perfect “white ring” on my donuts?
A: The white ring (the light band around the middle of the donut) is a sign of perfectly proofed dough and consistent oil temperature. Ensure your donuts are adequately proofed (they should be visibly puffy and pass the poke test!) and that your oil maintains a steady 325-350°F (160-175°C) throughout frying. This allows the donut to cook evenly and rise beautifully in the hot oil.
Q: My glaze is too thin/thick. How do I fix it?
A: Easily adjustable! If your glaze is too thin, gradually whisk in more sifted powdered sugar, a tablespoon at a time, until it reaches your desired consistency. If it’s too thick, add a tiny splash (1/2 teaspoon at a time) of milk or water, stirring until it’s smooth and pourable. The perfect glaze should coat the back of a spoon lightly.
Conclusion
And there you have it – the secret to the most irresistible, melt-in-your-mouth Glazed Donuts with Milk Bread Dough! This recipe is more than just a sweet treat; it’s an invitation to create beautiful kitchen memories, fill your home with incredible aromas, and share pure joy with every bite. Don’t be shy – dive in, get baking, and savor the magic of homemade goodness. Pin this recipe for later and let me know how your cloud-like donuts turn out!

Softest Glazed Donuts with Milk Bread Dough | Easy Recipe!
Ingredients
- 1 cup (240ml) whole milk
- 1/4 cup (50g) granulated sugar
- 2 1/4 tsp active dry yeast
- 1 large egg, plus 1 egg yolk
- 1/4 cup (56g) unsalted butter, melted
- 1/2 tsp salt
- 3 1/4 cups (390g) all-purpose flour, plus more for dusting
- For Tangzhong:
- 2 tbsp (16g) all-purpose flour
- 1/2 cup (120ml) whole milk
- For Glaze:
- 2 cups (240g) powdered sugar, sifted
- 3-4 tbsp whole milk
- 1 tsp vanilla extract
- Vegetable oil, for frying
Instructions
- Step 1 1. Make Tangzhong: Whisk flour and milk in a small saucepan over medium heat until thickened into a paste, about 2-3 minutes. Remove from heat and cool completely (this is crucial before adding to the yeast mixture).
- Step 2 2. Activate Yeast: In a large bowl or stand mixer bowl, combine warm whole milk (ensure it's between 105-115°F/40-46°C), 1 teaspoon of granulated sugar, and active dry yeast. Stir gently and let it sit for 5-10 minutes until the mixture becomes foamy, indicating the yeast is active.
- Step 3 3. Combine Dough Wet Ingredients: To the activated yeast mixture, add the remaining granulated sugar, the large egg, egg yolk, melted unsalted butter, and salt. Whisk everything together thoroughly until well combined.
- Step 4 4. Add Flour & Knead: Add the cooled tangzhong paste and gradually incorporate the 3 1/4 cups of all-purpose flour, mixing until a shaggy dough forms. Transfer the dough to a lightly floured surface or use a stand mixer with a dough hook. Knead for 8-10 minutes until the dough is smooth, elastic, and passes the 'windowpane test' (you can stretch a small piece thin enough to see light through without tearing).
- Step 5 5. First Rise: Shape the dough into a ball. Place it in a lightly greased bowl, turning once to coat. Cover the bowl tightly with plastic wrap or a damp kitchen towel. Let the dough rise in a warm, draft-free place for 1.5-2 hours, or until it has visibly doubled in size.
- Step 6 6. Shape Donuts: Gently punch down the risen dough to release air. On a lightly floured surface, roll the dough out evenly to about 1/2-inch thickness. Use a 3-inch donut cutter to cut out the donuts and a 1-inch cutter for the holes. Carefully transfer the shaped donuts and donut holes to parchment-lined baking sheets, leaving some space between them.
- Step 7 7. Second Rise: Cover the shaped donuts and donut holes loosely with plastic wrap or a clean kitchen towel. Let them rise again in a warm spot for 45-60 minutes, or until they look visibly puffy and pass the 'poke test' (gently poke with a floured finger; the indentation should slowly spring back with a slight dimple).
- Step 8 8. Fry Donuts: While the donuts are completing their second rise, heat 3-4 inches of neutral vegetable oil in a deep, heavy-bottomed pot or Dutch oven to 325-350°F (160-175°C). Use a thermometer to maintain this temperature. Carefully lower 2-3 donuts into the hot oil at a time, being careful not to overcrowd the pot. Fry for 1-2 minutes per side, or until deeply golden brown. Using a slotted spoon or spider, transfer the fried donuts to a wire rack set over a baking sheet lined with paper towels to drain excess oil.
- Step 9 9. Make Glaze: In a medium bowl, whisk together the sifted powdered sugar, 3-4 tablespoons of whole milk (adjusting for desired consistency), and vanilla extract until smooth and lump-free.
- Step 10 10. Glaze & Serve: While the donuts are still warm (but not piping hot), dip each donut into the prepared glaze, coating both sides if desired. Let any excess glaze drip off, then place the glazed donuts back on the wire rack for the glaze to set. Serve your irresistible Glazed Donuts with Milk Bread Dough immediately and enjoy!