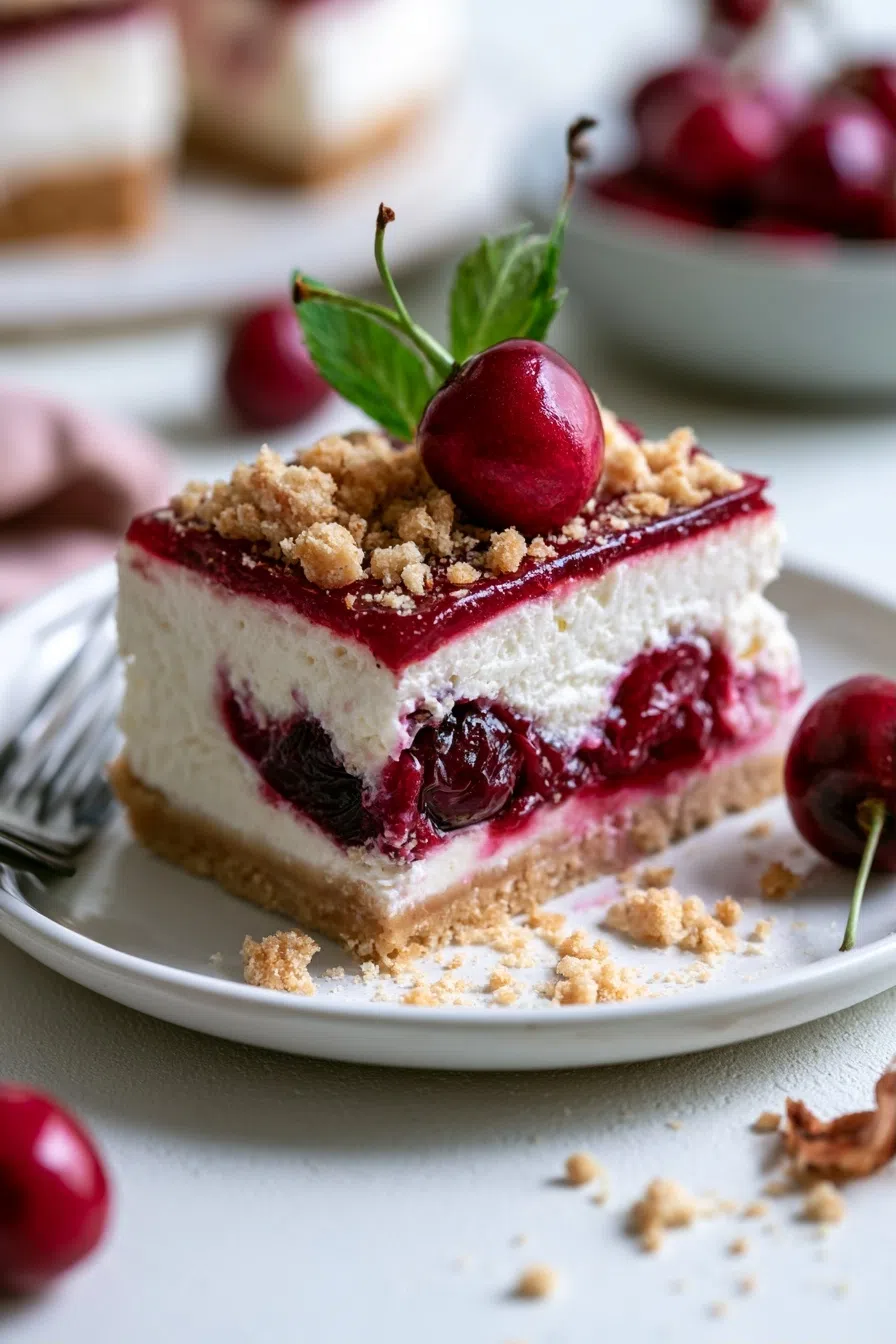
Cherry Cheesecake Recipe Baking The heavenly aroma of cherry cheesecake baking in the oven instantly transports me to a warm summer afternoon, surrounded by loved ones and the promise of a sweet treat. I vividly remember the first time I made this cherry cheesecake recipe, it was a sunny Sunday in July, and I was…
Cherry Cheesecake Recipe Baking
The heavenly aroma of cherry cheesecake baking in the oven instantly transports me to a warm summer afternoon, surrounded by loved ones and the promise of a sweet treat.
I vividly remember the first time I made this cherry cheesecake recipe, it was a sunny Sunday in July, and I was determined to impress my family with a show-stopping dessert, featuring a luscious can of cherry pie filling.
It wasn’t until I took that first bite, with its creamy cheesecake and sweet cherry topping, that I knew This Cherry Cheesecake Recipe Baking quickly became a cherished family favorite.
Why You’ll Love This Cherry Cheesecake Recipe Baking
- The velvety cheesecake and crunchy graham cracker crust create a perfect texture combination.
- The sweet and tangy flavors of the cherry topping complement the richness of the cheesecake.
- This recipe is ready in just 55 minutes, making it perfect for a weeknight dessert.
- The foolproof water bath method ensures a smooth and creamy cheesecake every time.
- It’s the ideal dessert for special occasions, like holidays or family gatherings.
Ingredients You’ll Need
- 1 1/2 cups graham cracker crumbs
- 1/4 cup granulated sugar
- 1/2 cup unsalted butter, melted
- 16 oz cream cheese, softened
- 1/2 cup granulated sugar
- 4 large eggs, separated
- 1 tsp vanilla extract
- 1 cup sour cream
- 1 cup cherry pie filling
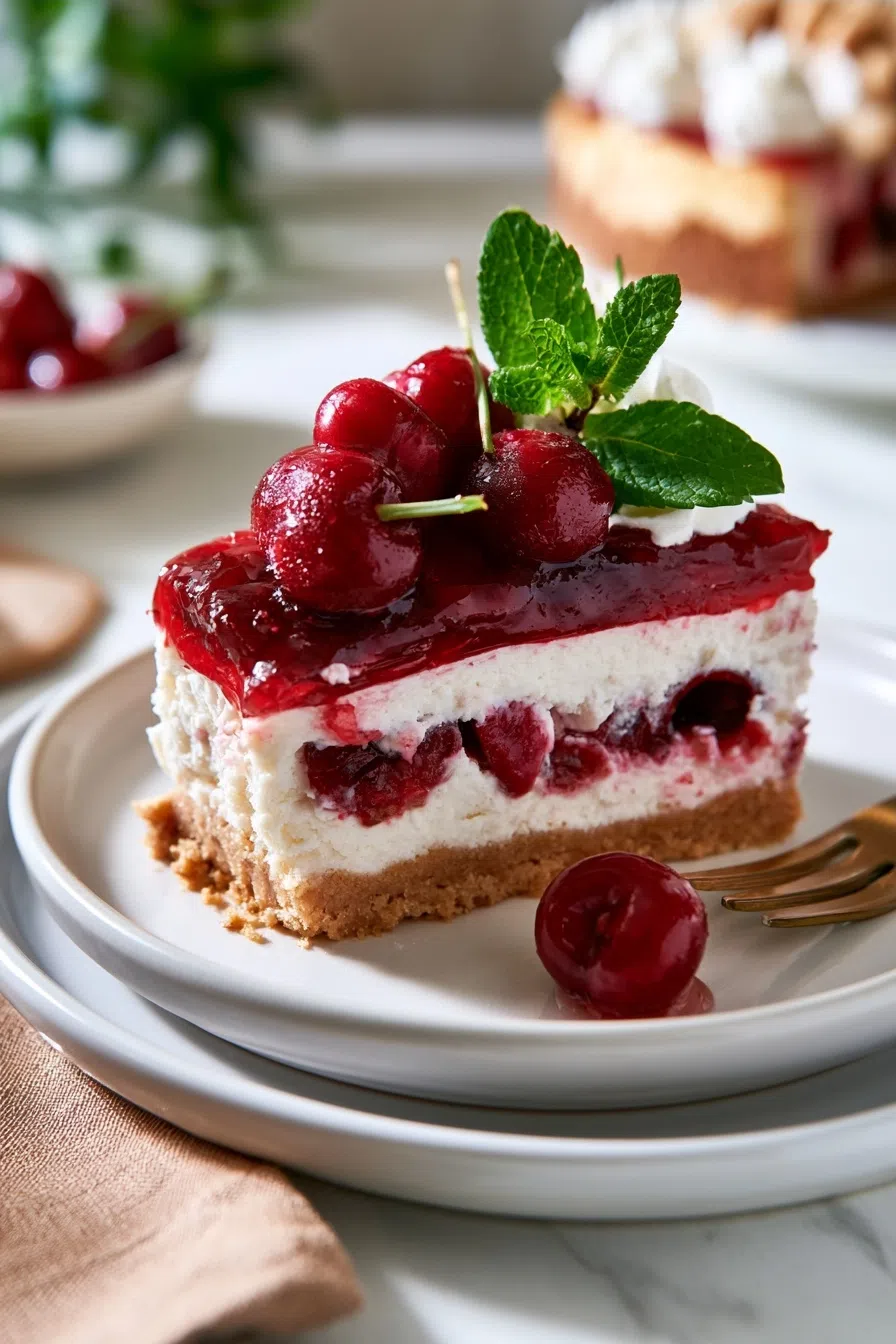
The star ingredients of this cherry cheesecake recipe are undoubtedly the cream cheese, which provides a rich and creamy texture, and the cherry pie filling, which adds a sweet and fruity flavor.
Expert Tips for the Best Cherry Cheesecake Recipe Baking
- Using a water bath ensures a smooth and creamy cheesecake.
- Avoid overmixing the batter to prevent cracks in the cheesecake.
- Adding a layer of sour cream on top of the cheesecake before baking enhances the flavor.
- The cheesecake is done when the edges are set and the center is slightly jiggly.
- You can make this cheesecake ahead of time and refrigerate it overnight.
Variations and Substitutions
For a gluten-free crust, substitute the graham cracker crumbs with almond flour or gluten-free oats. For a protein-packed twist, add some Greek yogurt or protein powder to the cheesecake batter. For a bold flavor, try using a different type of fruit filling, like blueberry or raspberry.
How to Store and Reheat
The cheesecake can be stored in the refrigerator for up to 5 days, in an airtight container. To reheat, simply let it come to room temperature or warm it up in the microwave. You can also freeze the cheesecake for up to 2 months and thaw it when you’re ready to serve.
Frequently Asked Questions
Can I use a different type of crust?
Yes, you can use a different type of crust, like a cookie crust or a nut crust. Just adjust the baking time accordingly.
How do I prevent cracks in the cheesecake?
To prevent cracks, make sure to not overmix the batter, and use a water bath while baking.
Can I make this cheesecake ahead of time?
Yes, you can make this cheesecake ahead of time and refrigerate it overnight or freeze it for up to 2 months.
I encourage you to give this cherry cheesecake recipe a try and experience the joy of baking a delicious dessert for yourself and your loved ones. Happy baking!
Cherry Cheesecake
🧂 Ingredients
👩🍳 Instructions
-
1Preheat oven to 325°F (160°C).
-
2Prepare crust: Mix crumbs, sugar, and melted butter until well combined. Press into a 9-inch springform pan.
-
3Bake crust for 10 minutes. Let cool completely.
-
4Beat cream cheese until smooth. Add granulated sugar and beat until combined.
-
5Beat in eggs, one at a time, followed by vanilla extract.
-
6Stir in sour cream.
-
7Pour filling over crust. Bake for 45 minutes.
-
8Let cool for 10 minutes before chilling in the refrigerator for at least 4 hours.
-
9Serve with cherry pie filling.