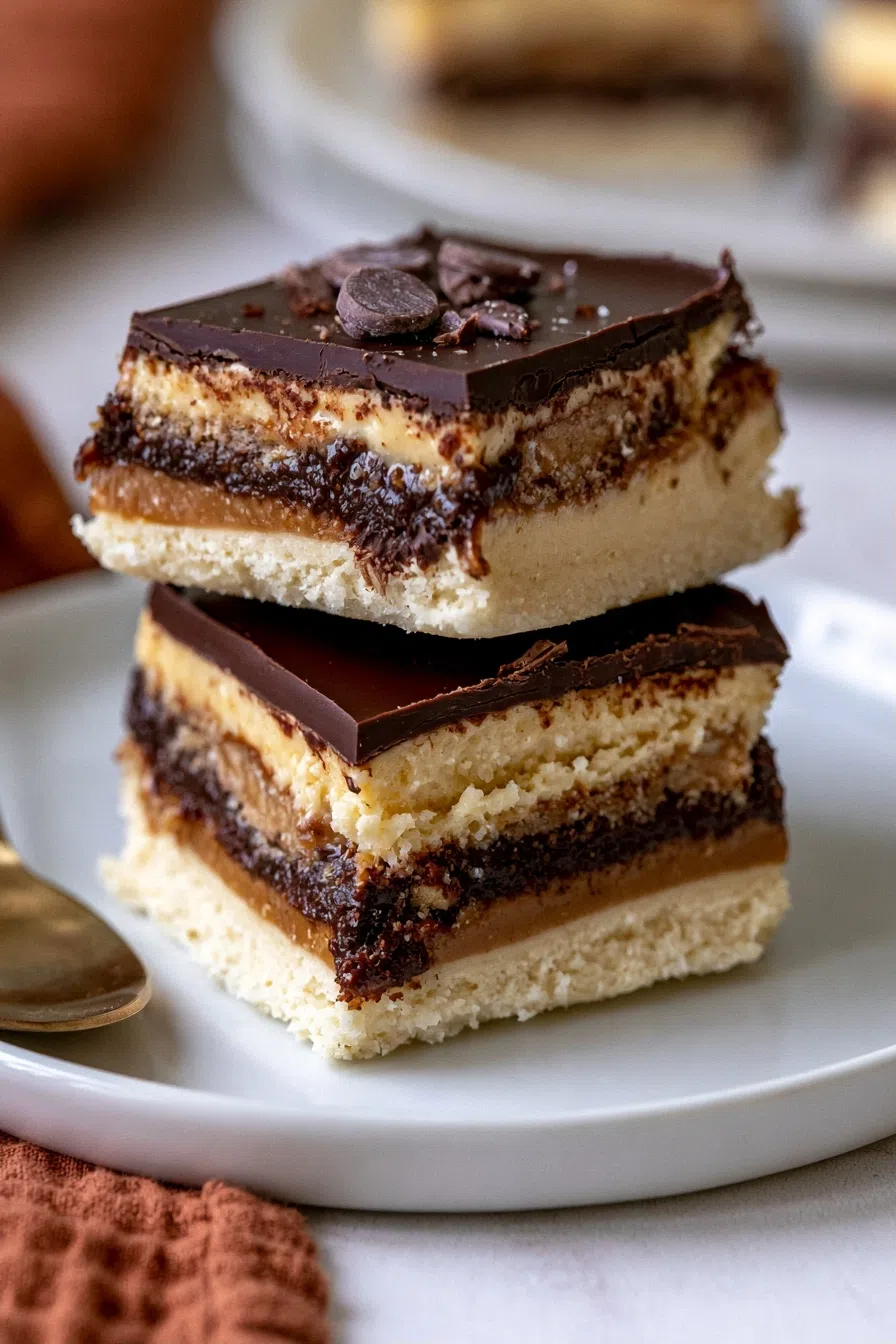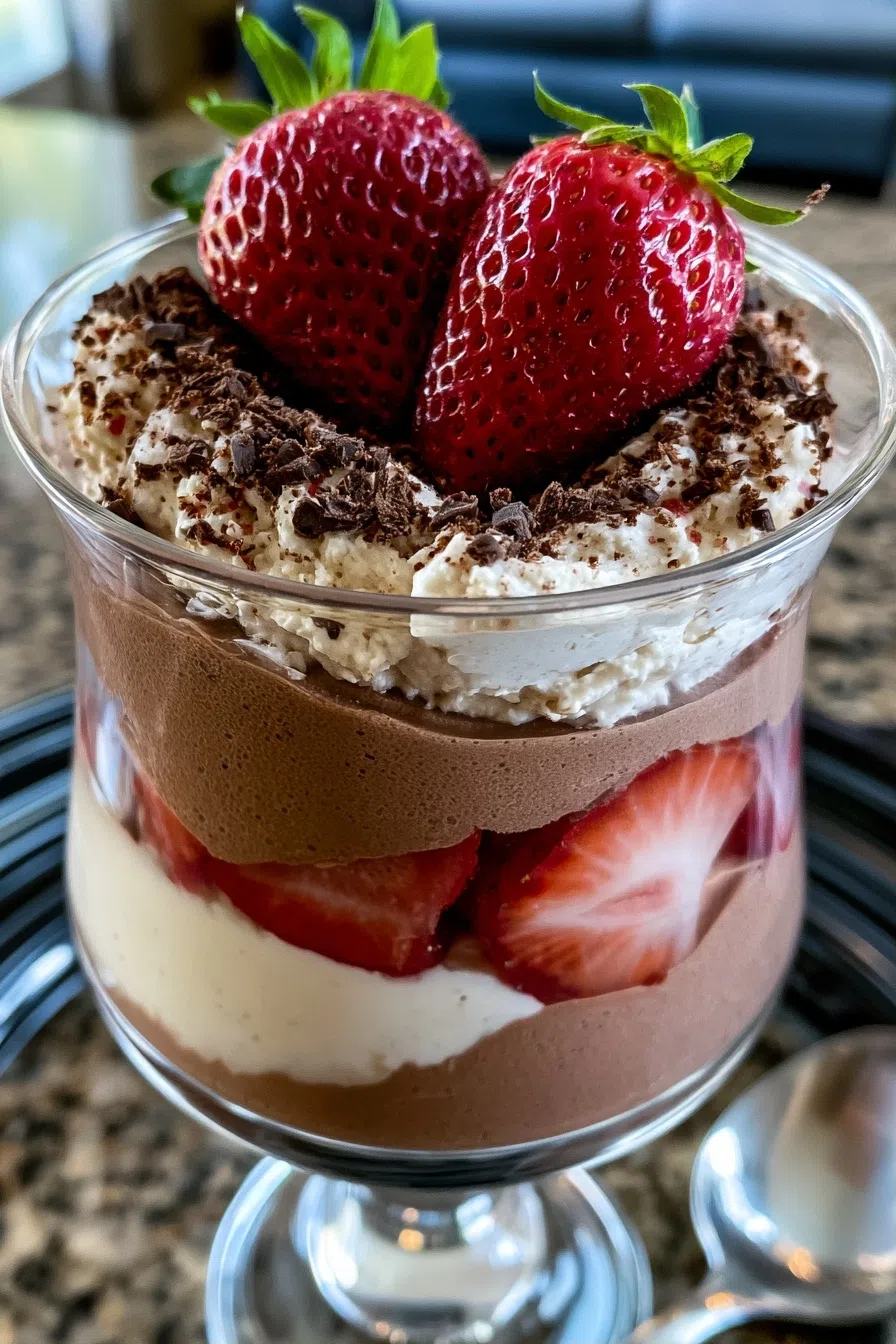
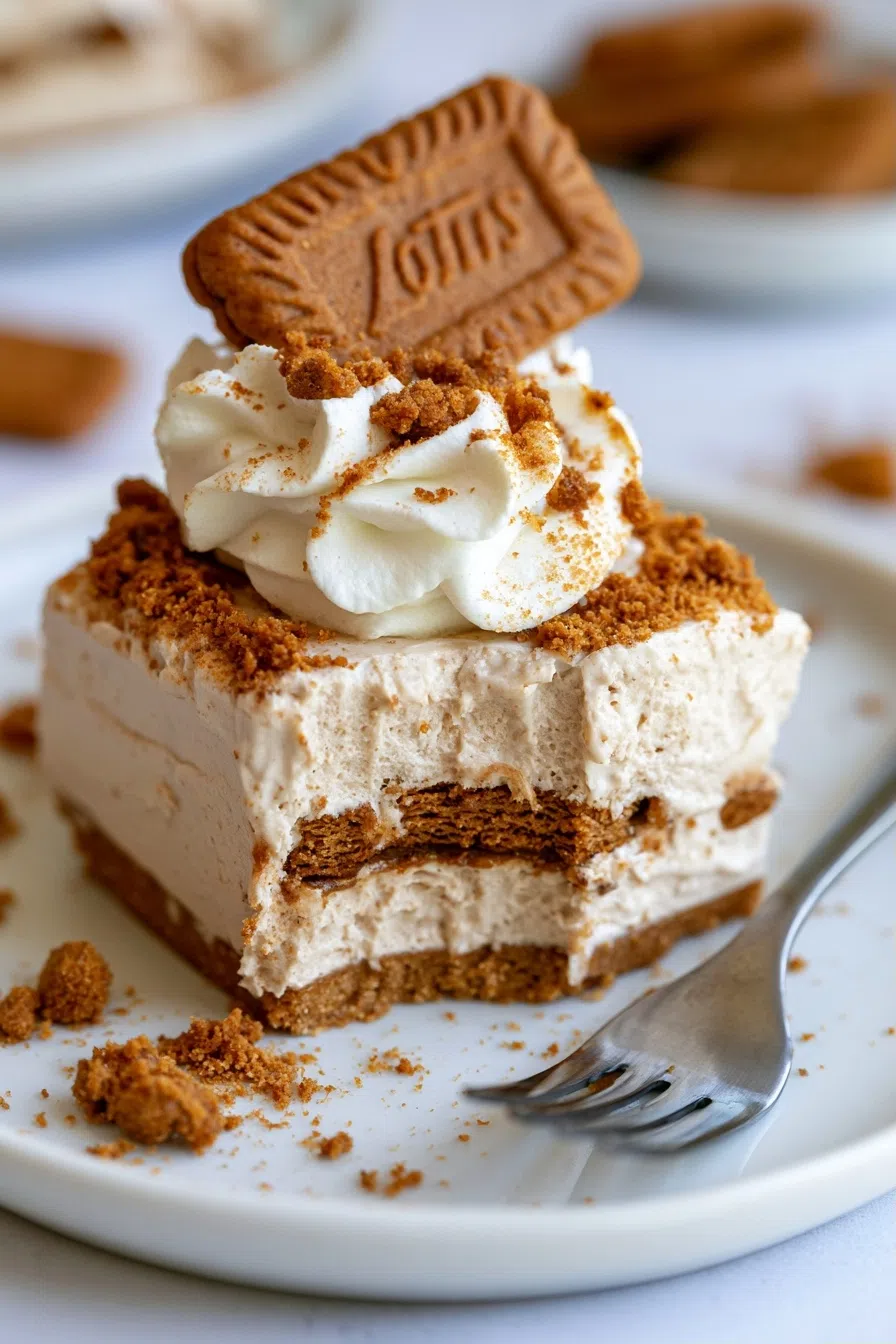
No-Bake Lotus Biscoff Cream Dessert The moment I took my first bite of this creamy, dreamy No-Bake Lotus Biscoff Cream Dessert, I knew I was in love – the velvety texture and caramel-like flavor of Lotus Biscoff cookies were absolute perfection. I vividly remember making this dessert on a warm summer evening, surrounded by my…
No-Bake Lotus Biscoff Cream Dessert
The moment I took my first bite of this creamy, dreamy No-Bake Lotus Biscoff Cream Dessert, I knew I was in love – the velvety texture and caramel-like flavor of Lotus Biscoff cookies were absolute perfection.
I vividly remember making this dessert on a warm summer evening, surrounded by my family in our cozy backyard, with the sweet aroma of Lotus Biscoff cookies wafting through the air.
It was during a family gathering when I first served this No-Bake Lotus Biscoff Cream Dessert that I realized how much everyone loved it – the looks on their faces, the oohs and aahs, it was pure magic. This No-Bake Lotus Biscoff Cream Dessert quickly became a cherished family favorite.
Why You’ll Love This No-Bake Lotus Biscoff Cream Dessert
- You’ll adore the silky smooth texture and the crunch of Lotus Biscoff cookies.
- The caramel-like flavor of Lotus Biscoff cookies pairs perfectly with the creamy dessert.
- This dessert is ready in just 20 minutes.
- It’s foolproof and requires no baking.
- It’s perfect for any occasion, from casual gatherings to formal events.
Ingredients You’ll Need
- 1 cup Lotus Biscoff biscuits, crushed
- 1 cup heavy cream
- 1/2 cup unsalted butter, softened
- 2 cups confectioners’ sugar
- 1 teaspoon vanilla extract
- 1 cup whipped cream
- 1 cup chocolate shavings or chocolate chips
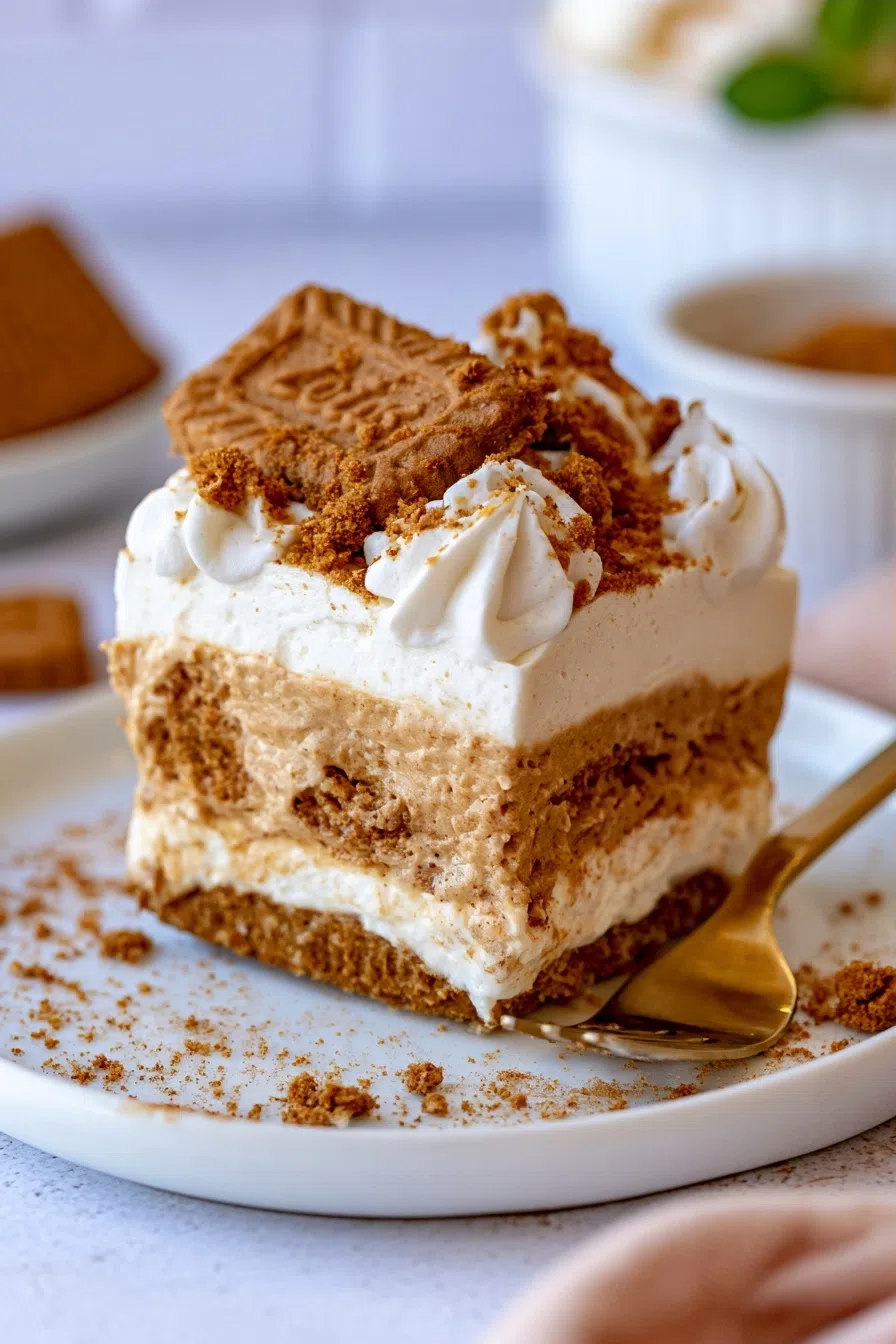
The star ingredients of this dessert are undoubtedly the Lotus Biscoff cookies, with their unique caramel-like flavor, and the heavy cream, which gives it a rich and creamy texture.
Expert Tips for the Best No-Bake Lotus Biscoff Cream Dessert
- A critical technique is to chill the dessert in the fridge for at least 4 hours to allow it to set properly.
- A common mistake is to overmix the cream, which can lead to a too-stiff texture – simply fix this by adding a little more cream.
- For a pro upgrade, try adding a sprinkle of sea salt on top of the dessert before serving.
- A doneness cue is when the dessert is firm to the touch and the edges are slightly set.
- A make-ahead tip is to prepare the crust and cream mixture a day in advance and assemble the dessert just before serving.
Variations and Substitutions
For a gluten-free version, swap the Lotus Biscoff cookies with gluten-free cookies. For a protein boost, add some protein powder to the cream mixture. For a bold flavor twist, try adding a teaspoon of cinnamon or nutmeg to the cream mixture.
How to Store and Reheat
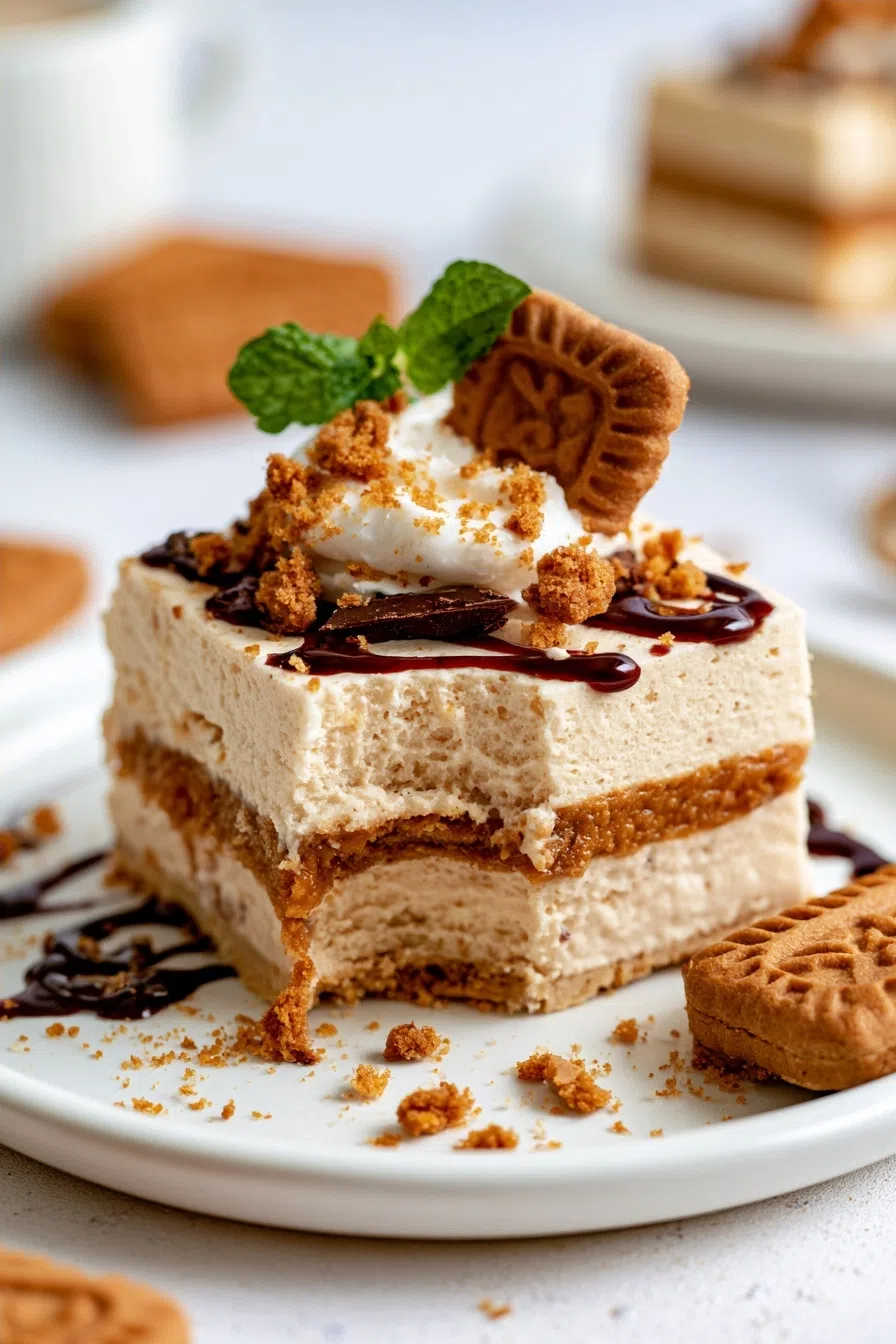
This dessert will keep in the fridge for up to 3 days, stored in an airtight container. To reheat, simply let it sit at room temperature for 10-15 minutes. You can also freeze it for up to 2 months and thaw it in the fridge overnight.
Frequently Asked Questions
Can I make this dessert ahead of time?
Yes, you can prepare the crust and cream mixture a day in advance and assemble the dessert just before serving. This will allow the flavors to meld together and the texture to set properly.
How do I prevent the cream from becoming too stiff?
To prevent the cream from becoming too stiff, simply add a little more cream if needed. You can also try whipping the cream until it reaches the desired consistency.
Can I serve this dessert at room temperature?
While this dessert is best served chilled, you can let it sit at room temperature for 10-15 minutes before serving. This will allow the flavors to come through and the texture to soften slightly.
I hope you enjoy making and devouring this No-Bake Lotus Biscoff Cream Dessert as much as I do – it’s a treat that’s sure to become a family favorite! So go ahead, give it a try, and let me know what you think!
Instructions: Mix crust ingredients, press into a pan, chill. Whip cream until stiff, add sugar and vanilla. Assemble dessert, chill until set.
Lotus Biscoff Cream Dessert
🧂 Ingredients
👩🍳 Instructions
-
1In a large mixing bowl, combine the crushed biscuits and melted butter and mix until well combined.
-
2Press the mixture into the bottom of a 9-inch springform pan.
-
3In a separate bowl, whip the heavy cream until stiff peaks form.
-
4In another bowl, mix the confectioners’ sugar and vanilla extract until well combined.
-
5Fold the whipped cream into the sugar mixture until no white streaks remain.
-
6Pour the cream mixture over the biscuit base and smooth the top.
-
7Chill in the refrigerator for at least 10 minutes.
-
8Before serving, top with whipped cream and chocolate shavings or chocolate chips.