Cherry Vanilla Swirl Bread Ingredients 3 cups all-purpose flour, plus more for dusting 1 package (2 1/4 teaspoons) active dry yeast 1/4 cup granulated sugar 1 teaspoon salt 1 cup warm milk (105-115°F) 1/4 cup unsalted butter, melted 1 large egg 1 teaspoon vanilla extract Cherry Swirl Filling: 1 cup dried cherries, chopped 1/4 cup…
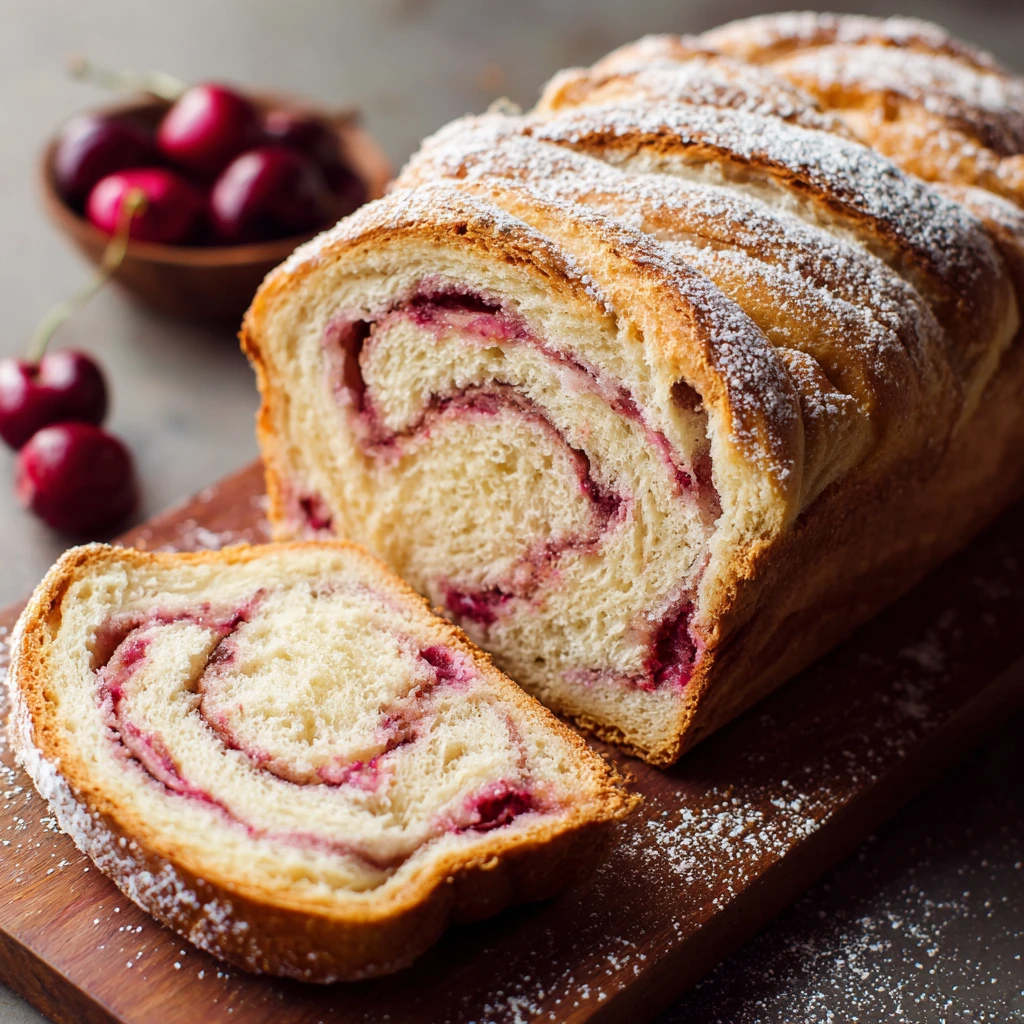
Cherry Vanilla Swirl Bread
Ingredients
- 3 cups all-purpose flour, plus more for dusting
- 1 package (2 1/4 teaspoons) active dry yeast
- 1/4 cup granulated sugar
- 1 teaspoon salt
- 1 cup warm milk (105-115°F)
- 1/4 cup unsalted butter, melted
- 1 large egg
- 1 teaspoon vanilla extract
Cherry Swirl Filling:
- 1 cup dried cherries, chopped
- 1/4 cup granulated sugar
- 2 tablespoons all-purpose flour
- 2 tablespoons unsalted butter, melted
- 1/2 teaspoon almond extract (optional, for enhanced cherry flavor)
Vanilla Glaze (optional):
- 1 cup powdered sugar
- 2-3 tablespoons milk
- 1/2 teaspoon vanilla extract
Step-by-Step
1. Prepare the Dough: In a large bowl, combine the flour, yeast, sugar, and salt.
2. In a separate bowl, whisk together the warm milk, melted butter, egg, and vanilla extract.
3. Pour the wet ingredients into the dry ingredients and mix until a shaggy dough forms.
4. Turn the dough out onto a lightly floured surface and knead for 6-8 minutes, or until smooth and elastic.
5. Place the dough in a lightly oiled bowl, turning to coat. Cover with plastic wrap and let rise in a warm place for 1-1.5 hours, or until doubled in size.
6. Make the Cherry Swirl Filling: While the dough is rising, prepare the cherry filling.
7. In a medium bowl, combine the chopped dried cherries, sugar, flour, melted butter, and almond extract (if using). Mix well.
8. Assemble the Bread: Once the dough has doubled, punch it down to release the air.
9. Turn the dough out onto a lightly floured surface and roll it into a rectangle about 12×18 inches.
10. Spread the cherry filling evenly over the dough, leaving a small border around the edges.
11. Starting from one of the long edges, tightly roll the dough into a log.
12. Pinch the seam to seal it.
13. Carefully transfer the log to a greased or parchment-lined loaf pan (9×5 inches).
14. Cover with plastic wrap and let rise for 30-45 minutes, or until almost doubled.
15. Bake the Bread: Preheat oven to 350°F (175°C).
16. Bake for 30-35 minutes, or until golden brown and the internal temperature reaches 190-200°F (88-93°C).
17. If the top starts to brown too quickly, tent it with foil.
18. Let the bread cool in the pan for 10 minutes before transferring it to a wire rack to cool completely.
19. Make the Vanilla Glaze (optional): While the bread is cooling, prepare the glaze.
20. In a small bowl, whisk together the powdered sugar, milk, and vanilla extract until smooth. Add more milk if needed to reach desired consistency.
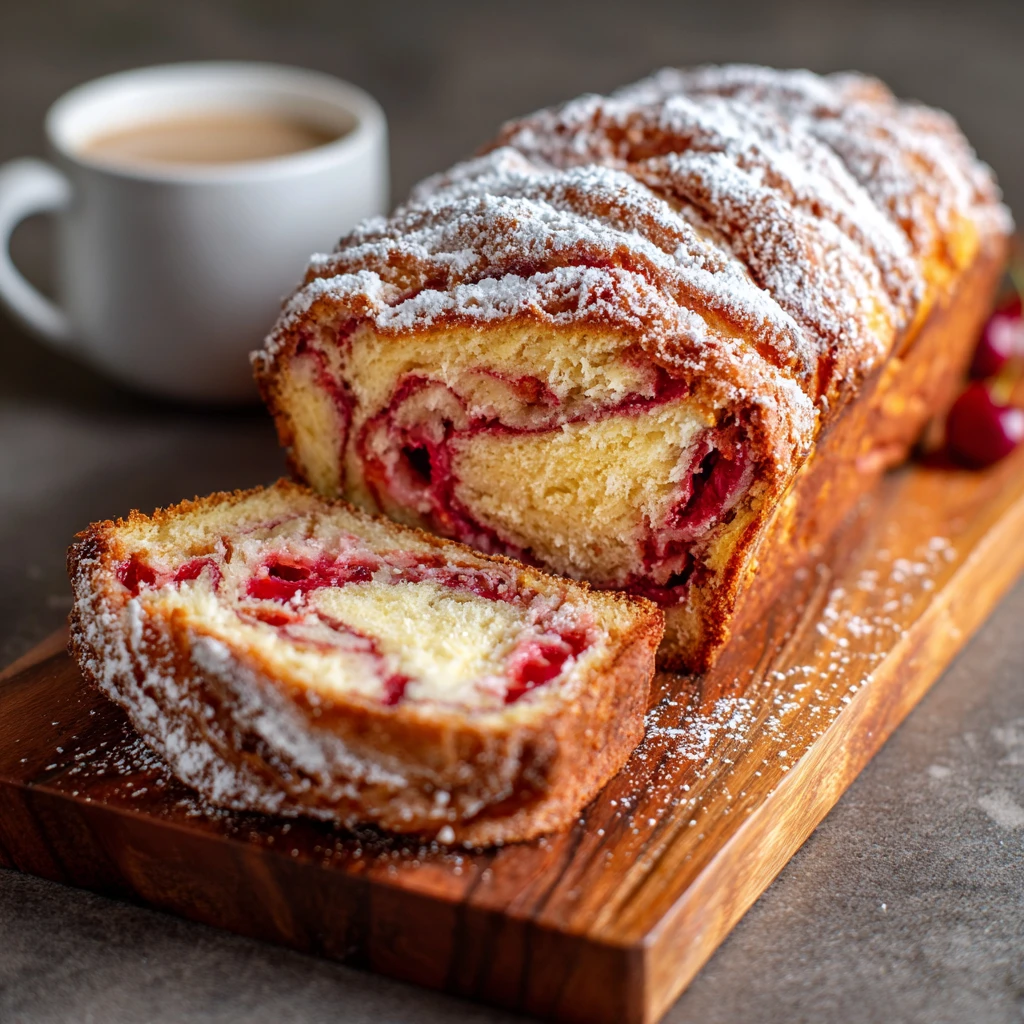
21. Glaze and Serve: Once the bread is completely cool, drizzle the vanilla glaze over the top.
22. Slice and enjoy!
Bread Baking Basics
Yeast Selection and Activation
Using the correct type of yeast and ensuring it is active is crucial for bread making. Active dry yeast needs to be proofed (activated) before being added to the dry ingredients.
Proofing involves dissolving the yeast in warm water (or in this case, warm milk) with a bit of sugar. This allows you to see if the yeast is alive and active, indicated by the mixture becoming foamy. If the yeast doesn’t foam, it’s likely dead and you’ll need to use a fresh batch.
Instant yeast (also known as rapid rise yeast) can be added directly to the dry ingredients without proofing. However, it still needs a warm environment to activate during the rising process.
Flour Power: Types and Usage
All-purpose flour is a versatile choice for this recipe. It provides a good balance of gluten development, leading to a tender yet structured bread.
Bread flour, with its higher protein content, will result in a chewier, denser bread. If you prefer a softer texture, all-purpose flour is recommended.
When kneading, use flour sparingly to prevent the dough from becoming too dry. Over-flouring can lead to a tough bread. The dough should be slightly sticky but manageable.
The Art of Kneading
Kneading develops the gluten in the flour, creating the structure that allows the bread to rise and hold its shape. Proper kneading results in a smooth, elastic dough.
Kneading by hand involves pressing, folding, and turning the dough for about 6-8 minutes. If using a stand mixer, knead with the dough hook attachment for 4-5 minutes.
The dough is ready when it springs back when gently pressed and forms a smooth ball. Over-kneading can result in a tough bread, so it’s essential to find the right balance.
Perfecting the Swirl
Preparing the Cherry Filling
The cherry filling should be moist enough to spread easily but not too wet, which can make the bread soggy. Chopping the dried cherries into smaller pieces helps them distribute evenly throughout the dough.
Melting the butter and combining it with the other filling ingredients helps bind everything together and creates a cohesive swirl. The almond extract is optional, but adds a delicious depth of flavor that complements the cherries.
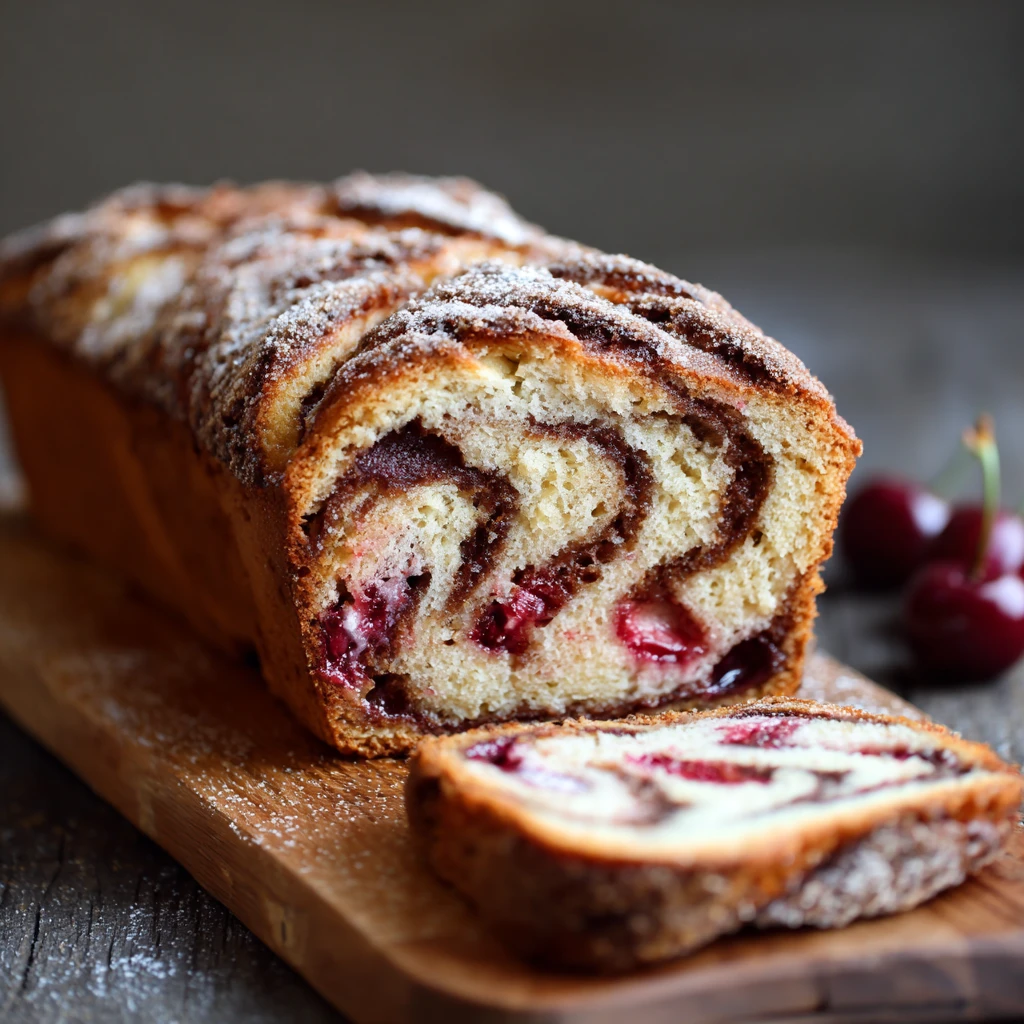
Rolling and Shaping Techniques
Rolling the dough into a uniform rectangle is key to creating an even swirl. Aim for a thickness of about 1/4 inch.
When spreading the filling, leave a small border around the edges to prevent it from oozing out during baking. Rolling the dough tightly ensures a defined swirl and prevents large air pockets from forming inside the bread.
Achieving a Golden Crust
Baking the bread at the correct temperature is essential for achieving a golden brown crust and a fully cooked interior. Preheating the oven ensures even heat distribution.
If the top of the bread starts to brown too quickly, tent it with aluminum foil. This will prevent it from burning while the inside continues to bake.
Using an oven thermometer ensures that your oven is accurately heated. The internal temperature of the bread should reach 190-200°F (88-93°C) to be fully cooked.
Flavor Variations and Additions
Expanding the Fruit Basket
While cherries are a classic choice, other dried fruits can also be used in this swirl bread. Cranberries, blueberries, or even chopped apricots can add unique flavor profiles.
Experiment with different combinations of dried fruits to create your own signature swirl. Adding a touch of citrus zest, such as lemon or orange, can also enhance the fruit flavors.
Nutty Alternatives
Adding chopped nuts to the cherry filling can add a delightful crunch and nutty flavor. Walnuts, pecans, or almonds are all excellent choices.
Toast the nuts lightly before adding them to the filling to enhance their flavor. Be mindful of any nut allergies when serving the bread.
Spice it Up
Adding a touch of spice to the dough or the filling can add warmth and complexity to the flavor. Cinnamon, nutmeg, or cardamom are all complementary spices.
A pinch of ground cloves can also enhance the cherry flavor. Experiment with different spice combinations to create your own unique twist.
Storage and Serving Suggestions
Keeping it Fresh
To keep the cherry vanilla swirl bread fresh, store it in an airtight container at room temperature. Properly stored, it will stay fresh for 2-3 days.
For longer storage, the bread can be frozen. Wrap it tightly in plastic wrap and then in aluminum foil before freezing. It can be frozen for up to 2-3 months.
Serving Ideas
The cherry vanilla swirl bread is delicious on its own, but it can also be served with various accompaniments. A dollop of whipped cream or a scoop of vanilla ice cream can elevate the dessert.
It can also be toasted and served with butter or cream cheese. Use it to make French toast for a special breakfast treat.
Reheating Tips
To reheat the bread, wrap it in foil and bake it in a preheated oven at 350°F (175°C) for 10-15 minutes. This will restore its warmth and freshness.
Alternatively, you can toast individual slices for a quick and easy snack. A light brush of butter before toasting adds extra flavor.
FAQ
Can I use fresh cherries instead of dried cherries?
While dried cherries are recommended for their concentrated flavor and texture, you can use fresh cherries. Pit and chop them before adding them to the filling. Be sure to drain any excess juice to prevent the bread from becoming soggy.
Can I make this bread without a stand mixer?
Yes, you can make this bread entirely by hand. Knead the dough on a lightly floured surface for 8-10 minutes, or until it becomes smooth and elastic.
Can I use a different type of milk?
Yes, you can use almond milk, soy milk, or oat milk as a substitute for dairy milk. The results may vary slightly, but the bread will still be delicious.
How do I prevent the cherries from sinking to the bottom of the bread?
Coating the cherries with flour before adding them to the dough helps prevent them from sinking. Also, ensure that the dough is properly proofed and has enough structure to support the filling.
Can I make this bread ahead of time?
Yes, you can prepare the dough ahead of time and store it in the refrigerator overnight. Let it come to room temperature before rolling and shaping. You can also bake the bread ahead of time and freeze it for later use.