Crispy Air Fryer Chicken Breast: Your Ultimate Guide to Juicy Perfection Craving perfectly cooked, crispy chicken without the mess and added fat of deep frying? The air fryer is your answer! This guide will walk you through creating juicy, flavorful air fryer chicken breast every single time. We’ll cover everything from preparation and seasoning to…
Crispy Air Fryer Chicken Breast: Your Ultimate Guide to Juicy Perfection
Craving perfectly cooked, crispy chicken without the mess and added fat of deep frying? The air fryer is your answer! This guide will walk you through creating juicy, flavorful air fryer chicken breast every single time. We’ll cover everything from preparation and seasoning to cooking times and troubleshooting, ensuring you achieve restaurant-quality results in the comfort of your own kitchen.
Why Air Fryer Chicken Breast is a Game Changer
The air fryer has revolutionized the way we cook, and for good reason. Its rapid air circulation technology creates a convection-like effect, cooking food quickly and evenly. This is especially beneficial for chicken breast, which can often dry out during traditional cooking methods.
- Healthier Option: Air frying uses significantly less oil than deep frying, reducing fat and calories.
- Faster Cooking: Air fryers cook chicken breast much faster than ovens, making it perfect for weeknight meals.
- Crispy Texture: The circulating hot air crisps the outside of the chicken beautifully, creating a satisfying crunch.
- Easy Cleanup: Most air fryers have non-stick baskets, making cleanup a breeze.
- Versatile: Air fryer chicken breast can be enjoyed in countless ways, from salads and sandwiches to tacos and main courses.
Essential Tips for Juicy and Crispy Air Fryer Chicken Breast
Achieving the perfect balance of juicy inside and crispy outside requires attention to detail. Here are some crucial tips to ensure success:
- Pound the Chicken: Even thickness is key for even cooking. Use a meat mallet to pound the chicken breasts to about ½-inch thickness. This also tenderizes the meat.
- Brine or Marinate: Brining the chicken in a salt water solution for 30 minutes or marinating it for at least an hour (or even overnight) adds flavor and moisture. A simple brine can be made with water, salt, and sugar.
- Don’t Overcrowd the Basket: Cook the chicken breasts in a single layer, leaving space for air to circulate. Overcrowding leads to steaming instead of crisping. Cook in batches if necessary.
- Use a Meat Thermometer: The most reliable way to ensure chicken is cooked through is to use a meat thermometer. Insert it into the thickest part of the breast; it should read 165°F (74°C).
- Rest the Chicken: Let the chicken rest for 5-10 minutes after cooking before slicing. This allows the juices to redistribute, resulting in a more tender and flavorful result.
Choosing the Right Chicken
- Fresh vs. Frozen: Fresh chicken is generally preferred for the best flavor and texture. However, frozen chicken breasts can be used if thawed completely before cooking.
- Size Matters: Choose chicken breasts that are similar in size to ensure even cooking. Larger breasts may require longer cooking times.
- Organic vs. Conventional: This is a matter of personal preference. Organic chicken is raised without antibiotics or hormones.
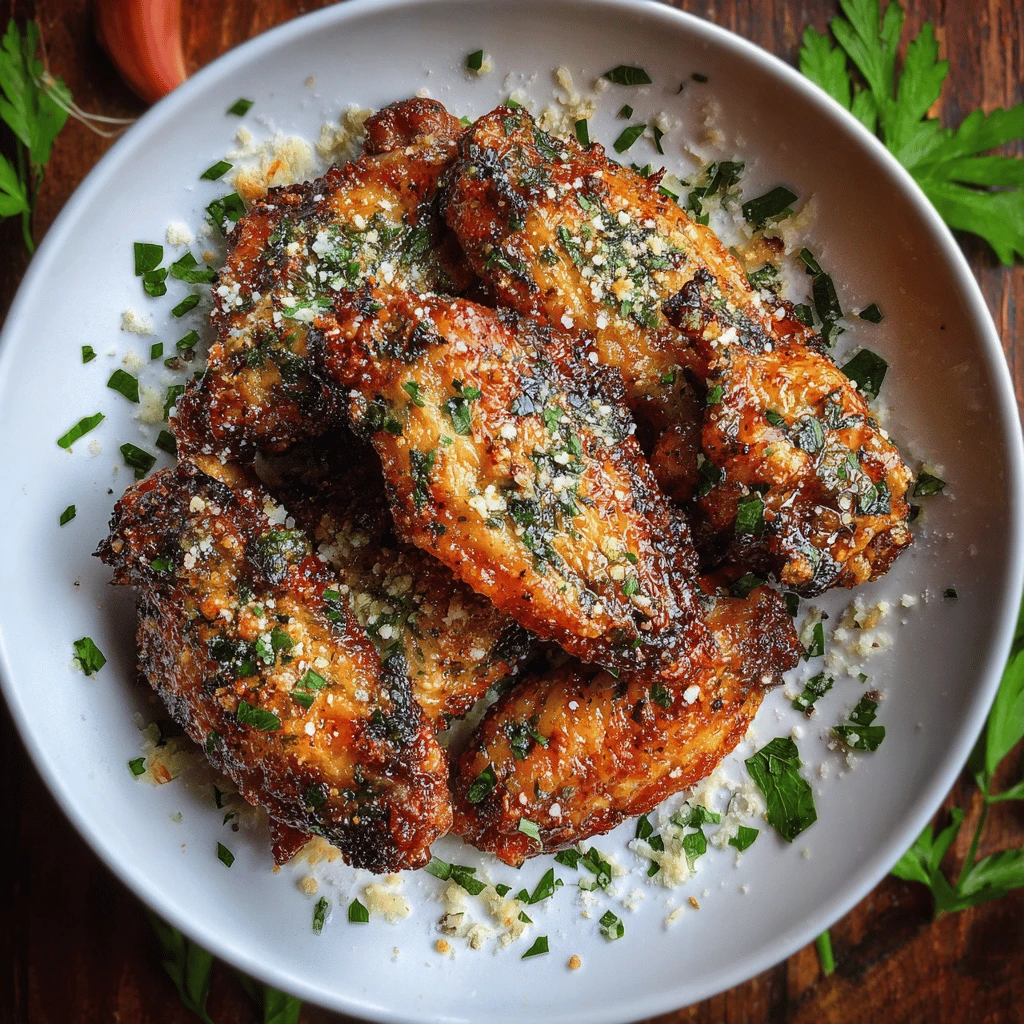
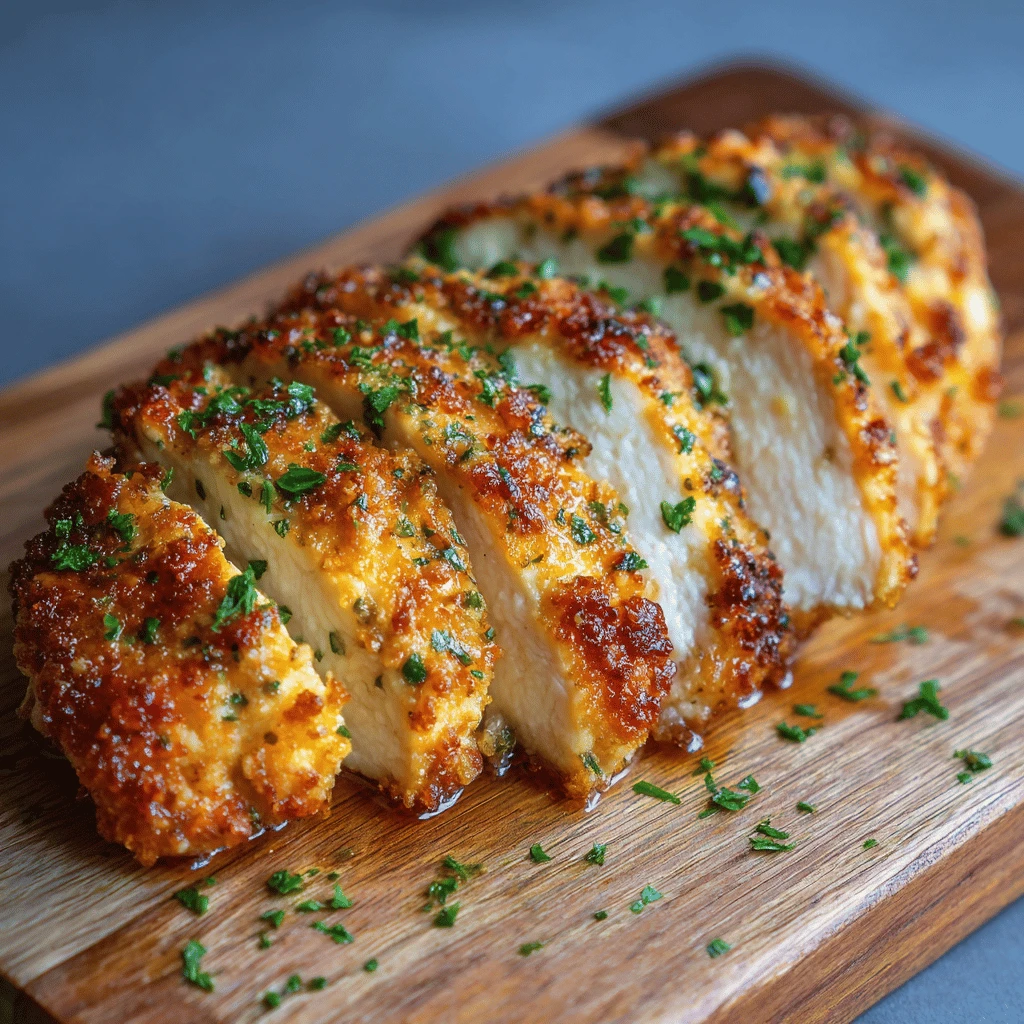
The Secret to Crispy Coating: Breading Options
While you can air fry chicken breast without breading, adding a coating is the key to ultimate crispiness. Here are a few options:
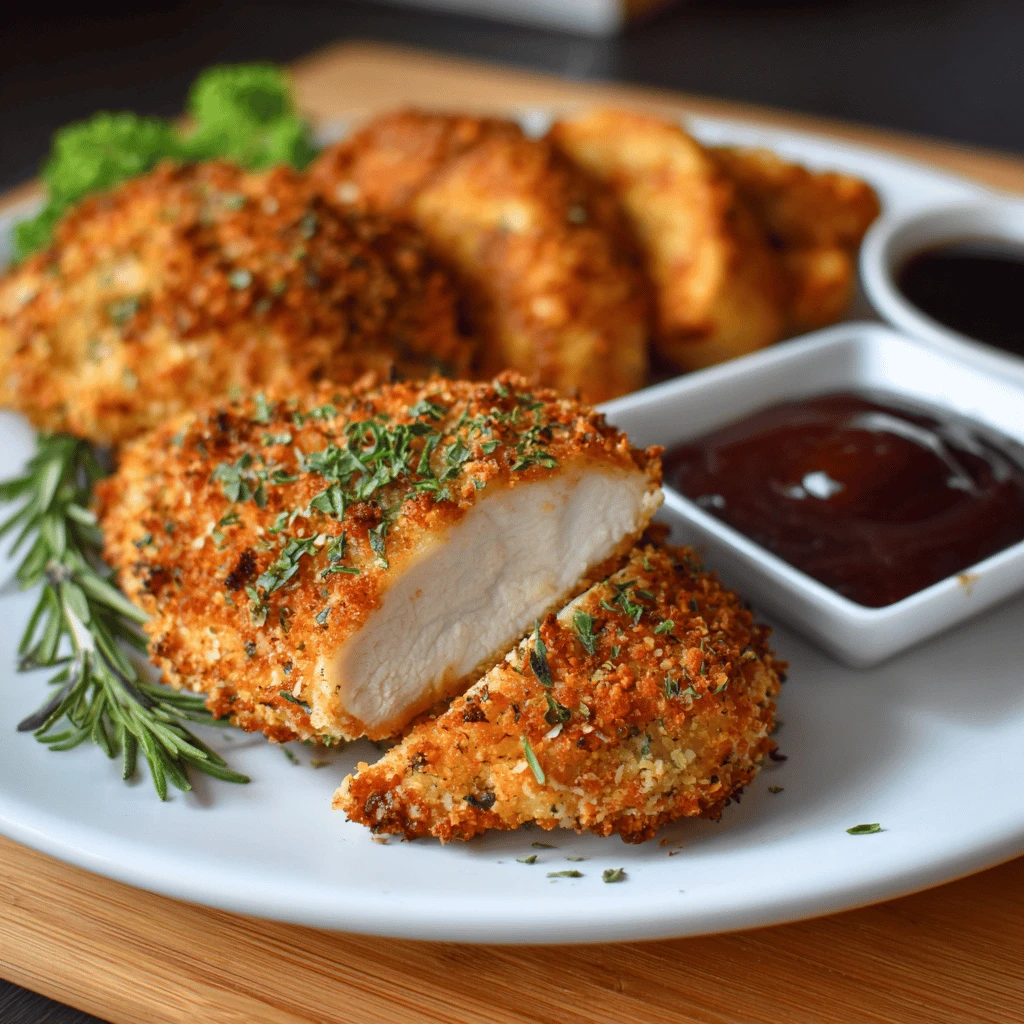
- Classic Breadcrumbs: Use a combination of all-purpose flour, beaten egg, and breadcrumbs (panko or regular) seasoned with salt, pepper, garlic powder, and paprika.
- Parmesan Crust: Combine grated Parmesan cheese with breadcrumbs, garlic powder, and Italian seasoning. This adds a cheesy, savory flavor.
- Cornflake Crust: Crush cornflakes and mix them with seasonings for a super crispy and flavorful coating.
- Gluten-Free Option: Use gluten-free flour and breadcrumbs, or try almond flour or crushed pork rinds for a low-carb alternative.
Step-by-Step Guide to Air Fryer Chicken Breast Perfection
Now that you have the essential tips, let’s dive into the actual cooking process. This recipe uses a simple breadcrumb coating but can be easily adapted to your preferred breading style.
Ingredients:
- 2 boneless, skinless chicken breasts (about 6-8 ounces each)
- 1 teaspoon salt
- ½ teaspoon black pepper
- 1 teaspoon garlic powder
- 1 teaspoon paprika
- ½ cup all-purpose flour
- 1 large egg, beaten
- 1 cup breadcrumbs (panko or regular)
- 2 tablespoons olive oil (or avocado oil)
Instructions:
1. Prepare the Chicken: Pound the chicken breasts to an even ½-inch thickness. Pat them dry with paper towels. Season both sides with salt, pepper, garlic powder, and paprika.
2. Set Up the Breading Station: Place the flour in a shallow dish. In a second dish, place the beaten egg. In a third dish, place the breadcrumbs.
3. Bread the Chicken: Dredge each chicken breast in the flour, shaking off any excess. Dip it into the beaten egg, making sure it’s fully coated. Finally, coat it with the breadcrumbs, pressing gently to adhere.
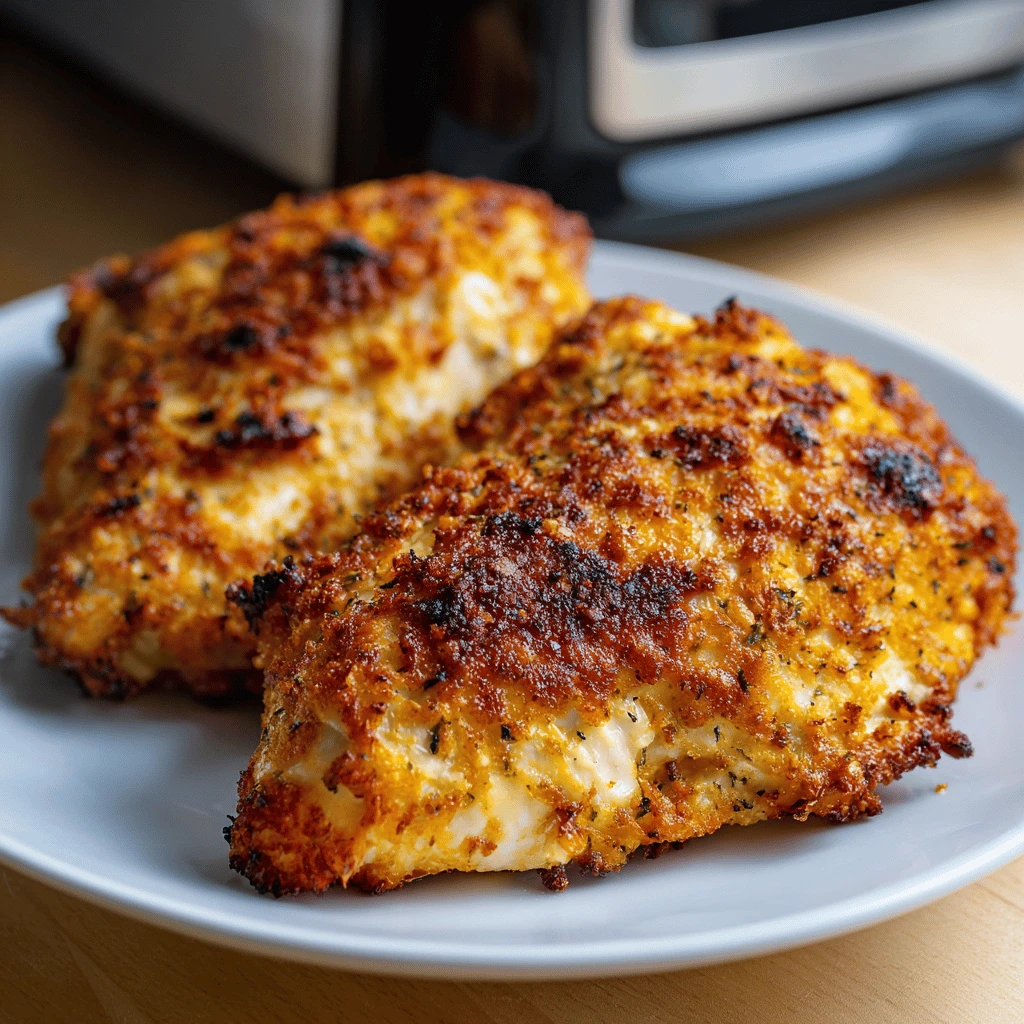
4. Preheat the Air Fryer: Preheat your air fryer to 375°F (190°C) for 3-5 minutes.
5. Air Fry the Chicken: Lightly brush or spray the air fryer basket with olive oil. Place the breaded chicken breasts in the basket in a single layer, making sure they are not touching. Drizzle or spray the top of the chicken with a little more oil.
6. Cook: Air fry for 8-12 minutes, flipping halfway through, until the internal temperature reaches 165°F (74°C). Cooking time will vary depending on the thickness of the chicken and the air fryer model.
7. Rest: Remove the chicken from the air fryer and let it rest for 5-10 minutes before slicing and serving.
Variations and Flavor Boosters
- Spicy Chicken: Add a pinch of cayenne pepper or a dash of hot sauce to the breadcrumb mixture.
- Lemon Herb Chicken: Marinate the chicken in lemon juice, olive oil, garlic, and herbs like thyme and rosemary.
- Honey Mustard Chicken: Brush the chicken with honey mustard sauce during the last few minutes of cooking.
- BBQ Chicken: Brush the chicken with your favorite barbecue sauce during the last few minutes of cooking.
Troubleshooting Common Air Fryer Chicken Breast Problems
Even with the best recipes, things can sometimes go wrong. Here’s how to troubleshoot common issues:
- Chicken is Dry: Make sure you’re not overcooking the chicken. Use a meat thermometer to ensure it reaches 165°F (74°C) and remove it immediately. Brining or marinating the chicken beforehand also helps retain moisture.
- Chicken is Not Crispy: Ensure you’re not overcrowding the air fryer basket. Cook in batches if necessary. Also, make sure to preheat the air fryer and use enough oil to coat the chicken.
- Breading is Falling Off: Pat the chicken dry before breading it. Make sure the flour, egg, and breadcrumbs are evenly distributed. Press the breadcrumbs firmly onto the chicken.
- Chicken is Cooking Unevenly: Ensure the chicken breasts are pounded to an even thickness. Flip the chicken halfway through cooking.
- Air Fryer is Smoking: This is usually caused by excess oil or breadcrumbs in the basket. Clean the basket between batches if necessary. Some models of air fryers may produce some smoke; consult the air fryer’s manual for any specific directions on this issue.
Air Fryer Cleaning and Maintenance
To keep your air fryer working efficiently and safely, regular cleaning is essential.
- Unplug the Air Fryer: Always unplug the air fryer before cleaning.
- Let it Cool: Allow the air fryer to cool completely before handling.
- Wash the Basket and Pan: Wash the basket and pan with warm, soapy water. Use a non-abrasive sponge or brush.
- Clean the Heating Element: Wipe down the heating element with a damp cloth.
- Dry Thoroughly: Ensure all parts are completely dry before reassembling.
Serving Suggestions and Complementary Dishes
Air fryer chicken breast is incredibly versatile and pairs well with a variety of sides. Here are some ideas:
- Salads: Top a fresh green salad with sliced air fryer chicken breast for a healthy and satisfying meal.
- Sandwiches: Use it as a filling for sandwiches or wraps with your favorite toppings.
- Tacos: Shred the chicken and use it as a filling for tacos or burritos.
- Pasta: Serve it with pasta and your favorite sauce.
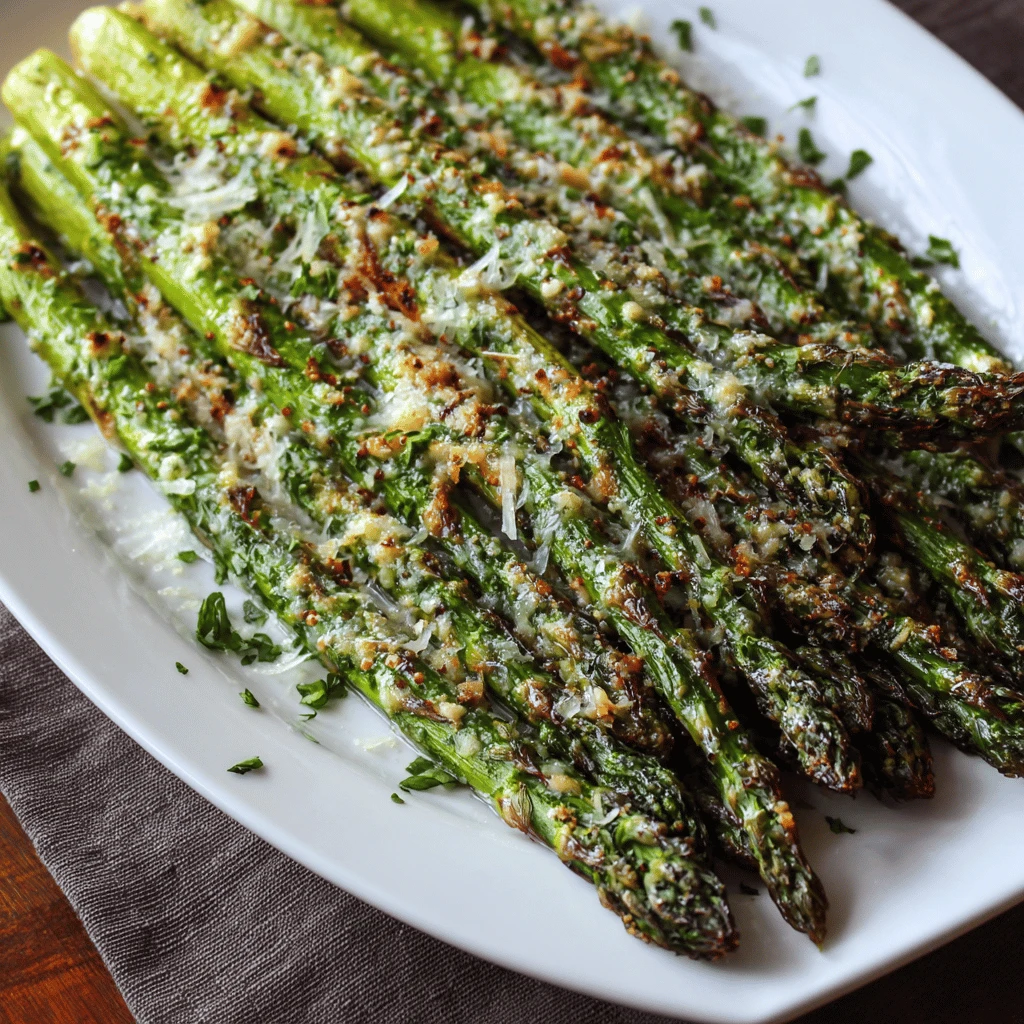
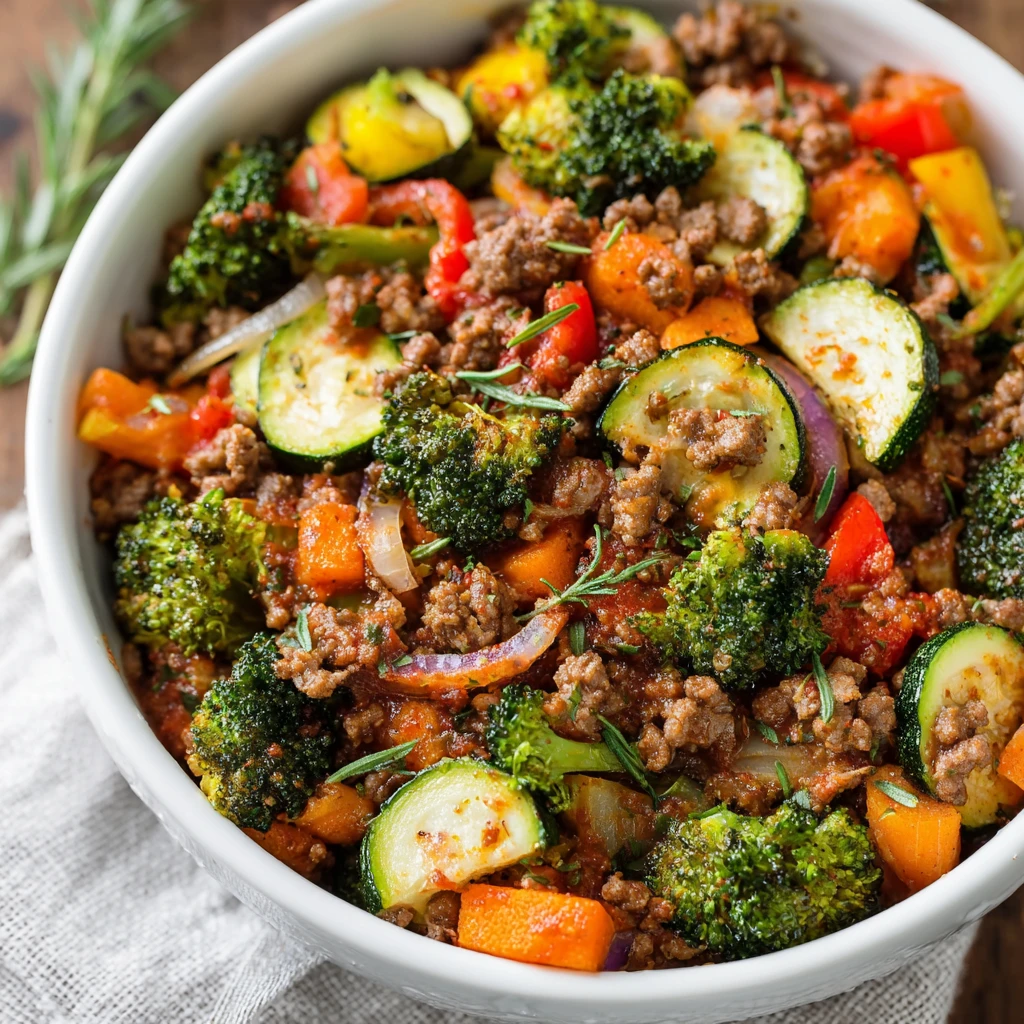
- Vegetables: Pair it with roasted vegetables like broccoli, asparagus, or sweet potatoes.
- Rice or Quinoa: Serve it with rice or quinoa for a complete and balanced meal.
Frequently Asked Questions (FAQ)
How long does it take to cook chicken breast in an air fryer?
Typically, it takes about 8-12 minutes at 375°F (190°C), flipping halfway through. The exact time depends on the thickness of the chicken and the air fryer model. Always use a meat thermometer to ensure the internal temperature reaches 165°F (74°C).
Can I use frozen chicken breast in the air fryer?
Yes, but it’s best to thaw it completely first. This ensures even cooking and prevents the chicken from becoming dry.
Do I need to use oil in the air fryer?
While you can cook chicken breast without oil, a light coating of oil helps to crisp the outside and prevent sticking.
How do I prevent the chicken from drying out?
Pound the chicken to an even thickness, brine or marinate it beforehand, and don’t overcook it. Using a meat thermometer is the best way to ensure it reaches the correct internal temperature.
Can I reheat air fryer chicken breast?
Yes, you can reheat it in the air fryer at 350°F (175°C) for a few minutes, or until heated through. Be careful not to overcook it, as it can become dry.
What if my air fryer doesn’t have a preheat setting?
Simply turn on the air fryer for a few minutes before adding the chicken. This will help to ensure even cooking.
Can I cook multiple chicken breasts at once?
Yes, but don’t overcrowd the basket. Cook in batches if necessary to ensure the chicken is cooked evenly and gets crispy.