Cheesy Beef Stuffed Shells: The Ultimate Comfort Food Recipe Cheesy Beef Stuffed Shells are the epitome of comfort food. Giant pasta shells overflowing with a savory beef and cheese filling, smothered in marinara sauce and baked to golden perfection – what’s not to love? This classic dish is perfect for family dinners, potlucks, or any…
Cheesy Beef Stuffed Shells: The Ultimate Comfort Food Recipe
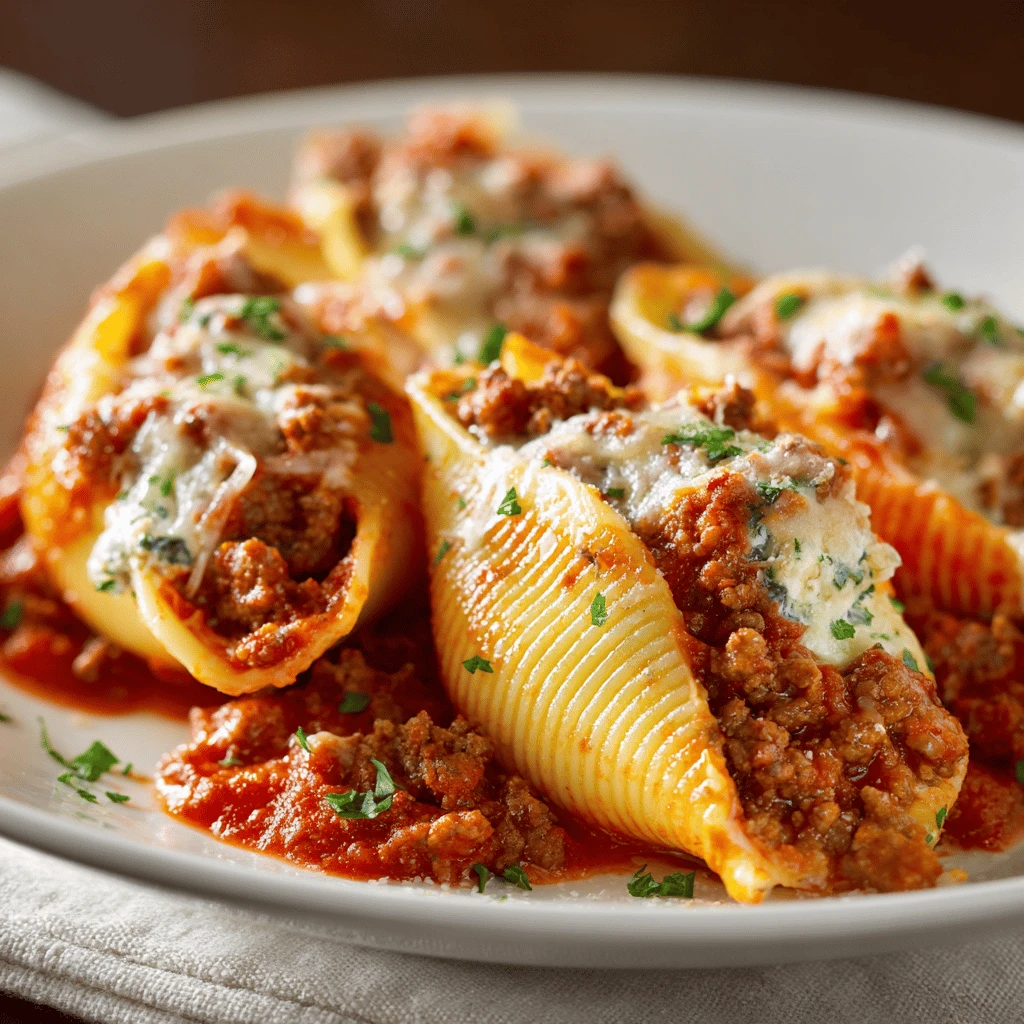
Cheesy Beef Stuffed Shells are the epitome of comfort food. Giant pasta shells overflowing with a savory beef and cheese filling, smothered in marinara sauce and baked to golden perfection – what’s not to love? This classic dish is perfect for family dinners, potlucks, or any occasion where you want to impress with minimal effort. This recipe delivers a delicious, satisfying meal that’s sure to become a family favorite.
The Anatomy of Perfect Stuffed Shells
The key to truly great stuffed shells lies in the quality of each component and how they come together. Let’s break down each part to ensure you achieve culinary success.
Choosing the Right Pasta Shells
Not all jumbo shells are created equal. Look for high-quality pasta shells that are large and sturdy. Avoid shells that are cracked or broken, as these will be difficult to stuff and may fall apart during cooking. Cooking the shells al dente is crucial. Overcooked shells will become mushy and lose their shape, while undercooked shells will be too firm to stuff. Boil them until they are pliable but still hold their shape, then drain them immediately and rinse with cool water to stop the cooking process. Lightly coat them with olive oil to prevent sticking.
Crafting the Savory Beef Filling
The beef filling is where the flavor explosion happens. Use a good quality ground beef with a moderate fat content. Lean ground beef can be a bit dry, so a blend of 80/20 or 85/15 will provide a richer, more flavorful filling. Brown the beef thoroughly and drain off any excess fat. Adding aromatics like onion and garlic to the beef while it’s browning will build a deeper flavor profile. Consider including other vegetables like bell peppers or mushrooms for added texture and nutrients. The cheese component is vital. Ricotta cheese provides a creamy base, while Parmesan and mozzarella cheese add sharpness and meltability. Don’t be afraid to experiment with other cheeses like provolone or Asiago for a unique twist. Season generously with salt, pepper, Italian seasoning, and a pinch of red pepper flakes for a little kick. A touch of egg helps bind the filling together, preventing it from becoming too loose and ensuring it stays in the shells during baking.
Selecting the Perfect Sauce
The sauce is the glue that holds everything together. A good quality marinara sauce is essential. You can use a store-bought sauce or make your own from scratch. If using store-bought, look for a sauce with a rich tomato flavor and minimal added sugar. For a homemade sauce, simmer crushed tomatoes, tomato paste, garlic, onion, and Italian herbs for at least 30 minutes to allow the flavors to meld. You can also add a splash of red wine or balsamic vinegar for extra depth. Spread a thin layer of sauce on the bottom of the baking dish to prevent the shells from sticking and to ensure they are evenly coated. After the shells are stuffed, generously spoon the remaining sauce over the top, making sure to cover them completely.
Step-by-Step Guide to Making Cheesy Beef Stuffed Shells
This recipe is designed to be straightforward and easy to follow. With a little preparation, you’ll have a comforting and delicious meal on the table in no time.
Ingredients You’ll Need
- 1 (12-ounce) package jumbo pasta shells
- 1 pound ground beef
- 1 medium onion, chopped
- 2 cloves garlic, minced
- 1 (15-ounce) container ricotta cheese
- 1 cup shredded mozzarella cheese
- ½ cup grated Parmesan cheese
- 1 large egg, lightly beaten
- 1 teaspoon Italian seasoning
- Salt and pepper to taste
- 1 (24-ounce) jar marinara sauce
- Olive oil
Bringing It All Together
1. Cook the Pasta: Bring a large pot of salted water to a boil. Add the pasta shells and cook al dente according to package directions. Drain and rinse with cold water. Toss with a little olive oil to prevent sticking.
2. Prepare the Beef Filling: In a large skillet, brown the ground beef over medium-high heat. Drain off any excess fat. Add the chopped onion and cook until softened, about 5 minutes. Add the minced garlic and cook for another minute until fragrant.
3. Combine the Filling Ingredients: In a large bowl, combine the cooked ground beef mixture, ricotta cheese, mozzarella cheese, Parmesan cheese, egg, Italian seasoning, salt, and pepper. Mix well until everything is evenly distributed.
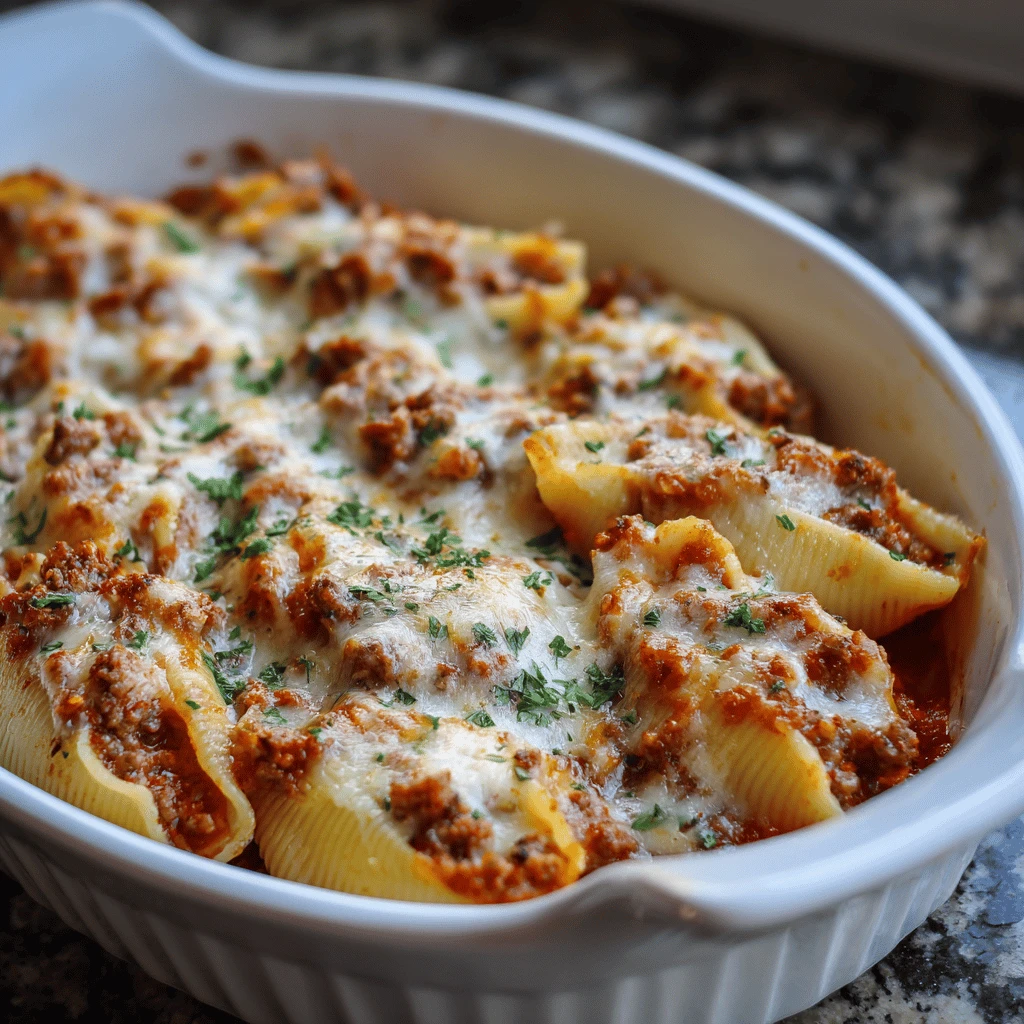
4. Stuff the Shells: Preheat oven to 375°F (190°C). Spread a thin layer of marinara sauce on the bottom of a 9×13 inch baking dish. Using a spoon or your fingers, carefully stuff each cooked pasta shell with the beef and cheese mixture. Arrange the stuffed shells in the baking dish, seam side up.
5. Bake to Perfection: Pour the remaining marinara sauce over the stuffed shells, making sure they are well covered. Bake for 25-30 minutes, or until the sauce is bubbly and the cheese is melted and lightly browned.
6. Rest and Serve: Let the stuffed shells rest for a few minutes before serving. This allows the sauce to thicken slightly and the flavors to meld together even further. Garnish with fresh parsley or basil, if desired.
Tips and Tricks for Stuffed Shell Success
Want to take your stuffed shells to the next level? Here are some insider tips and tricks to help you achieve perfect results every time.
Elevating the Flavor Profile
- Add Fresh Herbs: Incorporate fresh herbs like basil, oregano, or parsley into the beef filling or sprinkle them on top of the finished dish for a burst of freshness.
- Use Different Cheeses: Experiment with different types of cheeses in the filling. Provolone, Asiago, or even a little bit of goat cheese can add unique flavor dimensions.
- Spice It Up: Add a pinch of red pepper flakes or a dash of hot sauce to the beef filling for a little bit of heat.
- Roast the Vegetables: Roasting the onions, garlic, and other vegetables before adding them to the beef filling will enhance their sweetness and deepen their flavor.
Streamlining the Cooking Process
- Make Ahead: The beef filling can be made ahead of time and stored in the refrigerator for up to 24 hours. This is a great way to break up the cooking process and save time on busy weeknights.
- Freeze for Later: Stuffed shells freeze beautifully. Assemble the shells in the baking dish, but don’t bake them. Wrap the dish tightly with plastic wrap and then foil, and freeze for up to 3 months. When ready to bake, thaw in the refrigerator overnight and bake as directed.
- Use a Piping Bag: For easier and neater stuffing, transfer the beef filling to a piping bag fitted with a large round tip. This allows you to quickly and easily fill each shell without making a mess.
Dealing with Common Problems
- Shells Sticking Together: To prevent the cooked pasta shells from sticking together, toss them with a little olive oil after draining.
- Filling Too Dry: If the beef filling seems too dry, add a little bit of marinara sauce or ricotta cheese to moisten it up.
- Sauce Too Thin: If the marinara sauce is too thin, simmer it over low heat for a few minutes to allow it to thicken. You can also add a tablespoon of tomato paste for extra body.
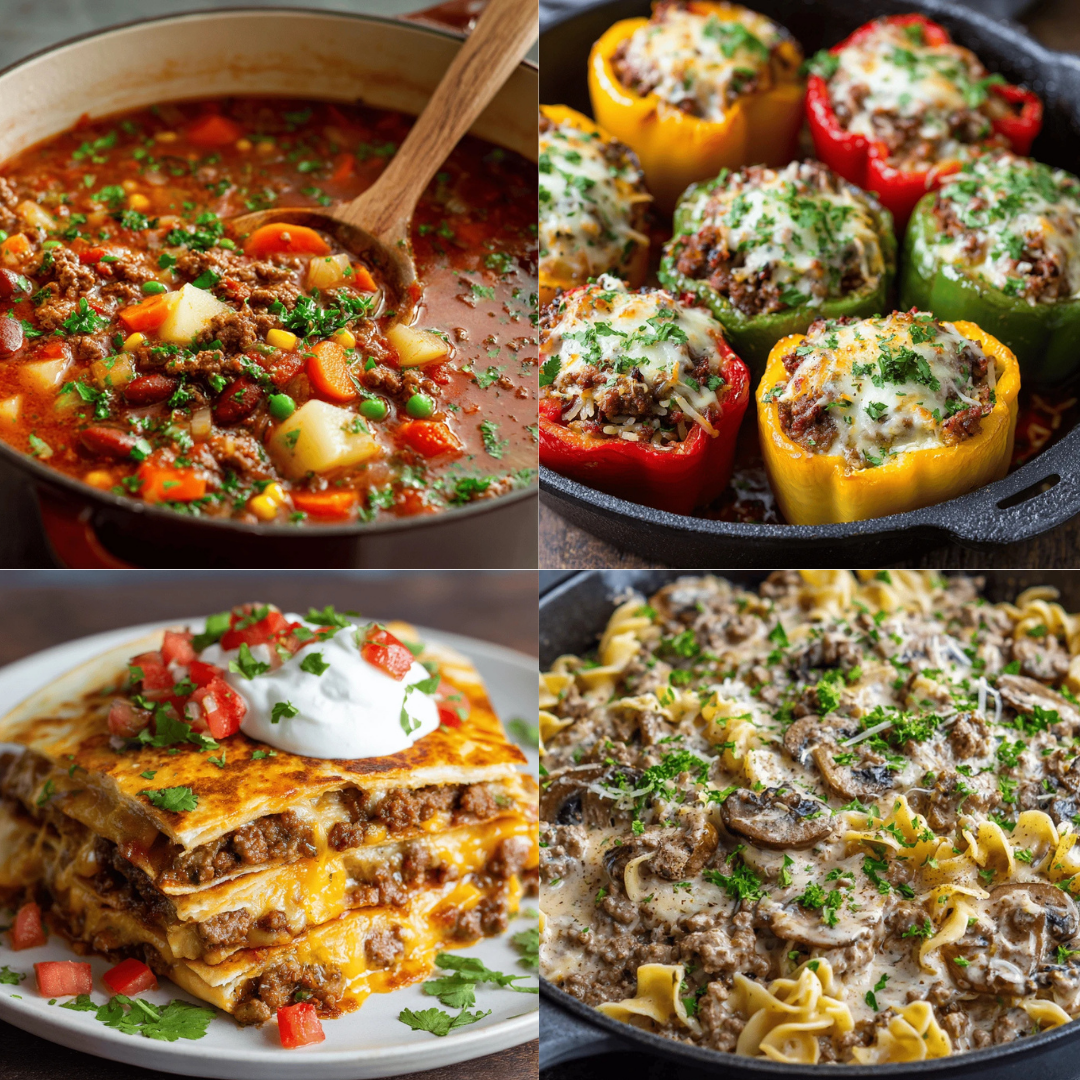
Variations and Adaptations
One of the best things about stuffed shells is their versatility. You can easily customize the recipe to suit your preferences and dietary needs.
Vegetarian Stuffed Shells
Replace the ground beef with vegetables like spinach, mushrooms, zucchini, and bell peppers for a delicious vegetarian version. Sauté the vegetables until softened and then combine them with the ricotta cheese, mozzarella cheese, Parmesan cheese, and seasonings. You can also add cooked lentils or beans for extra protein.
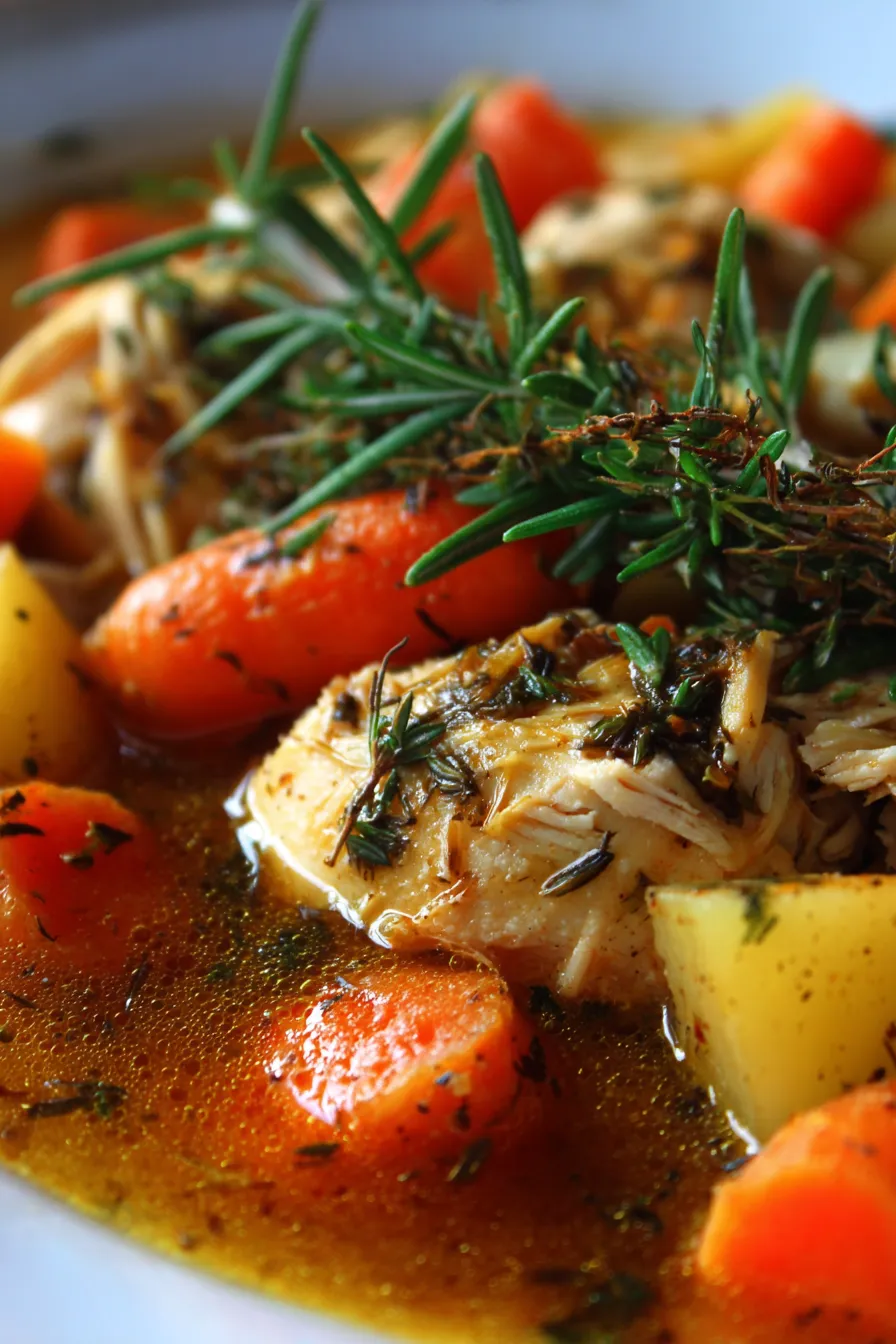
Chicken Stuffed Shells
Substitute shredded cooked chicken for the ground beef. This is a great way to use up leftover chicken or rotisserie chicken.
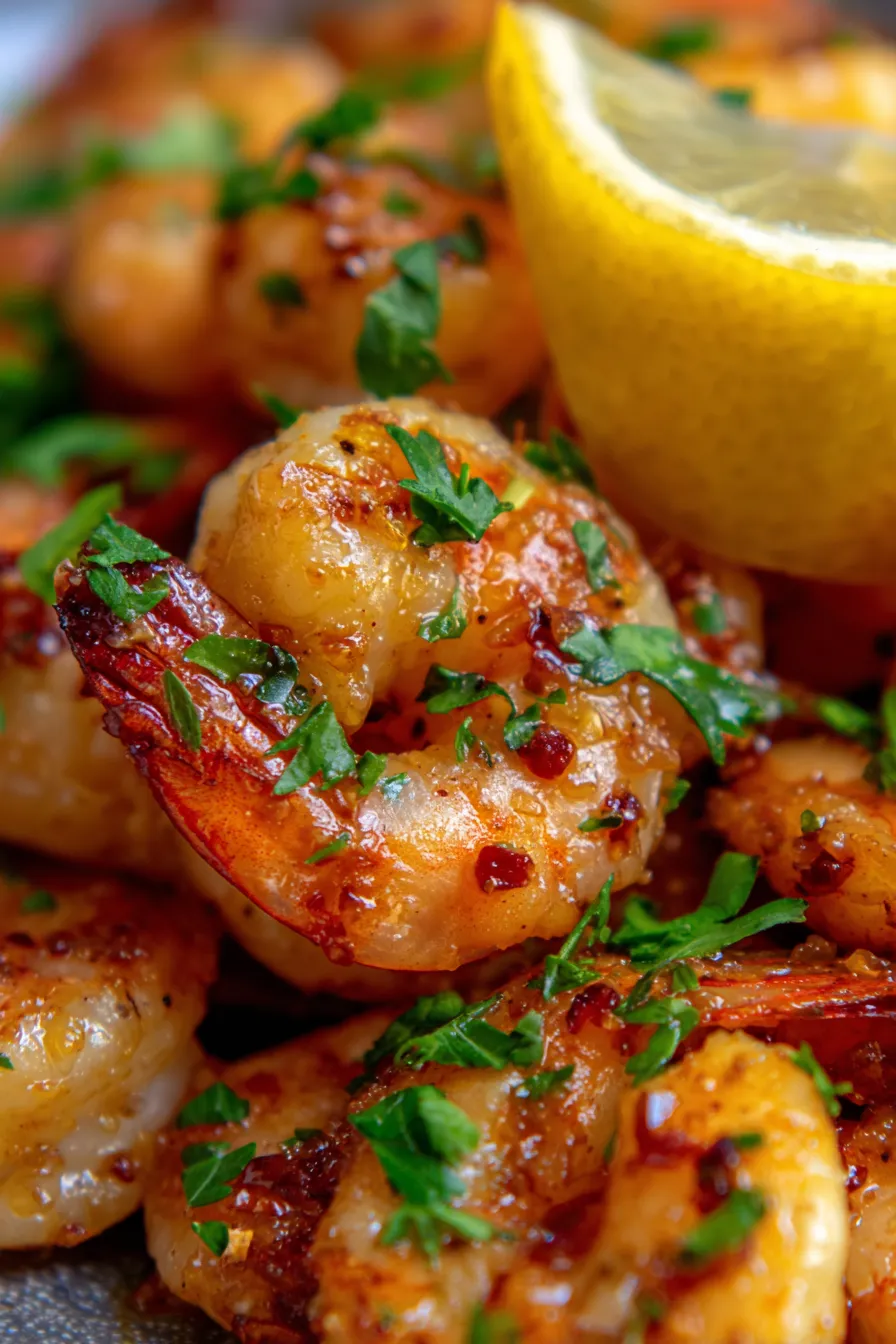
Seafood Stuffed Shells
Use cooked shrimp, scallops, or crabmeat instead of ground beef for a decadent seafood version. Combine the seafood with the ricotta cheese, mozzarella cheese, Parmesan cheese, and seasonings. Add a squeeze of lemon juice for extra brightness.
Gluten-Free Stuffed Shells
Use gluten-free pasta shells to make this dish gluten-free. There are many high-quality gluten-free pasta options available on the market.
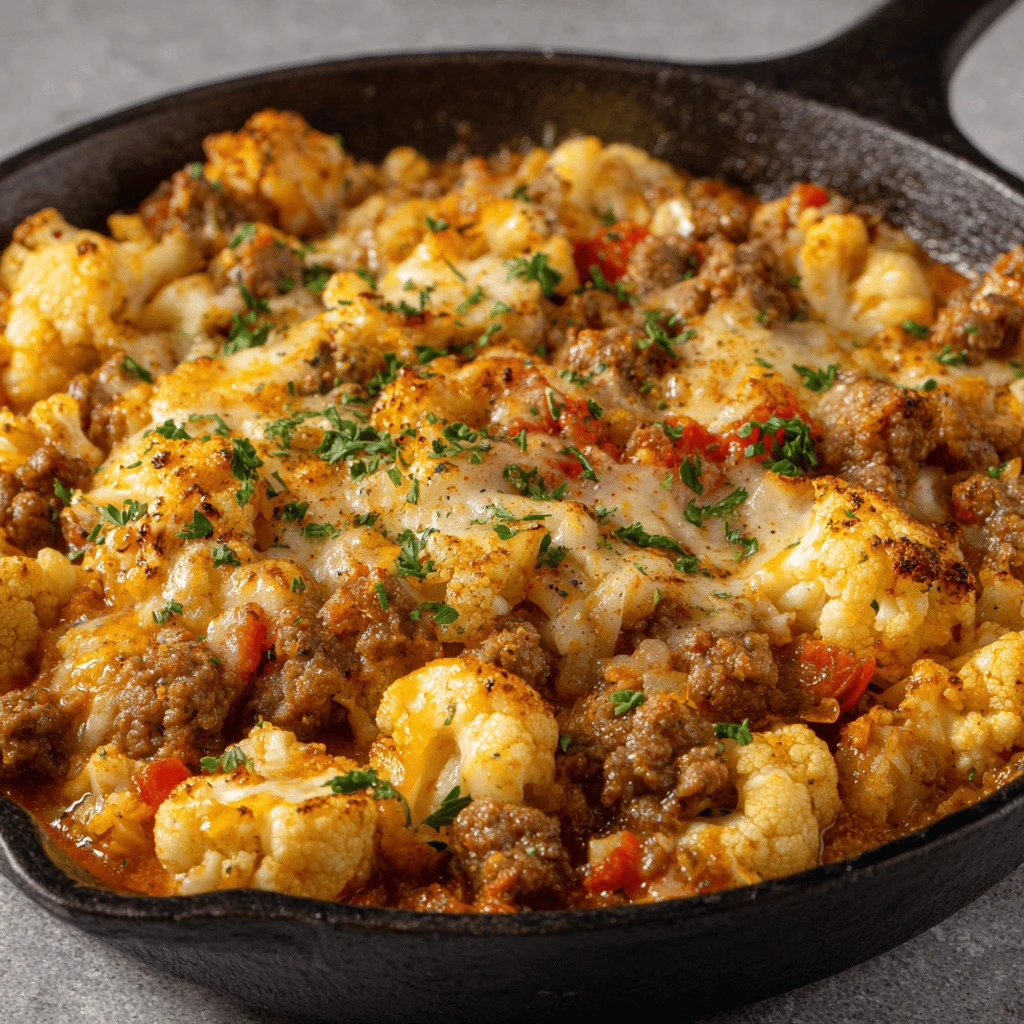
Low-Carb Stuffed Shells
Replace the pasta shells with zucchini slices or eggplant slices for a low-carb version. Slice the zucchini or eggplant lengthwise into thin strips and blanch them in boiling water for a few seconds to soften them. Then, use the slices to wrap the beef filling and bake as directed.

Frequently Asked Questions (FAQs)
- Can I use frozen ground beef? Yes, you can use frozen ground beef. Just make sure to thaw it completely before cooking.
- Can I make this ahead of time? Yes, you can assemble the shells in the baking dish, but don’t bake them. Cover tightly and refrigerate for up to 24 hours. Add about 10 minutes to the baking time.
- Can I freeze stuffed shells? Yes, stuffed shells freeze well. Assemble the shells in the baking dish, but don’t bake them. Wrap tightly with plastic wrap and foil, and freeze for up to 3 months. Thaw overnight in the refrigerator before baking.
- How do I prevent the shells from sticking together? Toss the cooked shells with a little olive oil after draining.
- What can I serve with stuffed shells? Stuffed shells are delicious with a simple green salad, garlic bread, or roasted vegetables.
- How do I reheat stuffed shells? You can reheat stuffed shells in the oven at 350°F (175°C) for about 20 minutes, or until heated through. You can also reheat them in the microwave.
- Can I use cottage cheese instead of ricotta cheese? While ricotta is preferable for its smooth texture, you can use well-drained cottage cheese as a substitute. Just make sure to blend it until smooth to mimic the texture of ricotta.