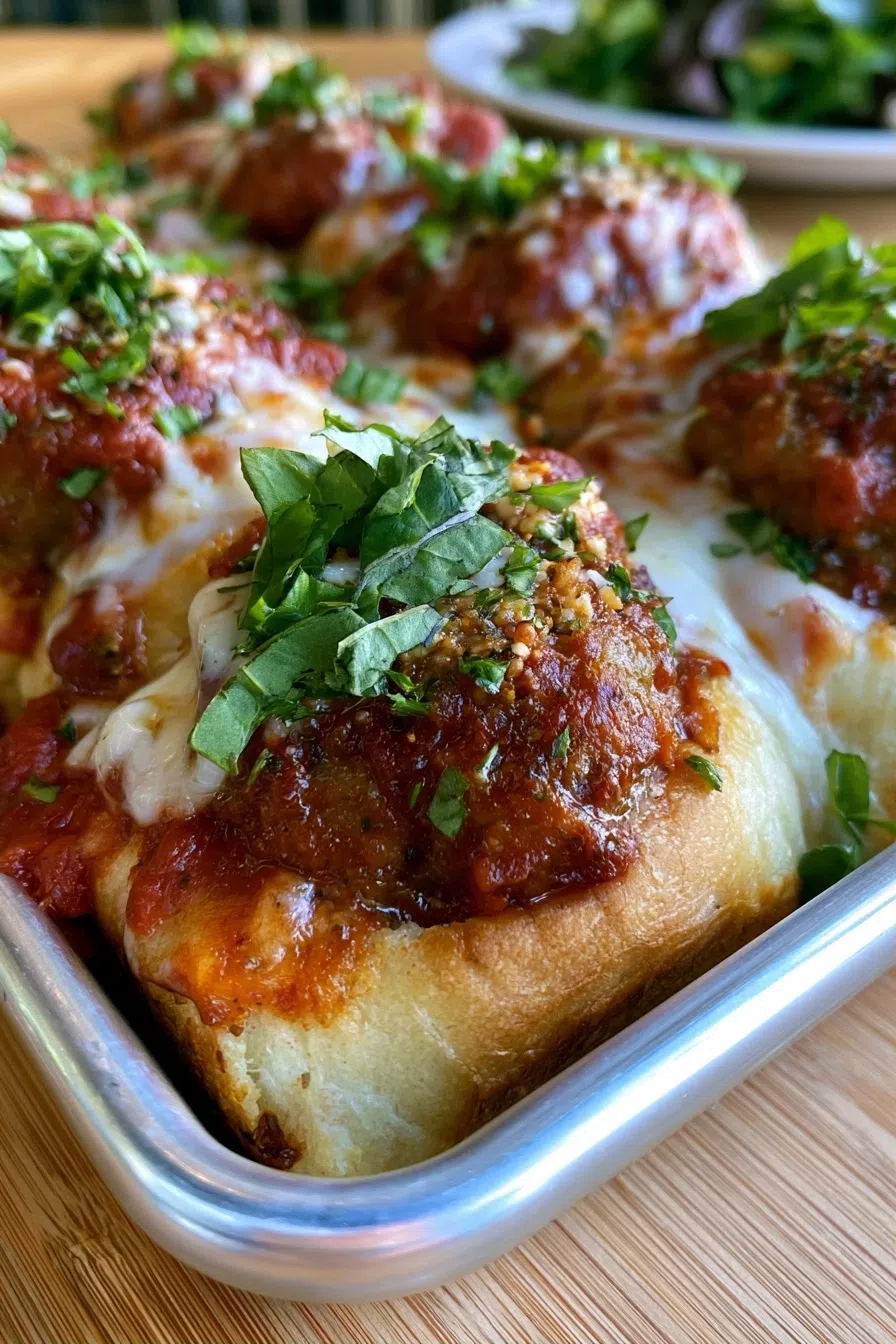
Easy Pull-Apart Meatball Sliders The aroma of sizzling meatballs and melted cheese still fills my heart with joy, reminding me of the Easy Pull-Apart Meatball Sliders I made for my family last Sunday. I recall a sunny afternoon, standing in my cozy kitchen, surrounded by the sights and smells of freshly baked bread and simmering…
Easy Pull-Apart Meatball Sliders
The aroma of sizzling meatballs and melted cheese still fills my heart with joy, reminding me of the Easy Pull-Apart Meatball Sliders I made for my family last Sunday.
I recall a sunny afternoon, standing in my cozy kitchen, surrounded by the sights and smells of freshly baked bread and simmering marinara sauce, as I carefully crafted each meatball with love and care.
As I took my first bite, the combination of flavors and textures was pure magic, and I knew in that moment, this Easy Pull-Apart Meatball Sliders quickly became a cherished family favorite.
Why You’ll Love This Easy Pull-Apart Meatball Sliders
- Tender, juicy meatballs that simply melt in your mouth
- A rich, tangy flavor profile that will leave you craving more
- Ready in under 30 minutes, perfect for a quick weeknight dinner
- Foolproof recipe that’s easy to follow and requires minimal ingredients
- Perfect for casual gatherings, parties, or special occasions
Ingredients You’ll Need
- 1 pound ground beef
- 1/2 cup breadcrumbs
- 1 egg
- 1/4 cup grated Parmesan cheese
- 1/4 cup chopped fresh parsley
- 2 cloves garlic, minced
- 1/2 teaspoon salt
- 1/4 teaspoon black pepper
- 1/4 teaspoon Italian seasoning
- 8-10 hamburger buns
- 4 tablespoons marinara sauce
- 4 ounces mozzarella cheese, sliced
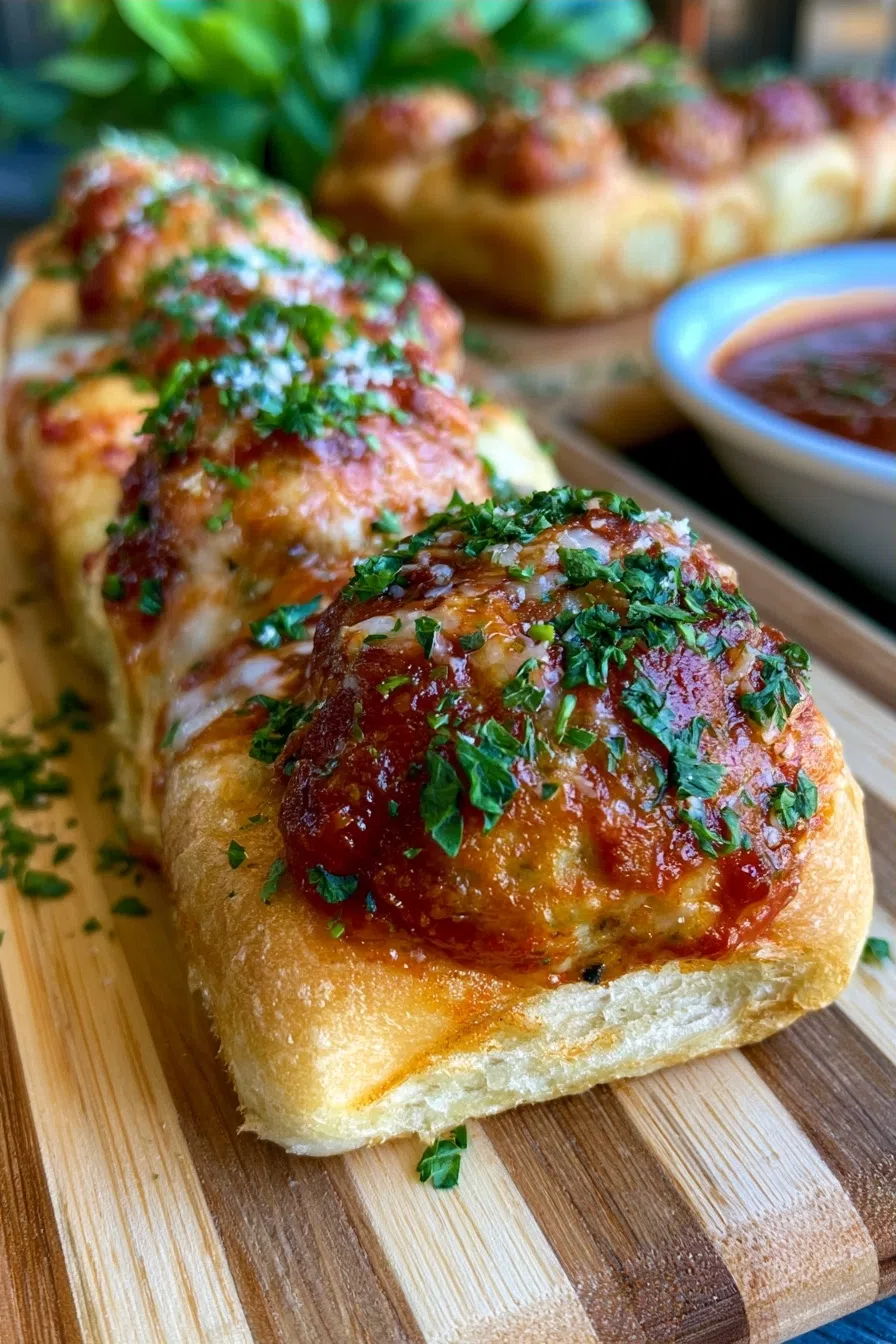
The star of the show is undoubtedly the meatballs, made with a combination of ground beef, pork, and a blend of aromatic spices that will fill your kitchen with an irresistible aroma. The soft, fluffy bread and melted mozzarella cheese add a nice textural contrast to each bite.
Expert Tips for the Best Easy Pull-Apart Meatball Sliders
- Don’t overmix the meat mixture, as it can lead to tough meatballs – instead, mix the ingredients just until they come together in a cohesive ball.
- A common mistake is overcooking the meatballs, which can make them dry and flavorless – cook them until they’re just cooked through and still juicy.
- For an extra burst of flavor, try adding some chopped fresh parsley or basil to the meat mixture before cooking.
- When the meatballs are cooked through, they should be lightly browned on the outside and firm to the touch.
- You can make the meatballs ahead of time and store them in the fridge for up to a day, then simply reheat them in the oven or microwave when you’re ready to serve.
Variations and Substitutions
To make this recipe gluten-free, simply substitute the bread with a gluten-free alternative, such as a gluten-free bun or a portobello mushroom cap. For a protein swap, try using ground turkey or chicken instead of beef and pork. For a bold flavor twist, add some diced onions or bell peppers to the meat mixture for added flavor and texture.
How to Store and Reheat
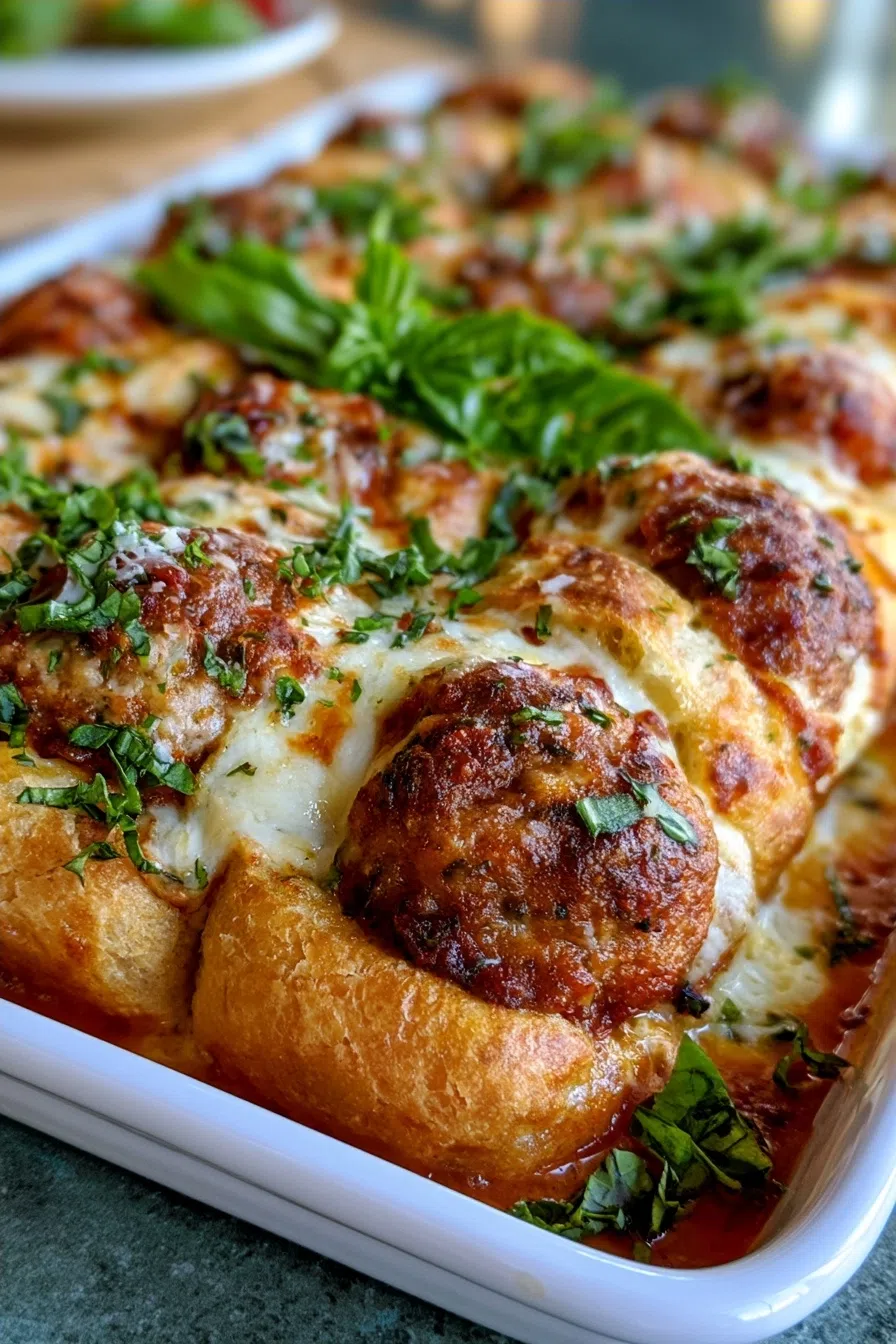
These sliders can be stored in the fridge for up to 3 days, either assembled or disassembled, and reheated in the oven or microwave when you’re ready to serve. Simply place the sliders on a baking sheet and bake at 350°F for 10-12 minutes, or until the cheese is melted and the meatballs are heated through. To freeze, place the cooked meatballs in a single layer on a baking sheet and freeze until solid, then transfer to a freezer-safe bag or container for up to 2 months.
Frequently Asked Questions
Can I make these sliders ahead of time?
Yes, you can make the meatballs ahead of time and store them in the fridge for up to a day, then simply reheat them in the oven or microwave when you’re ready to serve. You can also assemble the sliders and store them in the fridge for up to a day, then bake or microwave until the cheese is melted and the meatballs are heated through.
How do I prevent the meatballs from drying out?
To prevent the meatballs from drying out, make sure not to overcook them, and keep them moist by covering them with marinara sauce or a similar liquid. You can also try adding some extra moisture to the meat mixture, such as a little bit of milk or eggs, to help keep the meatballs juicy.
Can I freeze the sliders for later?
Yes, you can freeze the cooked meatballs for up to 2 months, then simply thaw and reheat when you’re ready to serve. You can also assemble the sliders and freeze them, then bake or microwave until the cheese is melted and the meatballs are heated through.
I hope you enjoy making and devouring these Easy Pull-Apart Meatball Sliders as much as my family and I do – they’re the perfect comfort food for any occasion. So go ahead, get cooking, and let the delicious aromas and flavors transport you to a place of warmth and happiness!
Meatball Sliders
🧂 Ingredients
👩🍳 Instructions
-
1Preheat the oven to 400°F (200°C).
-
2In a large bowl, combine ground beef, breadcrumbs, egg, Parmesan cheese, parsley, garlic, salt, pepper, and Italian seasoning. Mix well with your hands until just combined.
-
3Use your hands to shape the mixture into small meatballs, about 1 1/2 inches (3.8 cm) in diameter. Place the meatballs on a baking sheet lined with parchment paper.
-
4Bake the meatballs in the preheated oven for 12-15 minutes, or until cooked through.
-
5Meanwhile, split the hamburger buns in half and toast them in the oven for 2-3 minutes, or until lightly browned.
-
6Transfer the meatballs to the toasted buns, then spoon marinara sauce over the meatballs.
-
7Top each slider with a slice of mozzarella cheese and return to the oven for 1-2 minutes, or until the cheese is melted and bubbly.
-
8Serve immediately and enjoy!