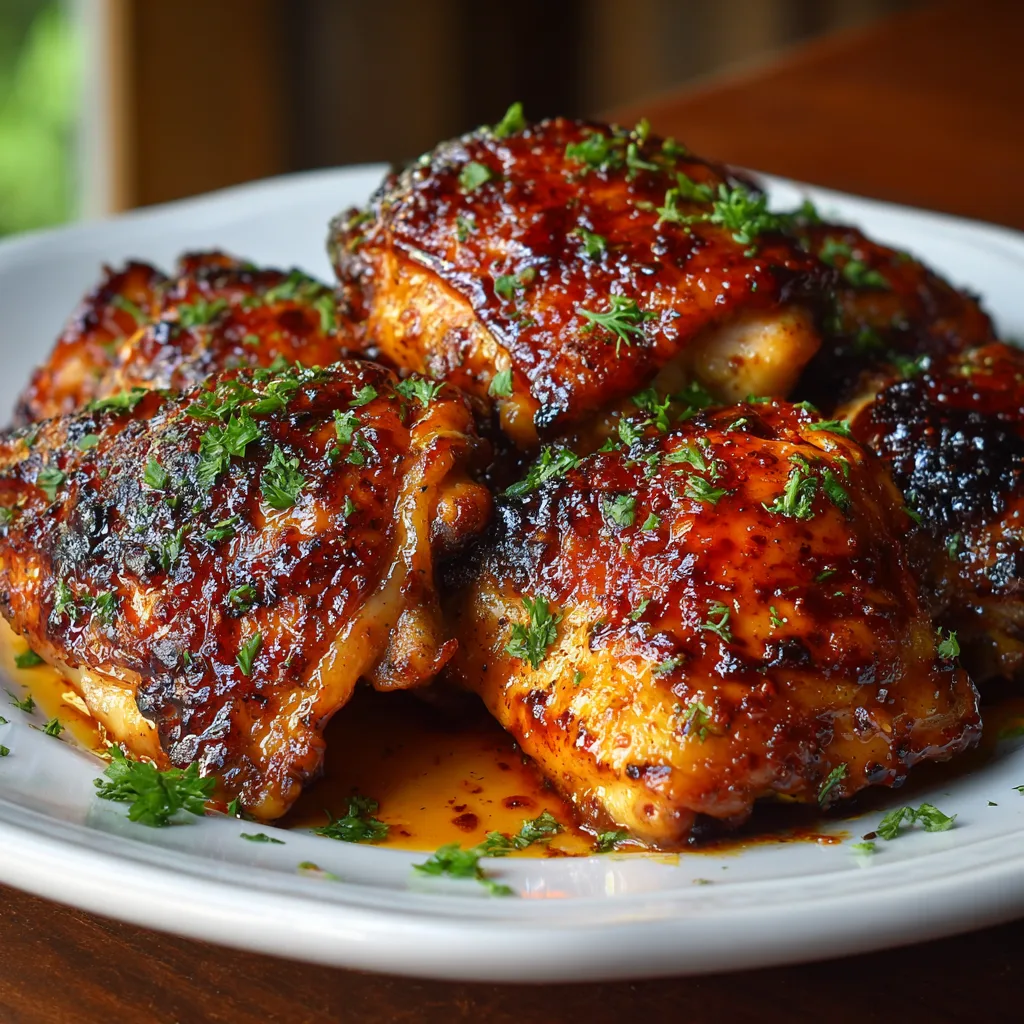
Few dishes encapsulate the joy of home cooking and classic American flavor quite like Honey BBQ Chicken Thighs. This isn’t just a simple weeknight meal; it’s a culinary staple where the richness of dark meat meets a sticky, caramelized glaze that perfectly balances sweet, tangy, and smoky notes. Whether roasted to crispy perfection in the…
Few dishes encapsulate the joy of home cooking and classic American flavor quite like Honey BBQ Chicken Thighs. This isn’t just a simple weeknight meal; it’s a culinary staple where the richness of dark meat meets a sticky, caramelized glaze that perfectly balances sweet, tangy, and smoky notes. Whether roasted to crispy perfection in the oven or charred over an open flame on the grill, the high fat content of the chicken thigh ensures a result that is supremely juicy and nearly impossible to overcook, making it the ideal canvas for a thick, honey-infused barbecue sauce. Follow this definitive recipe to achieve finger-licking success every time.
Ingredients
For the Chicken and Dry Rub
-
8 bone-in, skin-on chicken thighs (about 3 lbs total)
-
1 tablespoon smoked paprika
-
1 teaspoon garlic powder
-
1 teaspoon onion powder
-
1 teaspoon kosher salt
-
½ teaspoon black pepper
-
½ teaspoon chili powder (optional, for a slight kick)
-
1 tablespoon olive oil (for roasting)
For the Honey BBQ Glaze
-
1 cup quality store-bought BBQ sauce (your preferred style: smoky or tangy)
-
¼ cup pure honey
-
1 tablespoon apple cider vinegar (for tang and balance)
-
1 teaspoon Worcestershire sauce
-
1 teaspoon minced garlic (or ½ teaspoon garlic powder)
-
1 tablespoon unsalted butter
Step-by-Step Instructions: Oven-Roasted Method
This method delivers consistently crispy skin and a deep, caramelized glaze without relying on a grill.
1. Prepare and Season the Chicken (Prep Time: 15 minutes)
-
Pat Dry: The most critical step. Use paper towels to thoroughly pat the chicken thighs dry, especially the skin. Moisture is the enemy of crispy skin.
-
Mix Rub: In a small bowl, combine the smoked paprika, garlic powder, onion powder, salt, pepper, and chili powder (if using).
-
Season: Drizzle the chicken thighs with olive oil, then rub the seasoning mixture generously over all surfaces, including under the skin. Place the seasoned chicken on a wire rack set over a foil-lined baking sheet. This ensures air circulates around the meat, preventing the bottom from steaming.
2. Roast the Chicken (Cook Time: 30 minutes)
-
Initial Bake: Preheat your oven to 425°F (220°C). Place the baking sheet with the chicken in the oven and roast for 25 to 30 minutes. This high heat helps render the fat and crisp the skin before the sauce is applied.
3. Prepare and Apply the Glaze (Glaze Time: 10 minutes)
-
Make Sauce: While the chicken is roasting, prepare the glaze. In a small saucepan over medium-low heat, melt the butter. Add the minced garlic and cook for about 30 seconds until fragrant (do not let it brown). Stir in the BBQ sauce, honey, apple cider vinegar, and Worcestershire sauce. Simmer gently for 5 minutes, stirring occasionally, until slightly thickened. Remove from heat.
-
First Glaze: After the chicken has roasted for 25-30 minutes, remove it from the oven. Brush the tops and sides generously with the honey BBQ glaze.
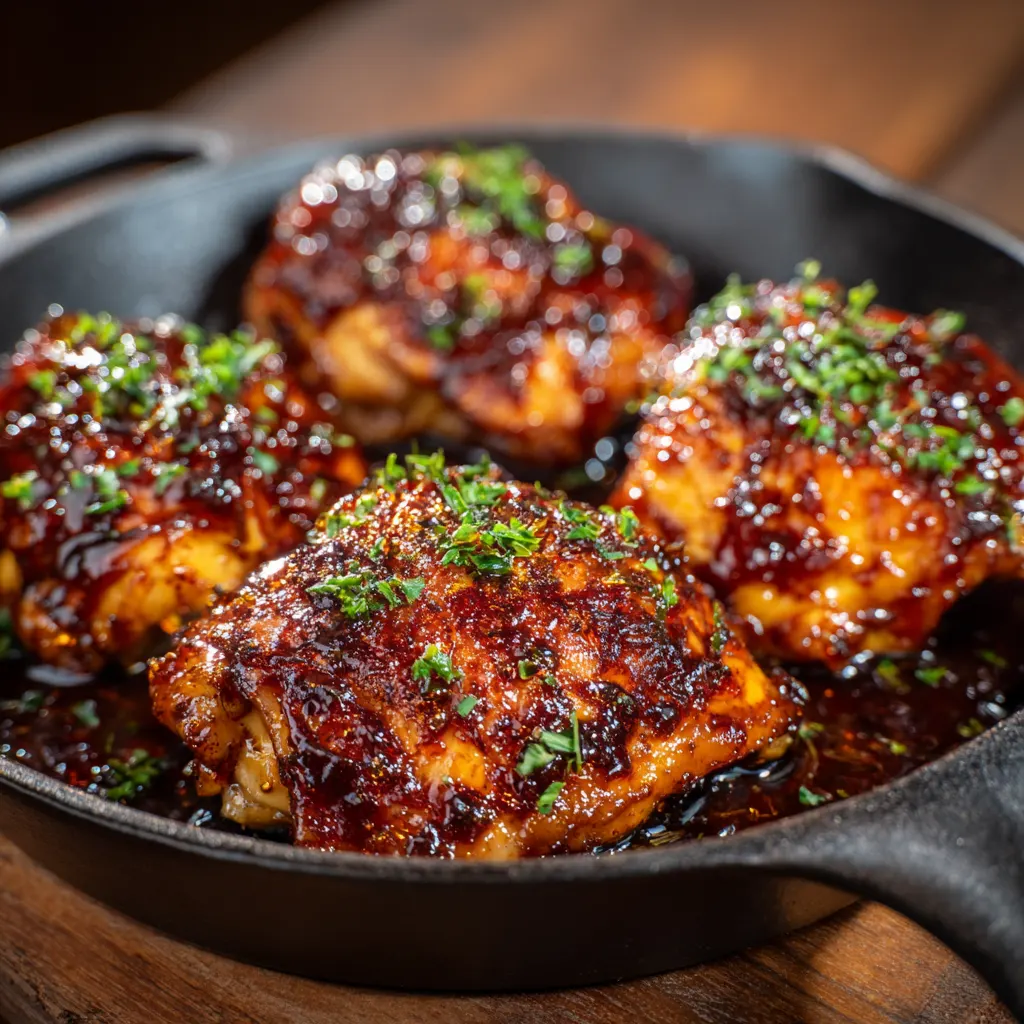
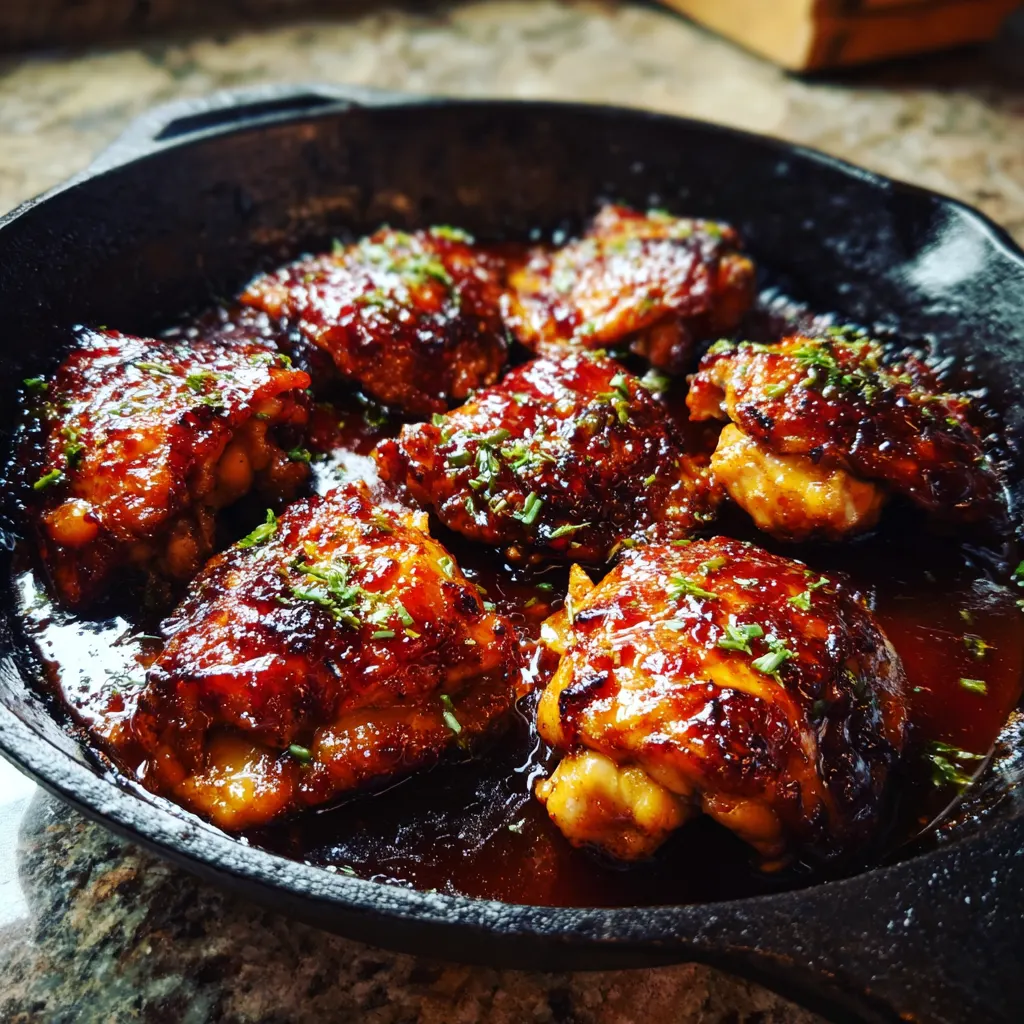
-
Final Bake: Return the chicken to the oven and cook for an additional 5-10 minutes. The glaze should be bubbling, sticky, and deeply caramelized.
4. Finish and Serve (Rest Time: 5-10 minutes)
-
Check Temperature: The chicken is done when an instant-read thermometer inserted into the thickest part of the thigh (avoiding the bone) registers at least 175°F (80°C). Cooking thighs to a higher temperature (up to 185°F/85°C) breaks down the connective tissue, resulting in fall-off-the-bone tenderness.
-
Rest: Remove the chicken from the pan and let it rest for 5-10 minutes. This allows the juices to redistribute, locking in moisture. Serve with extra sauce on the side for dipping.
The Superiority of the Thigh
While many chicken recipes default to the breast, the dark meat of the chicken thigh is undeniably the best choice when dealing with high-sugar sauces and high-heat cooking. The key lies in its composition: dark meat contains more fat and connective tissue than white meat.
First, the higher fat content acts as a natural safeguard against drying out. Unlike chicken breast, which can turn dry and chalky if cooked just a few degrees past 165°F (74°C), the thigh remains moist and juicy even when cooked up to 185°F (85°C). This extra temperature tolerance is crucial for two reasons: it allows time for the skin to fully crisp, and it provides a margin of error when basting and caramelizing the sticky sauce.
Second, the connective tissue (collagen) begins to dissolve and convert into rich, gelatinous moisture around 170°F (77°C). By cooking the thigh past the minimum safety threshold of 165°F, you are not only ensuring safety but actively improving the texture, transforming the meat into a tender, succulent morsel that pulls easily from the bone. This inherent resilience makes the chicken thigh the true hero of any robust, slow-cooked, or barbecued dish.
Grill Master Glaze: Outdoor Cooking Techniques
Taking Honey BBQ Chicken Thighs to the grill introduces an incomparable smoky flavor, but requires precision to avoid burning the sugary glaze. The professional approach utilizes a two-zone heat system.
Setting Up Two-Zone Heat On a gas grill, turn one burner to high and leave the adjacent burner off (or on low). On a charcoal grill, pile the coals on one side of the lower grate. This creates a hot, direct heat zone for searing and a cooler, indirect heat zone for cooking through and glazing.
The Grilling Process
-
Sear (Direct Heat): Start the seasoned chicken thighs (skin-side down if applicable) over the direct, high-heat zone. Sear for 4–5 minutes per side. This develops deep color and crisp texture. If using bone-in thighs, watch carefully for flare-ups from dripping fat and be prepared to move the chicken immediately.
-
Cook (Indirect Heat): Once seared, move the chicken to the cooler, indirect heat zone. Close the lid and allow the chicken to cook slowly for 15–20 minutes. This gentle cooking ensures the inside reaches the target temperature without burning the outside.
-
Glaze (Final Minutes): This is the moment of truth. During the last 5 minutes of cooking, open the grill and generously brush the honey BBQ glaze onto the chicken. Flip the thighs and brush the glaze onto the other side. Close the lid for a few minutes to allow the sauce to set and caramelize.
-
Final Check: Use an instant-read thermometer to confirm the internal temperature is at least 175°F (80°C). Remove the chicken from the heat as soon as it’s done. Applying the sauce late in the process is the key to achieving a sticky, non-burnt exterior.
The Art of the Sauce: Building Depth of Flavor
While the core of the recipe is simple—chicken, BBQ sauce, and honey—the true culinary difference lies in optimizing these elements. Great Honey BBQ chicken is built in layers: a flavor-packed dry rub beneath the skin, and an enhanced glaze on top.
Enhancing the Dry Rub A great dry rub should penetrate the meat and provide a foundational layer of savory, smoky flavor that stands up to the sweetness of the glaze. Essential components include:
-
Smoked Paprika: Adds color and a crucial smoky note, especially if you are oven-roasting.
-
Aromatics: Garlic and onion powders create an all-over savory depth.
-
Heat (Optional): A pinch of cayenne pepper, red pepper flakes, or chipotle powder can introduce a subtle “sweet heat” contrast, elevating the dish from simply sweet to complexly flavored. The Hot Honey variation (mixing honey with sliced chili peppers, cayenne, and a touch of acid) is a popular upgrade that provides this exciting sweet-and-spicy dynamic.
Upgrading the Glaze Even if using a high-quality store-bought BBQ sauce, the glaze benefits immensely from simple additions:
-
Acid: The apple cider vinegar and Worcestershire sauce listed in the core recipe are non-negotiable. They cut through the richness of the meat and the intense sweetness of the honey, preventing the final product from tasting cloyingly sweet.
-
Fat: Melting butter into the glaze adds a glossy richness and superior mouthfeel, helping the sauce adhere better to the chicken’s surface during the final cooking stage.
-
Fresh Aromatics: Sautéing minced fresh garlic or ginger before adding the sauce base ensures these flavors are fully awakened and incorporated into the final glaze, providing more character than simple garlic powder alone.
Serving, Storing, and Side Pairings
A successful meal is often defined by its accompaniments. Honey BBQ Chicken Thighs are rich and sticky, meaning they pair best with sides that offer texture, acidity, or a cool contrast.
Perfect Pairings
-
Cool and Crisp: Classic coleslaw (vinegar-based or creamy) provides a necessary tang and crunch, cleansing the palate between bites of sticky chicken.
-
Starchy Staples: Baked mac and cheese, creamy garlic parmesan potatoes, or classic potato salad are hearty, comforting complements that match the backyard barbecue vibe.
-
Green & Fresh: A simple garden salad tossed in a light vinaigrette, or grilled vegetables like asparagus and zucchini, offer a refreshing, slightly charred counterpoint to the sweetness of the honey glaze.
-
Breads: Warm cornbread, dinner rolls, or toasted brioche buns (for turning the leftovers into sandwiches) are ideal for soaking up the residual sauce and meat juices.
Food Safety and Storage
The single most important rule in cooking chicken is achieving the correct internal temperature. Always use an instant-read thermometer. While 165°F (74°C) is the minimum for safety, aim for 175°F to 185°F (80°C to 85°C) for chicken thighs to guarantee that signature tender, juicy texture. Never rely on color or cooking time alone.
Store leftover cooked chicken thighs in an airtight container in the refrigerator for up to 3-4 days.
Reheating Tips To revive the sticky skin and avoid a soggy texture, reheat the chicken in a preheated oven or air fryer rather than the microwave.
-
Oven: Place chicken on a baking sheet and heat at 350°F (175°C) for 10-15 minutes, or until warmed through.
-
Air Fryer: Heat at 375°F (190°C) for 4-6 minutes for superior crispness. You can brush on a little extra fresh glaze before reheating for a renewed, sticky finish.