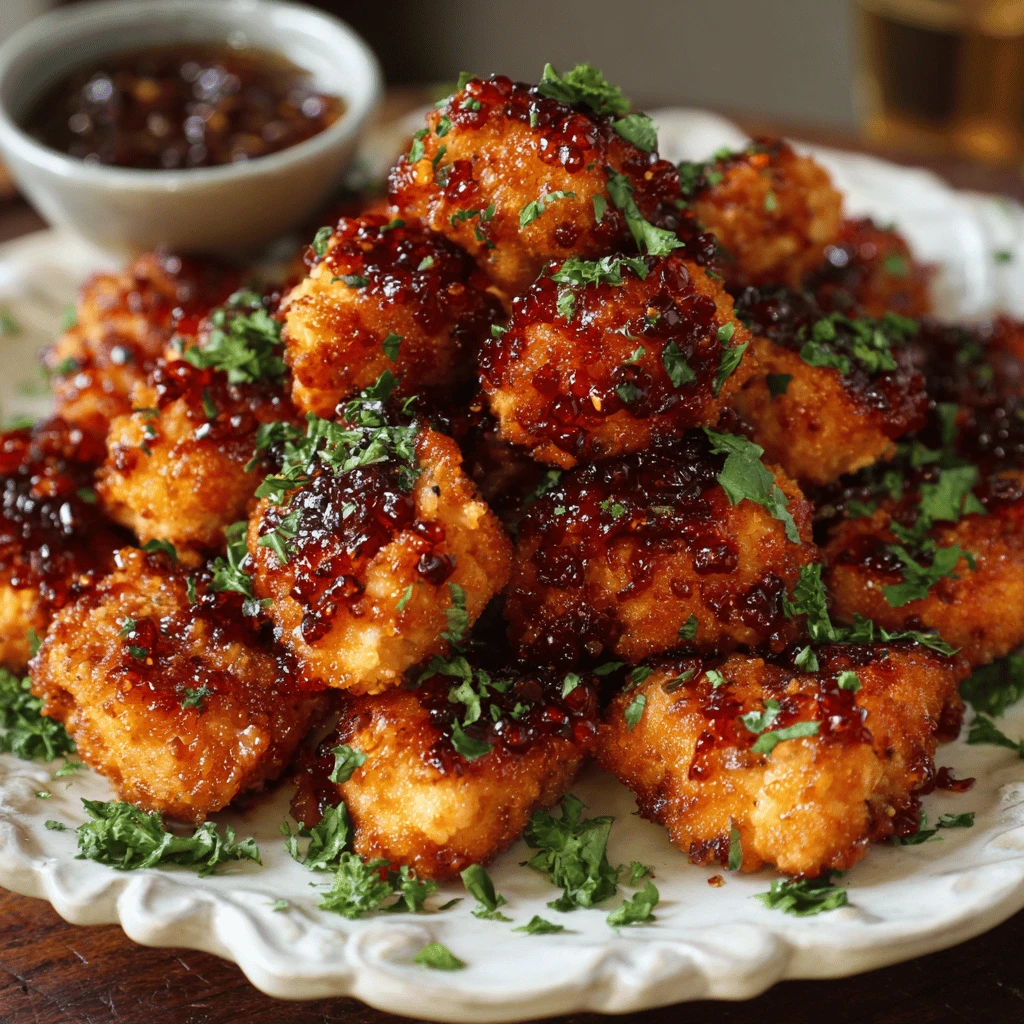
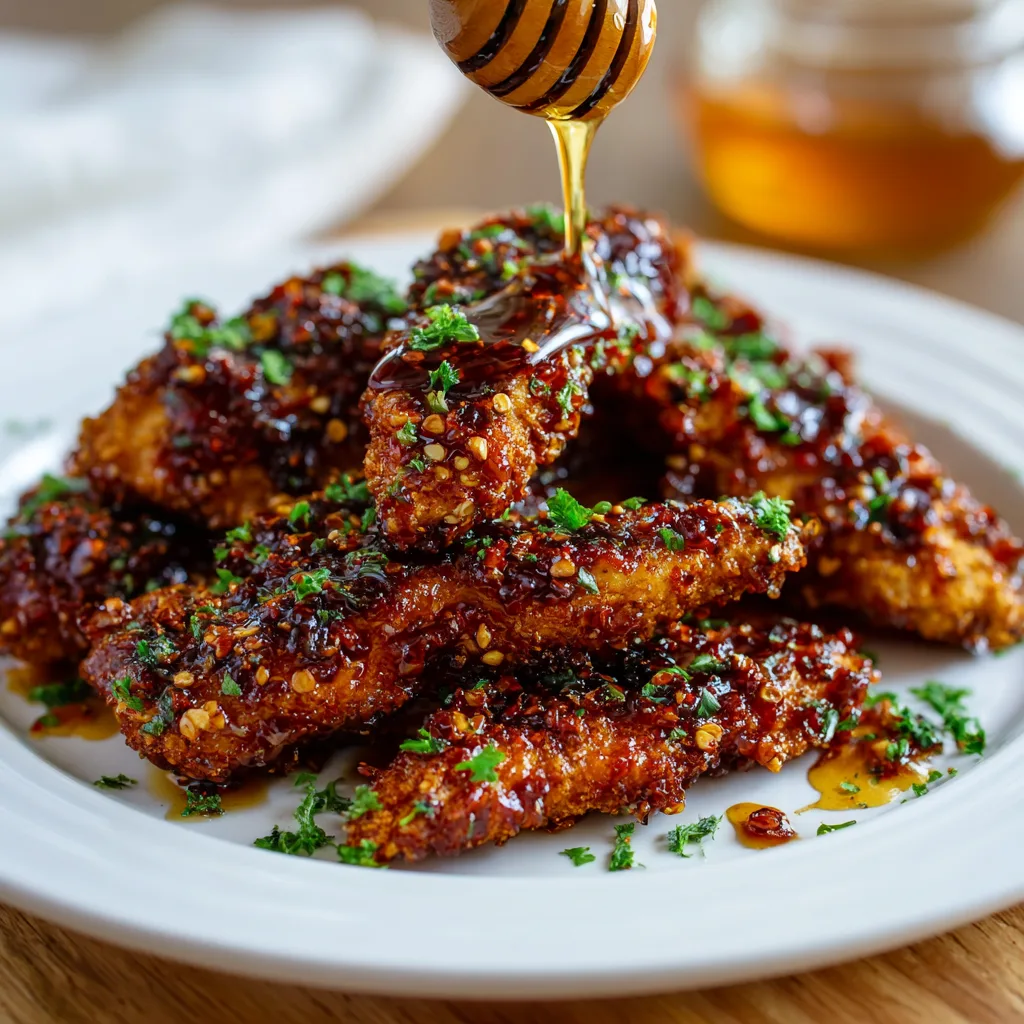
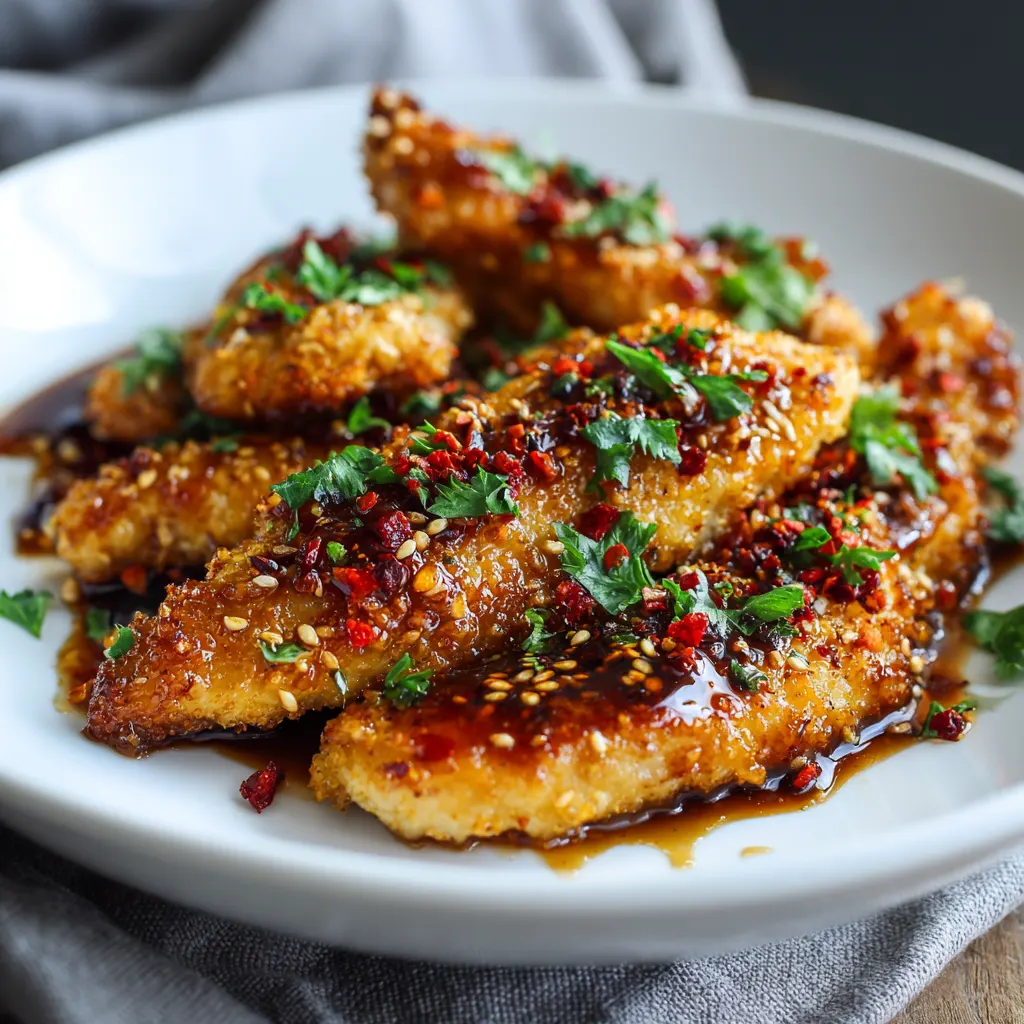
This recipe transforms simple chicken tenders into a deeply satisfying, restaurant-quality meal, featuring a captivating balance of sweet honey, pungent garlic, and a fiery kick. The secret lies in achieving an ultra-crispy crust on the chicken before tossing it in a rich, caramelized glaze. This dish is designed to be highly addictive, perfect for a…
This recipe transforms simple chicken tenders into a deeply satisfying, restaurant-quality meal, featuring a captivating balance of sweet honey, pungent garlic, and a fiery kick. The secret lies in achieving an ultra-crispy crust on the chicken before tossing it in a rich, caramelized glaze. This dish is designed to be highly addictive, perfect for a weeknight dinner, game day appetizer, or a flavor-packed centerpiece served over fluffy rice. It’s a guaranteed crowd-pleaser that delivers complexity without requiring hours in the kitchen.
Ingredients
For the Chicken & Marinade
-
1.5 lbs chicken tenderloins
-
1 cup buttermilk (or 1 cup milk mixed with 1 tbsp white vinegar or lemon juice)
-
1 tsp kosher salt
-
½ tsp black pepper
-
1 tsp garlic powder
For the Crispy Coating
-
1 cup all-purpose flour
-
½ cup cornstarch (or potato starch)
-
1 tbsp smoked paprika
-
1 tsp onion powder
-
½ tsp cayenne pepper (optional, for extra heat)
-
1 tsp salt
-
½ tsp black pepper
-
Vegetable or canola oil, for frying
For the Spicy Honey Garlic Glaze
-
4 tbsp unsalted butter
-
6 cloves fresh garlic, minced
-
¼ cup low-sodium soy sauce (or coconut aminos)
-
½ cup honey
-
2 tbsp hot sauce (such as Sriracha or Frank’s Red Hot) OR 1 tbsp Gochujang (Korean chili paste)
-
1 tbsp rice vinegar (or apple cider vinegar)
-
1 tsp red pepper flakes (optional, for garnish or extra heat)
For Garnish (Optional)
-
1 tbsp sesame seeds, toasted
-
2 tbsp chopped green onion or fresh parsley
Step-by-Step Instructions
1. Marinate the Chicken (30 minutes minimum):
In a large bowl, whisk together the buttermilk, salt, pepper, and garlic powder for the marinade. Add the chicken tenders, ensuring they are fully submerged. Cover and refrigerate for a minimum of 30 minutes, or up to 4 hours for maximum tenderness.
2. Prepare the Coating:
In a wide, shallow bowl, whisk together the flour, cornstarch, paprika, onion powder, cayenne pepper (if using), salt, and black pepper.
3. Dredge the Chicken:
Working one piece at a time, remove a chicken tender from the buttermilk marinade, allowing the excess to drip off. Immediately transfer it to the dry coating mixture and press firmly to ensure the dredge adheres completely. Lay the coated tenders on a wire rack set over a baking sheet. Allow them to rest for 10-15 minutes at room temperature; this step helps the coating adhere and prevents it from falling off during frying.
4. Cook the Tenders (Frying Method):
In a large, deep skillet or cast-iron pan, add enough oil to reach about 1/2 inch depth. Heat the oil over medium-high heat until it reaches 350°F (175°C). Working in batches, carefully place 4-6 tenders into the hot oil, ensuring you do not overcrowd the pan. Fry for 3-4 minutes per side until they are golden brown, crispy, and cooked through (internal temperature of 165°F / 74°C). Transfer the cooked tenders back to the wire rack to drain excess oil.
5. Make the Glaze:
In a separate small saucepan, melt the butter over medium heat. Add the minced garlic and sauté for 30 seconds until fragrant—be careful not to burn it. Pour in the soy sauce, honey, hot sauce (or Gochujang), and rice vinegar. Bring the mixture to a gentle simmer, stirring constantly for 1-2 minutes until the sauce slightly thickens into a glossy glaze. Remove from heat.
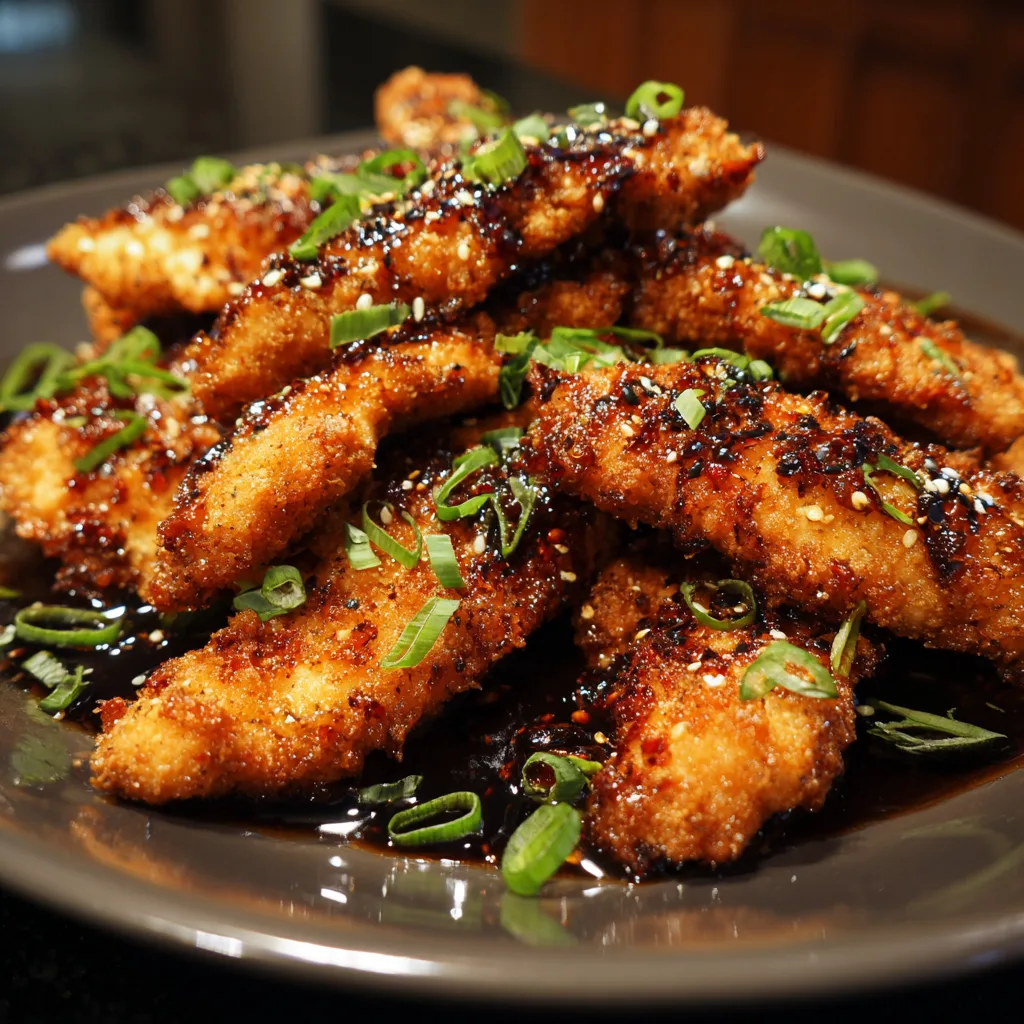
6. Toss and Serve:
In a large bowl, or the same skillet (after wiping out the oil), pour the warm glaze over the crispy chicken tenders. Toss quickly and gently until every piece is coated in the sticky, caramelized sauce. Garnish immediately with toasted sesame seeds and chopped green onion. Serve hot.
Mastering the Crispy Texture: Techniques for Perfect Chicken Tenders
The hallmark of a truly great chicken tender dish is its texture—a moist interior housed within an audibly crunchy exterior. Achieving this balance is crucial, especially when incorporating a sticky sauce that can easily turn the chicken soggy. By employing specific techniques, you can ensure your tenders hold their crispness right up to the last bite.
The Power of the Buttermilk Brine
While often overlooked in quick recipes, brining or marinating the chicken tenders in a mixture of buttermilk, salt, and seasonings serves three vital purposes:
-
Tenderization: The lactic acid in buttermilk gently breaks down the proteins in the chicken, resulting in exceptionally tender and juicy meat.
-
Moisture: Buttermilk helps the chicken retain moisture, protecting it from drying out during the high-heat cooking process.
-
Adhesion: The thick, slightly tacky coating left by the marinade acts as the perfect “glue” for the dry dredge, which is essential for developing a rugged, crispy crust.
The Double-Dredge Difference
For maximum crunch, the coating needs structural integrity. A simple flour coating often falls flat. By incorporating cornstarch (or potato starch) into the dry mix, you introduce a starch that browns beautifully and remains crispier longer than flour alone.
The 10-15 minute rest period after dredging is another professional trick. As the coated chicken rests on the wire rack, the moisture from the marinade slowly hydrates the flour-starch crust, creating a firmer, more stable shell. This process, often called “setting the crust,” prevents the coating from sloughing off when it hits the hot oil.
Deconstructing the Glaze: Achieving Sweet, Savory, and Spicy Harmony
The spicy honey garlic glaze is the soul of this recipe. It must be sticky enough to coat the chicken without turning the crisp coating into a wet mess, and perfectly balanced across the sweet, savory, and spicy flavor spectrum.
The Essential Flavor Pillars
-
The Sweetener (Honey): Honey is preferred over sugar or syrup because its unique chemical structure caramelizes at a lower temperature, resulting in a rich, glossy, and beautifully sticky finish. It also has floral notes that complement the savory ingredients.
-
The Savory & Umami (Soy Sauce & Butter): Low-sodium soy sauce is critical for deep, savory umami and saltiness. Unsalted butter, added at the beginning, serves two purposes: it facilitates sautéing the garlic without burning and adds luxurious richness, helping to emulsify the glaze and give it a smoother mouthfeel.
-
The Aromatics (Fresh Garlic): Use freshly minced garlic. It is imperative to sauté the garlic for only 30 seconds to a minute; cooking it too long will result in a bitter, burned flavor that will ruin the delicate balance of the sauce.
-
The Acid (Vinegar): Rice vinegar (or apple cider vinegar) provides the essential bright tang that cuts through the intense sweetness of the honey and the richness of the butter, preventing the dish from tasting heavy or cloying.
Mastering the Spice Profile
The term “Spicy” is subjective, and this recipe allows for complete customization depending on the desired heat level and flavor profile:
-
Korean Profile (Deep Umami Heat): Use Gochujang (Korean chili paste). This paste is fermented, offering a complex, smoky, and slightly sweet heat. It instantly elevates the sauce with layered umami.
-
Classic Buffalo-Style Heat: Use a cayenne-based hot sauce, like Frank’s Red Hot or Tabasco, combined with a touch of Cayenne Pepper in the dredge. This results in a cleaner, vinegar-driven heat that pairs well with dipping sauces like blue cheese.
-
Asian Chili Heat: Use Chili Garlic Sauce or a simple dusting of Red Pepper Flakes simmered in the sauce. This provides a visible, direct, and controllable heat.
To ensure the ideal consistency, allow the glaze to simmer for just 1-2 minutes. Over-simmering will result in a glaze that is too thick and hardens upon cooling, while under-simmering leaves it too runny to coat the tenders properly.
Customization and Versatile Serving Suggestions
This recipe is incredibly versatile, allowing you to adapt the core flavor profile to suit various tastes, proteins, and dietary needs.
Protein and Cut Alternatives
While chicken tenderloins are the star, the glaze and coating work equally well on other meats:
-
Chicken Thighs: Boneless, skinless chicken thighs can be cut into strips. Thighs are more forgiving than breasts, staying juicier even if slightly overcooked.
-
Shrimp: Large shrimp can be lightly coated in cornstarch and pan-fried quickly (1-2 minutes per side) before being tossed in the glaze.
-
Tofu: For a vegetarian option, press extra-firm tofu, cube it, and toss it in cornstarch before pan-frying or air frying until crispy.
-
Wings: The glaze is perfectly suited for chicken wings. Fry or bake the wings first until fully cooked and crispy, then toss them in the warm sauce.
Dietary Swaps and Adjustments
-
Gluten-Free: Substitute the all-purpose flour in the dredge with gluten-free flour blend (with xanthan gum) or use a combination of rice flour and cornstarch. Use Tamari or coconut aminos instead of soy sauce.
-
Lower Sodium: Ensure you use low-sodium soy sauce or coconut aminos. Use kosher salt sparingly in the marinade and dredge, and rely on the glaze’s other flavors for impact.
-
Non-Dairy: Replace buttermilk with a non-dairy milk alternative (like oat or almond) mixed with acid. Use oil instead of butter in the glaze, or opt for a non-dairy butter substitute.
Pairing for a Complete Meal
The intense flavor of the tenders needs simple, balancing side dishes:
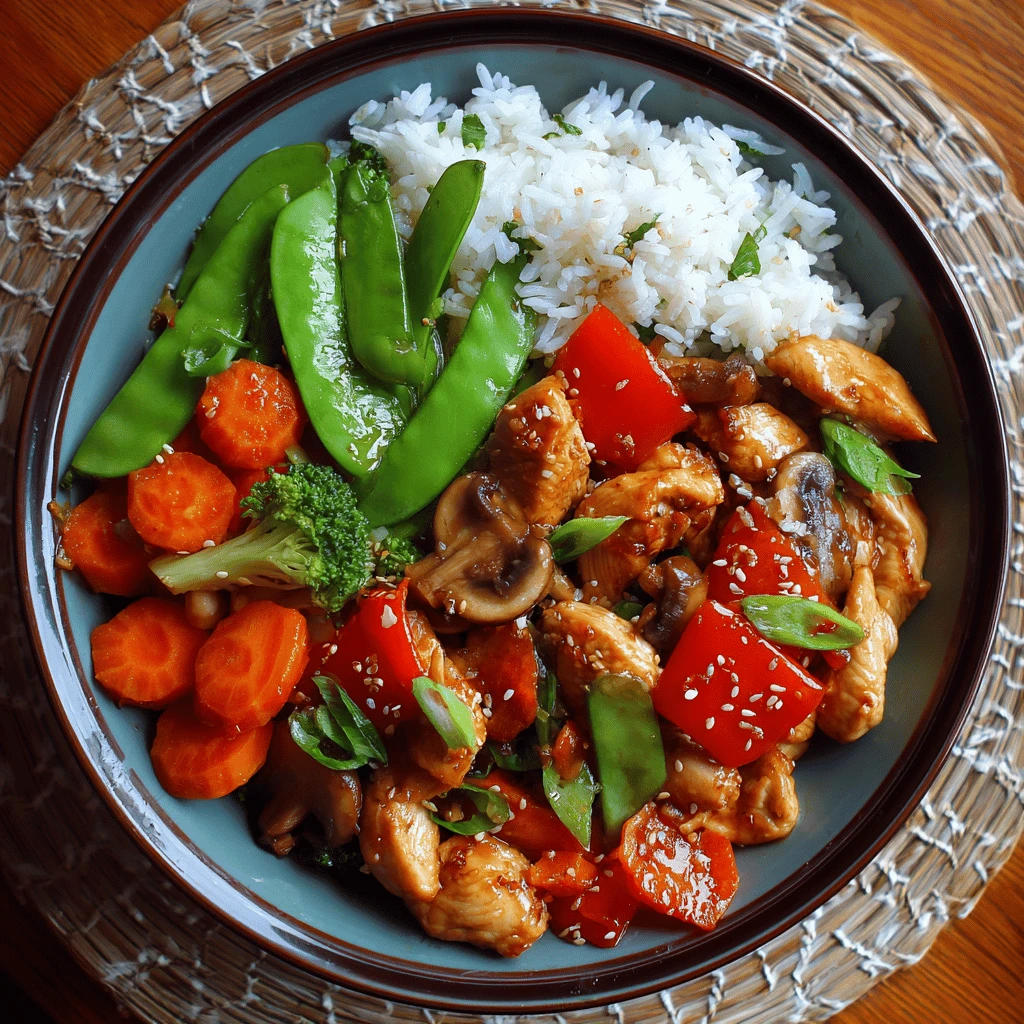
-
Starch: Serve over a bed of fluffy Jasmine Rice or Cauliflower Rice to soak up the residual glaze. Alternatively, pair with Sesame Noodles or simple Garlic Butter Pasta.
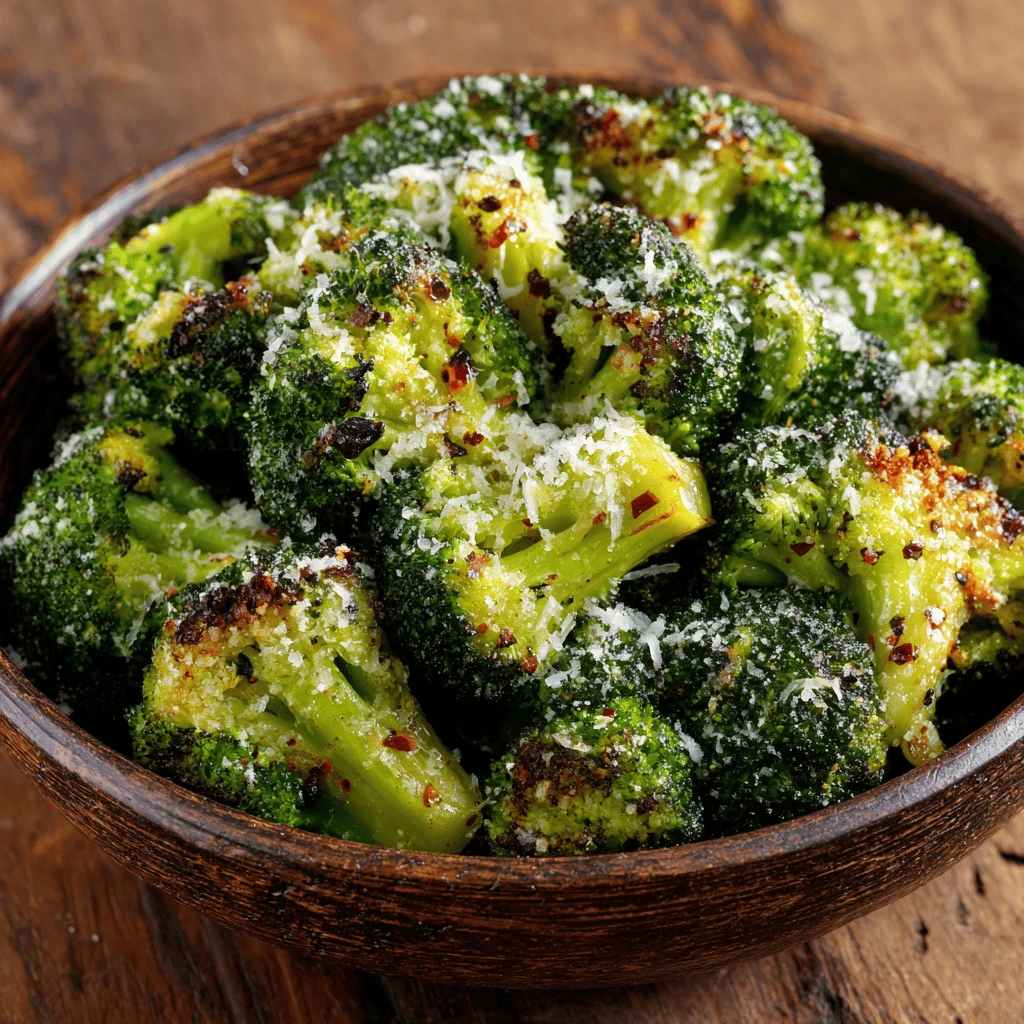
-
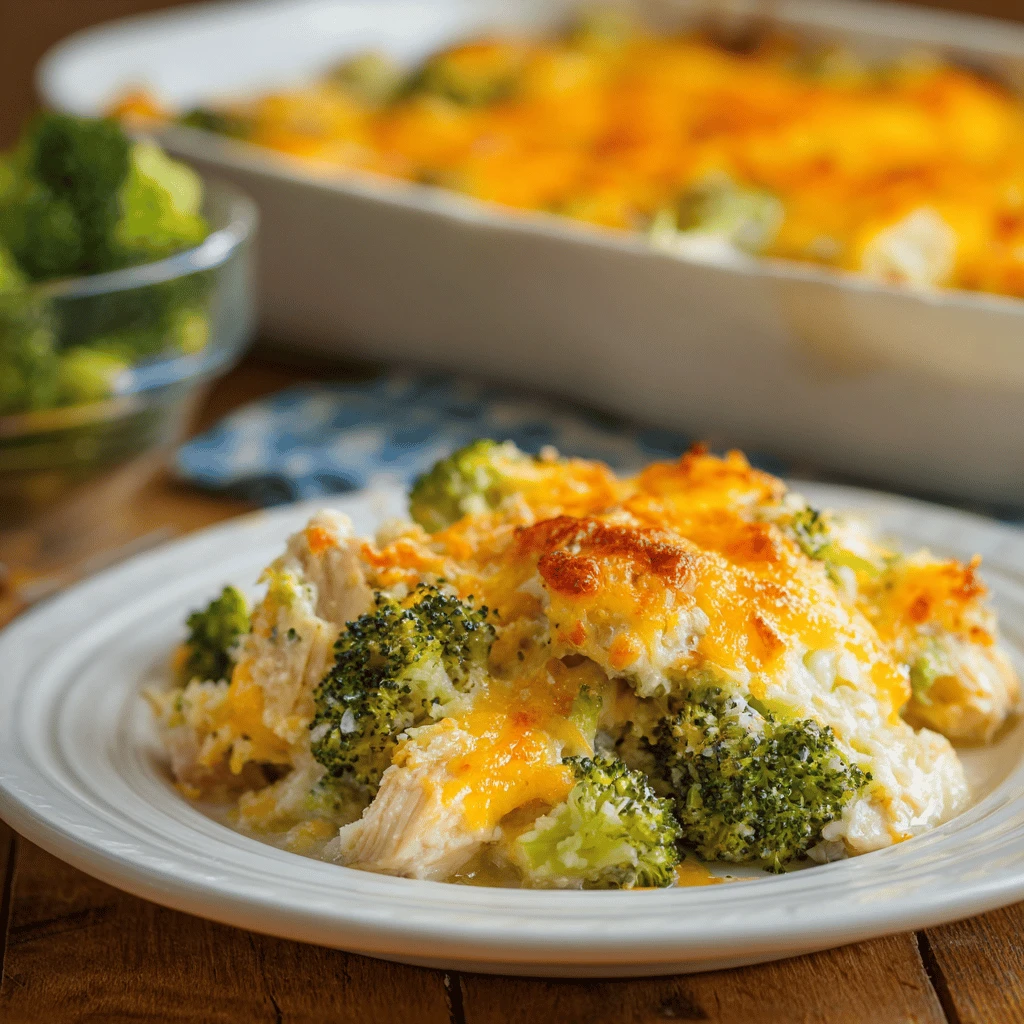
Vegetables: Offer something fresh and slightly acidic to contrast the sticky sweetness, such as steamed or roasted Broccoli, Green Beans with lemon zest, or a crisp Asian Slaw dressed in a light vinaigrette.
-
Dipping Sauces (for extra crunch): If you plan to serve some tenders without the full glaze (to preserve maximum crunch), classic cooling dips like Homemade Ranch Dressing or a side of Blue Cheese Sauce are excellent companions for the spicier heat.
Essential Pro-Tips and Troubleshooting
To ensure your Spicy Honey Garlic Chicken Tenders turn out perfect every time, keep these expert tips in mind regarding preparation, cooking, and handling leftovers.
The Three Rules of Frying
-
Monitor Oil Temperature: Maintain an oil temperature between 350°F and 375°F (175°C–190°C). If the oil is too cool, the chicken will absorb excess oil and become soggy. If it’s too hot, the exterior will burn before the interior is cooked through. Use a thermometer for precision.
-
Avoid Overcrowding: Cook the tenders in small batches. Crowding the pan causes the oil temperature to drop rapidly, leading to soggy, pale chicken. Patience is key; keep cooked batches warm in a 200°F (95°C) oven while you fry the rest.
-
Pat the Chicken Dry: Before marinating, always pat the chicken tenders thoroughly with paper towels. Removing surface moisture allows the marinade and subsequent dredge to adhere better, resulting in a crispier final product.
Glaze Consistency and Timing
The moment you toss the crispy chicken in the sauce, you begin a race against time. The heat of the sauce, combined with the hot chicken, can quickly steam the coating and compromise the crunch.
-
Toss Quickly: The chicken should be returned to the glaze, tossed swiftly for 30 seconds to one minute until fully coated, and immediately removed and served.
-
Thickening: If your glaze is too thin after simmering, whisk in a cornstarch slurry (1 teaspoon cornstarch mixed with 1 tablespoon cold water) and simmer for another 30 seconds until it thickens to a desired, syrupy consistency.
Storage and Reheating for Maximum Crispness
Leftover glazed chicken can be stored in an airtight container in the refrigerator for up to three days. However, reheating glazed chicken in a microwave will result in a chewy, soggy texture.
-
Best Reheating Method (Air Fryer): This is the superior method. Place the tenders in a single layer in the air fryer basket and heat at 375°F (190°C) for 5-7 minutes, or until piping hot and the crust has re-crisped.
-
Oven Method: Place the tenders on a wire rack set over a baking sheet and bake at 350°F (175°C) for 10-12 minutes. The rack prevents the bottom from becoming steamed.
If you know you will have leftovers, a clever strategy is to only glaze the portion you plan to eat immediately. Store the crispy, unglazed tenders separately, and make a fresh batch of the glaze when you are ready to reheat them. This ensures every serving is as fresh and crunchy as the first.