The Best Fresh Rhubarb Pie Recipe: Sweet & Tangy Perfection There’s something incredibly nostalgic about the arrival of spring and early summer, isn’t there? For me, it always brings back vivid memories of my grandmother’s sprawling garden, specifically her vibrant rhubarb patch. I can still picture her, apron dusted with flour, teaching me how to…
The Best Fresh Rhubarb Pie Recipe: Sweet & Tangy Perfection
There’s something incredibly nostalgic about the arrival of spring and early summer, isn’t there? For me, it always brings back vivid memories of my grandmother’s sprawling garden, specifically her vibrant rhubarb patch. I can still picture her, apron dusted with flour, teaching me how to gently pull those rosy-red stalks, their tartness promising a symphony of flavors.
This Fresh Rhubarb Pie Recipe isn’t just a dessert; it’s a taste of those cherished moments, a warm hug in every bite. It’s a testament to simple ingredients transforming into something truly extraordinary, a classic comfort food that truly shines. Every single time I make this, the aroma alone fills my kitchen with pure joy.
Over the years, I’ve perfected this recipe, making it a tried-and-true family favorite that consistently delivers. It’s the kind of seasonal delight you’ll want to make year after year, guaranteeing smiles around your table. Get ready to bake the most irresistible rhubarb pie you’ve ever tasted!
Why You’ll Love This Recipe
❤️ Here are just a few reasons why this Fresh Rhubarb Pie will become your new go-to:
- Perfect Sweet-Tart Balance: This recipe masterfully marries the rhubarb’s signature tang with just enough sweetness, preventing it from being overly sugary. Each bite is a delightful dance on your palate.
- Flaky, Buttery Crust: We’re talking golden perfection here! Our easy-to-follow crust method ensures a tender, melt-in-your-mouth pastry that provides the ideal contrast to the vibrant filling. It’s the foundation of any great pie.
- Celebrates Seasonal Flavors: Rhubarb is truly special, and this pie lets its unique flavor shine. It’s a fantastic way to enjoy the freshest produce of spring and early summer, bringing a taste of the garden indoors.
- Surprisingly Simple to Make: Don’t be intimidated by homemade pie! With clear, concise steps and readily available ingredients, even novice bakers can achieve spectacular results. It’s a rewarding baking project.
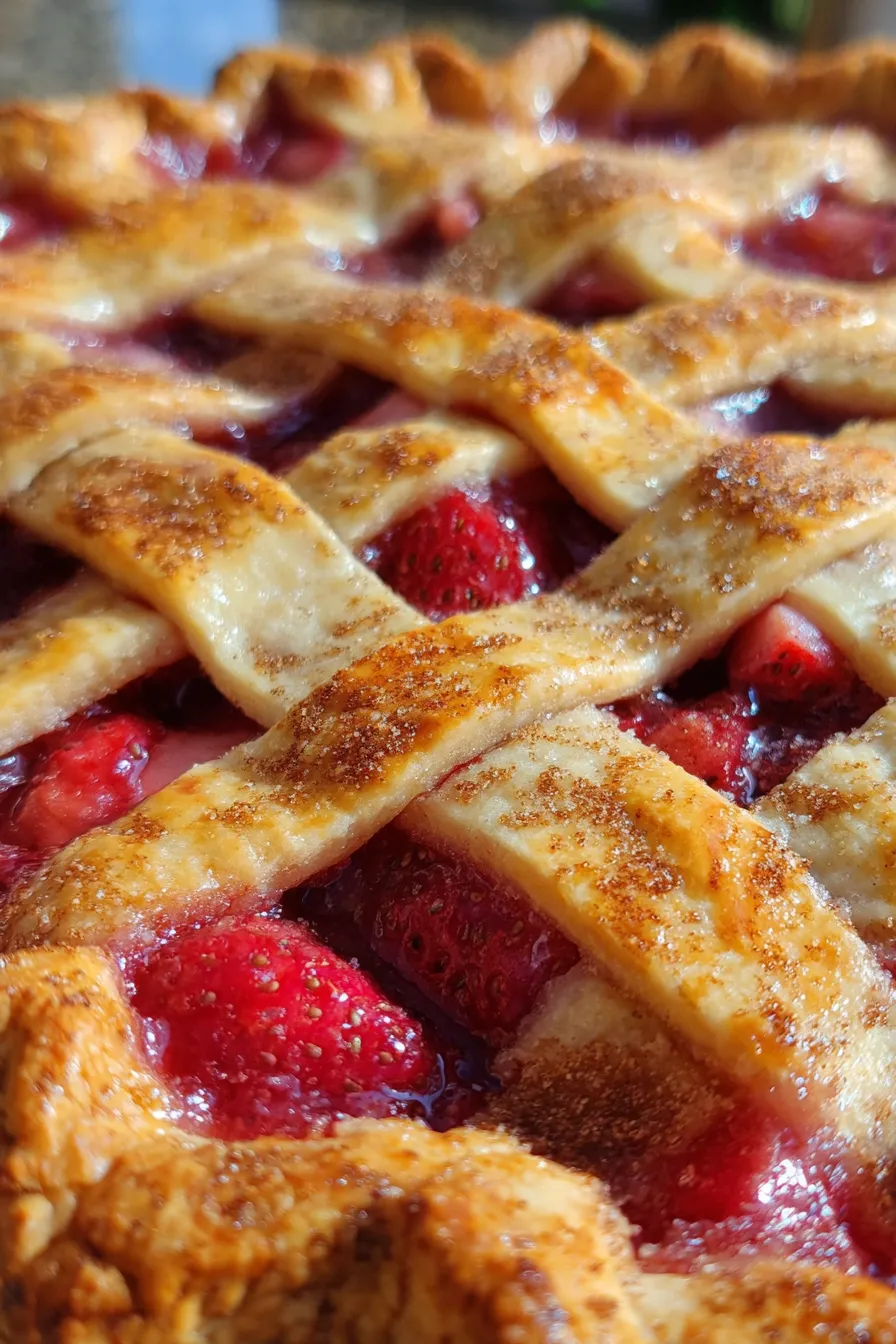
- A Showstopper Dessert: With its glistening ruby-red filling peeking through a beautifully woven lattice top, this pie is visually stunning. It’s guaranteed to impress guests at any potluck, family gathering, or holiday meal.
- Incredible Aroma: As it bakes, your kitchen will be filled with the most comforting, sweet, and slightly tart fragrance. It’s the kind of smell that invites everyone to gather around and eagerly await a slice.
- Versatile Serving Options: Enjoy it warm with a scoop of vanilla bean ice cream (my personal favorite!), a dollop of fresh whipped cream, or simply on its own, chilled. It’s delicious any way you slice it.
- Nostalgia in Every Bite: For many, rhubarb pie evokes warm memories of grandmothers, childhood summers, and simpler times. This recipe captures that timeless feeling perfectly, making every slice a journey down memory lane.
- Tested and Approved: This isn’t just a recipe; it’s a meticulously tested and beloved staple in my own home. I’ve tweaked and refined it over the years to ensure consistent, delicious results every single time you bake it.
- Texture Heaven: The soft, tender rhubarb filling contrasts beautifully with the crisp, golden-brown crust. It’s a textural delight that keeps you coming back for more.
What You Need
You only need a few simple, fresh ingredients for this incredible Fresh Rhubarb Pie Recipe! Most are likely already in your pantry or easily found at your local grocery store. Check the full printable recipe card below for detailed measurements and a complete list.
Expert Tips
💡 Achieving pie perfection is easier than you think with these expert tips:
- Choose Your Rhubarb Wisely: Look for firm, crisp, brightly colored stalks – usually redder means sweeter, but green stalks are perfectly fine, just a bit more tart. Avoid any limp or bruised rhubarb. Freshness is key for the best flavor and texture.
- Don’t Peel the Rhubarb: Unlike some vegetables, rhubarb does not need to be peeled. The skin adds beautiful color and helps the stalks hold their shape during baking. Just trim off the very ends and any leaves (rhubarb leaves are toxic!).
- Consistent Sizing is Crucial: Cut your rhubarb into uniform 1/2 to 3/4-inch pieces. This ensures even cooking, so you don’t end up with some pieces crunchy and others mushy. Consistency equals perfection.
- The Power of Cold Butter for Crust: When making your pie crust, always use very cold, diced butter (or shortening). Cold fat creates pockets of steam in the oven, leading to an incredibly flaky crust. Work quickly to keep the butter from melting.
- Don’t Overwork Your Dough: Over-mixing develops gluten, which leads to a tough crust. Mix just until the dough comes together. A few streaks of butter are actually a good sign of flakiness to come!
- Chill Your Dough: After making your pie dough, wrap it and refrigerate it for at least 30 minutes (or up to 2 days). Chilling relaxes the gluten, makes the dough easier to roll, and prevents shrinkage during baking.
- Proper Thickener is Key: Rhubarb releases a lot of moisture. A combination of all-purpose flour and cornstarch (or tapioca starch) is essential for a perfectly set, not-too-runny filling. Don’t skimp on this step!
- Prevent a Soggy Bottom: Bake your pie on a preheated baking sheet or pizza stone. The direct heat helps to crisp up the bottom crust. You can also lightly brush the bottom crust with an egg white before adding the filling and baking.
- Vent Your Top Crust: If you’re using a full top crust, remember to cut several slits or a design into it. These vents allow steam to escape, preventing the crust from puffing up and ensuring even cooking of the filling.
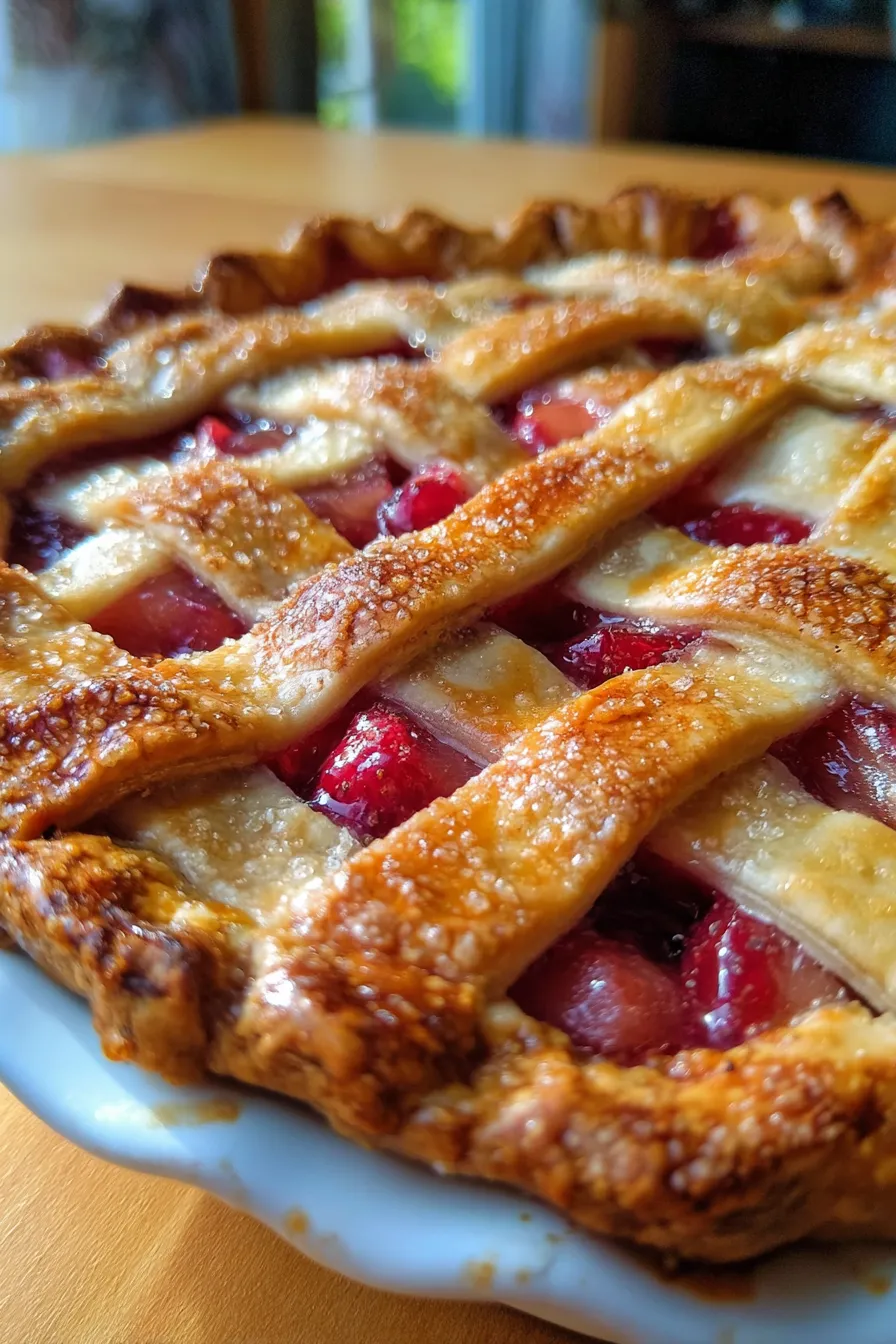
- The Golden Brown Glaze: For a beautiful, golden, and slightly crisp top crust, brush it lightly with an egg wash (1 egg beaten with 1 tablespoon water or milk) before baking. You can also sprinkle coarse sugar for extra sparkle and crunch.
- Shield the Edges: If your pie crust edges start browning too quickly, gently cover them with aluminum foil or a pie shield. This prevents burning while the rest of the pie continues to bake.
- Patience is a Virtue: This is arguably the most critical tip: let your pie cool COMPLETELY before slicing. Rhubarb pie filling needs time to set up properly. Slicing too soon will result in a runny mess. Ideally, let it cool for at least 3-4 hours, or even overnight.
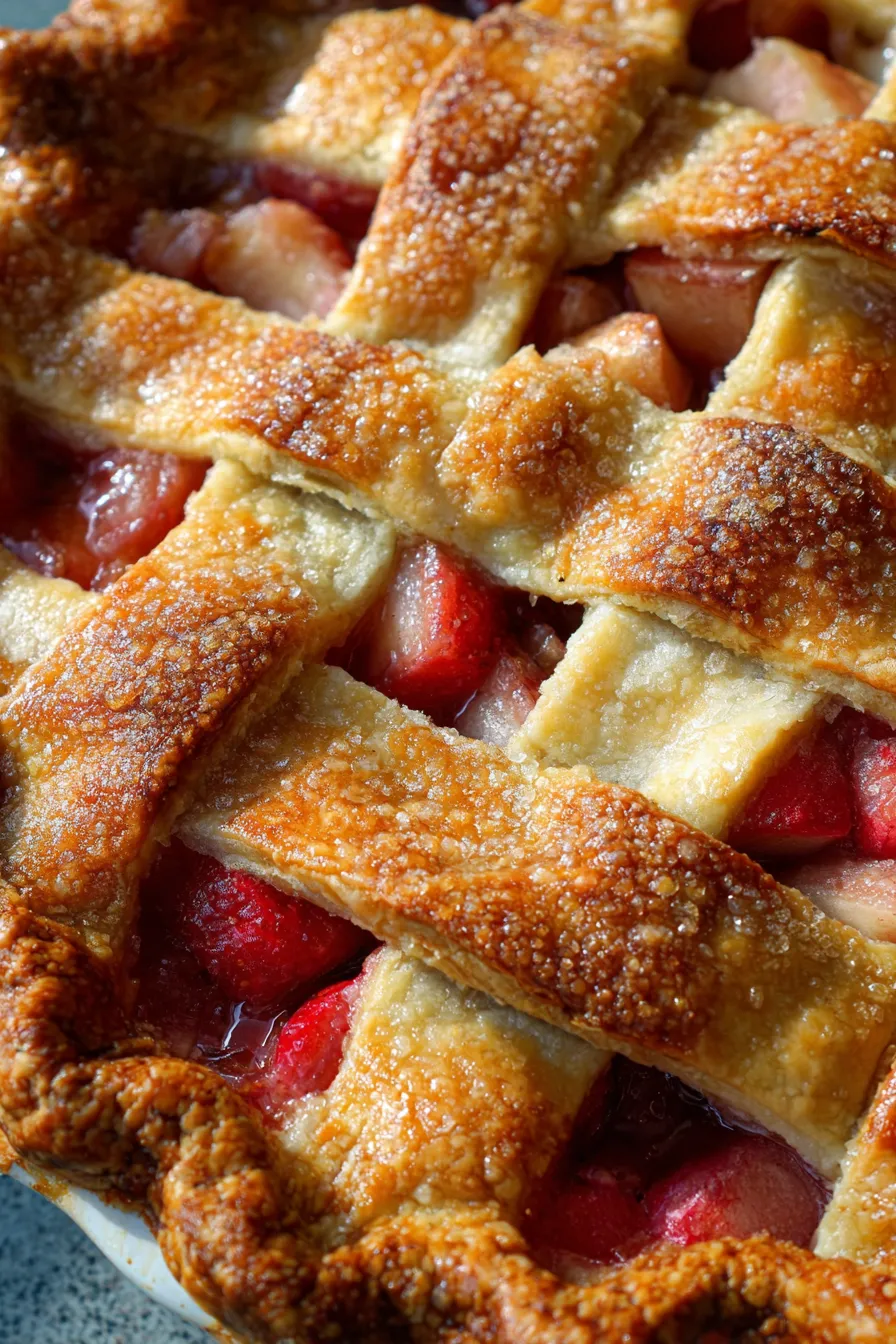
- Know When It’s Done: The crust should be deeply golden brown, and the filling should be visibly bubbling in the center (if visible through vents). You can also gently jiggle the pie; the center should only have a slight wobble.
- Customize Sweetness: Rhubarb’s tartness can vary. Taste a small raw piece of your rhubarb. If it’s exceptionally tart, you might want to add a tablespoon or two more sugar to the filling mixture.
- Serving Suggestions: While delicious on its own, a warm slice of rhubarb pie paired with a scoop of premium vanilla bean ice cream or a generous dollop of homemade whipped cream is pure heaven.
Variations & Substitutions
This Fresh Rhubarb Pie Recipe is wonderfully versatile! Feel free to experiment and make it your own:
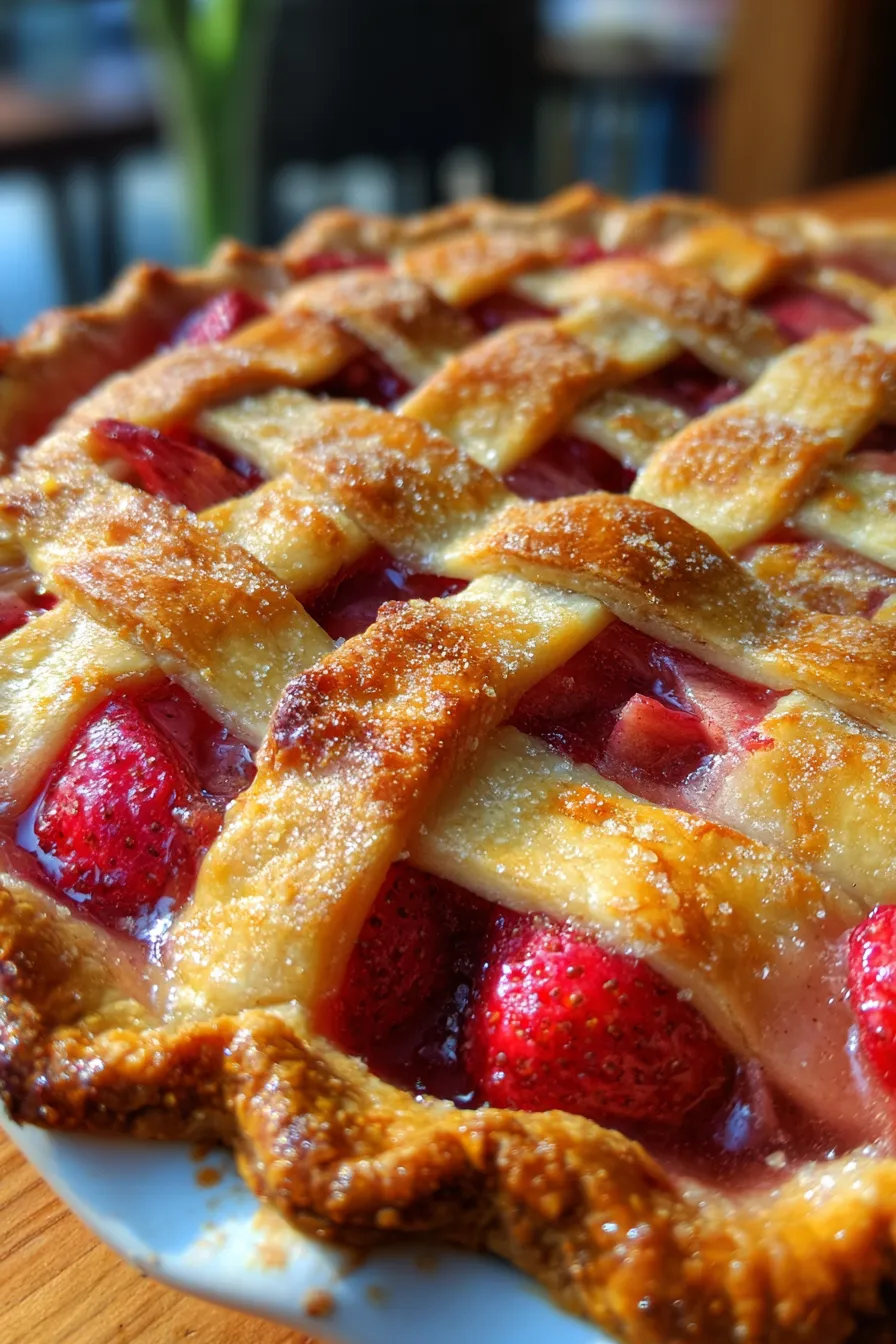
- Strawberry Rhubarb Pie: A classic for a reason! Substitute half of the rhubarb with sliced fresh strawberries for a delightful twist. Adjust sugar slightly as strawberries are sweeter.
- Ginger or Orange Zest: Add 1 teaspoon of grated fresh ginger or 1 tablespoon of orange zest to the filling for an extra layer of bright, aromatic flavor. These pair beautifully with rhubarb.
- Gluten-Free Option: Simply use your favorite gluten-free all-purpose flour blend for the pie crust and ensure your other ingredients are certified GF. Many excellent pre-made GF pie crusts are also available.
- Vegan Friendly: For a vegan version, use a plant-based pie crust (made with vegan butter or vegetable shortening). For the egg wash, you can use a plant-based milk or a flax egg wash (1 tbsp ground flaxseed + 3 tbsp water, let sit 5 mins).
- Spice It Up: A pinch of cinnamon or a tiny dash of nutmeg can enhance the flavor of the rhubarb without overpowering it. Add 1/2 teaspoon to your filling mixture.
- Less Sugar Option: If you prefer a more tart pie, you can slightly reduce the amount of sugar in the filling. Taste a small piece of your raw rhubarb to gauge its tartness before adjusting.
- Crumb Topping: Not a fan of lattice? Forgo the top crust and create a delicious streusel topping! Combine 1 cup flour, 1/2 cup brown sugar, 1/2 cup cold butter, and a pinch of cinnamon. Sprinkle over the filling before baking.
Storage & Freezing
Proper storage ensures your delicious Fresh Rhubarb Pie stays fresh and enjoyable for longer!
Countertop Storage:
An un-cut pie can be stored at room temperature, loosely covered with plastic wrap or foil, for up to 2 days. If you’ve already sliced it, cover the exposed areas to prevent drying out.
Refrigerator Storage:
For longer freshness, especially in warm weather, store your pie in the refrigerator. Cover it tightly with plastic wrap or place it in an airtight pie carrier. It will keep well for up to 5 days. Chilled pie is also wonderful!
Freezing Instructions:
- To Freeze a Baked Pie: Allow the pie to cool completely. Wrap it tightly in several layers of plastic wrap, then an additional layer of aluminum foil. Freeze for up to 3 months. To reheat, thaw overnight in the refrigerator, then warm in a 350°F (175°C) oven for 20-30 minutes, or until heated through.
- To Freeze an Unbaked Pie: Assemble the pie completely, then wrap it securely as described above. Freeze for up to 3 months. When ready to bake, place the frozen pie directly into a preheated 400°F (200°C) oven. Bake for 15-20 minutes, then reduce temperature to 375°F (190°C) and continue baking for 50-70 minutes, or until golden and bubbly. You may need to shield the edges to prevent over-browning.
FAQ
Q: Do I need to peel the rhubarb for this recipe?
A: No, you do not need to peel rhubarb for pie. The skin softens beautifully during baking and contributes to the pie’s lovely pinkish-red hue. Just make sure to trim off any tough ends and remove all leaves, as they are toxic.
Q: Why is my rhubarb pie filling runny?
A: A runny filling is usually due to insufficient thickener or not allowing the pie to cool completely. Rhubarb releases a lot of moisture. Ensure you’ve used the correct amount of flour and cornstarch (or tapioca). Most importantly, let the pie cool for at least 3-4 hours (or even overnight) to allow the filling to fully set up.
Q: Can I use frozen rhubarb instead of fresh?
A: Yes, you can! If using frozen rhubarb, thaw it completely and drain off any excess liquid before adding it to the pie filling. This prevents a watery filling. You might need to add an extra tablespoon of thickener if your rhubarb seems particularly wet.
Q: How can I prevent a soggy bottom crust?
A: Several tricks help! Bake your pie on a preheated baking sheet (this creates direct heat to the bottom). You can also brush the bottom crust with a little egg white before adding the filling. Ensure your oven is hot enough, and don’t skimp on the thickeners for the filling, as excess moisture is a common culprit.
Q: How do I know when the rhubarb pie is fully baked?
A: Look for a deeply golden-brown crust. If you have a lattice or vents, the filling should be bubbling robustly in the center, indicating it’s thick and hot. You can also carefully insert a thin knife or skewer into a vent – if it comes out clean with no raw dough, and the rhubarb feels tender, it’s likely done.
There you have it – the ultimate guide to creating a truly unforgettable Fresh Rhubarb Pie. It’s a recipe that celebrates the bounty of the season and brings a touch of homemade magic to any occasion. I promise, the sweet tang and flaky crust will have everyone asking for seconds.
Don’t forget to save this recipe for later! Pin it to your favorite dessert board, share it with friends, and most importantly, bake it soon. Happy baking!

The Best Fresh Rhubarb Pie Recipe: Sweet & Tangy Perfection
Ingredients
- 1 recipe Flaky Pie Crust (for a double-crust 9-inch pie)
- 6 cups (about 1.5 lbs) fresh rhubarb, trimmed and cut into 3/4-inch pieces
- 1 1/4 cups granulated sugar (adjust to taste based on rhubarb's tartness)
- 1/4 cup all-purpose flour
- 1/4 cup cornstarch or tapioca starch
- 1/4 teaspoon ground cinnamon (optional)
- 1 tablespoon fresh lemon juice
- 2 tablespoons unsalted butter, cut into small pieces
- 1 egg, beaten with 1 tablespoon water (for egg wash, optional)
Instructions
- Step 1 Prepare your favorite double-crust pie dough. Divide it into two discs, wrap in plastic, and refrigerate for at least 30 minutes.
- Step 2 Preheat your oven to 400°F (200°C) with a baking sheet placed on the lowest rack.
- Step 3 On a lightly floured surface, roll out one disc of pie dough into a 12-inch circle. Carefully transfer it to a 9-inch pie plate. Trim edges, leaving a 1/2-inch overhang.
- Step 4 In a large bowl, combine the cut rhubarb, granulated sugar, flour, cornstarch (or tapioca), and cinnamon (if using). Toss gently to coat. Stir in the lemon juice.
- Step 5 Pour the rhubarb filling into the prepared pie crust. Dot the top of the filling with the small pieces of butter.
- Step 6 Roll out the second disc of pie dough. You can either place it directly over the filling (and cut vents), or cut it into strips to create a lattice top. Place the top crust over the filling and trim edges to match the bottom crust overhang.
- Step 7 Fold the overhang under and crimp the edges decoratively. If desired, brush the top crust with an egg wash and sprinkle with coarse sugar.
- Step 8 Place the pie on the preheated baking sheet in the oven. Bake for 15 minutes at 400°F (200°C).
- Step 9 Reduce the oven temperature to 375°F (190°C) and continue baking for another 35-45 minutes, or until the crust is golden brown and the filling is bubbly. If the crust edges brown too quickly, cover them loosely with aluminum foil.
- Step 10 Once baked, carefully remove the pie from the oven and place it on a wire rack. This is crucial: let the pie cool completely for at least 3-4 hours, or preferably overnight, before slicing and serving. This allows the filling to set properly.