Best Ever Easy French Dip Sliders (Quick Dinner or Party Recipe) There’s something magical about a recipe that feels indulgent yet comes together with minimal fuss. I still remember the first time I whipped up these Easy French Dip Sliders for a spontaneous Sunday gathering. My fridge was looking a little bare, and guests were…
Best Ever Easy French Dip Sliders (Quick Dinner or Party Recipe)
There’s something magical about a recipe that feels indulgent yet comes together with minimal fuss. I still remember the first time I whipped up these Easy French Dip Sliders for a spontaneous Sunday gathering. My fridge was looking a little bare, and guests were arriving in an hour. Panic set in, until I remembered a similar recipe I’d seen!
With a little creativity and some staple ingredients, these became an instant hit. The aroma of savory roast beef and melty cheese filling the kitchen, followed by the satisfied smiles around the table, cemented their place in our family’s quick dinner rotation and party recipe hall of fame. They truly are the ultimate comfort food for any occasion.
This tested, family-favorite recipe for Easy French Dip Sliders (Quick Dinner or Party Recipe) is your ticket to a stress-free meal or appetizer that everyone will rave about. They’re unbelievably simple to make, yet taste like you spent hours in the kitchen. Get ready to impress with minimal effort!
Why You’ll Love This Recipe
❤️ These sliders aren’t just a meal; they’re an experience! Here’s why they’ll become your new favorite:
- Incredibly Easy & Quick: From start to finish, you’re looking at about 40 minutes, including prep time. Perfect for those busy weeknights when you need a delicious meal on the table without the fuss. It’s truly a minimal-effort, maximum-flavor recipe.
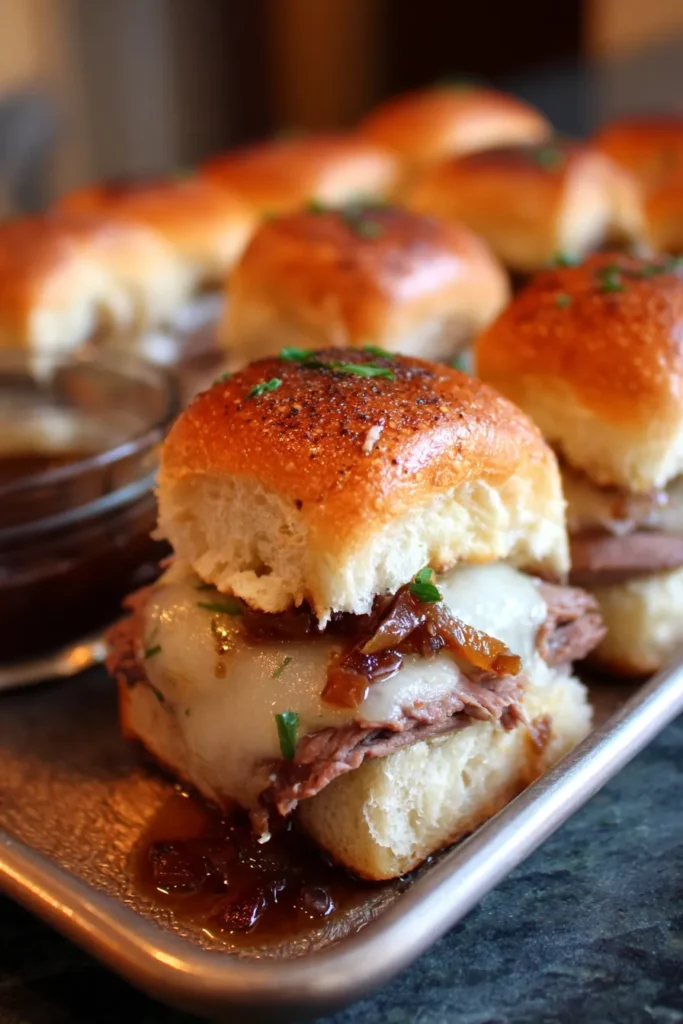
- Crowd-Pleasing Perfection: Whether it’s game day, a family get-together, or just a casual dinner, these sliders disappear fast. The combination of savory meat, melted cheese, and buttery buns is universally loved, making them a guaranteed hit with guests of all ages.
- Minimal Cleanup: Everything comes together in one baking dish, which means fewer pots and pans to wash. Who doesn’t love a recipe that’s as easy to clean up as it is to make? This makes weeknight cooking so much more manageable.
- Perfect for Any Occasion: While fantastic as a quick dinner, their bite-sized nature makes them ideal party food or appetizers. They’re easy to pick up, satisfying, and incredibly flavorful – the ultimate versatile dish for any event.
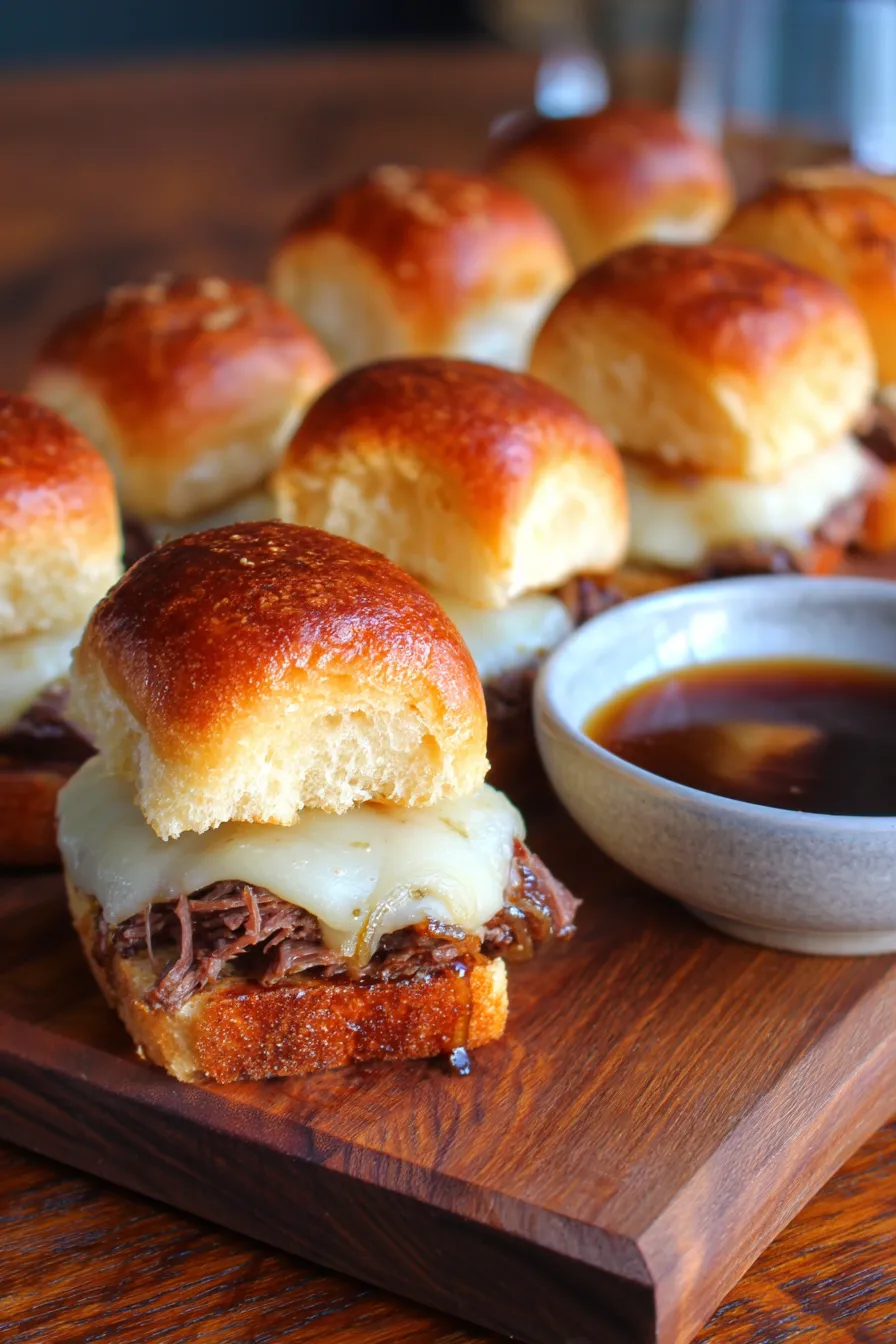
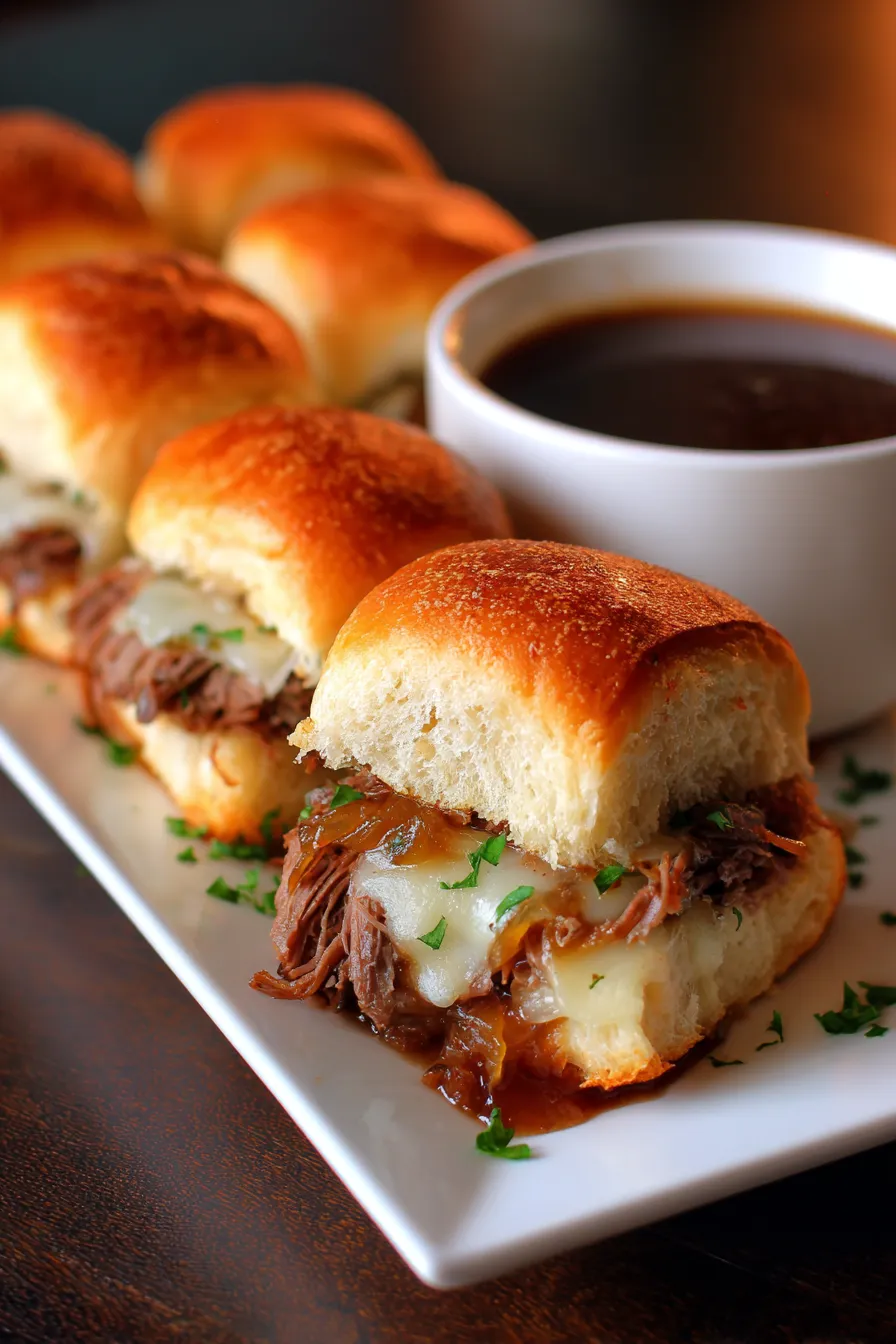
- Irresistible Flavor Combination: Layers of thinly sliced roast beef, gooey provolone cheese, and perfectly seasoned, buttery slider buns, all served with a rich, savory au jus for dipping. Each bite is a symphony of textures and tastes that will leave everyone wanting more.
- Customizable to Your Liking: While classic French Dip flavors are incredible, this recipe is a fantastic canvas for experimentation. Feel free to add caramelized onions, different cheeses, or even a kick of spice to make it uniquely yours.
- Budget-Friendly: Using deli roast beef makes this an economical way to enjoy the classic French Dip experience without the cost of a full roast. It’s a smart choice for feeding a crowd without breaking the bank.
- Make-Ahead Potential: You can assemble these sliders ahead of time, making them even more convenient for parties or meal prep. Just cover and refrigerate, then bake when ready to serve.
What You Need
You only need a few simple pantry staples for this recipe! Most items are probably already in your kitchen, making this a truly accessible and fuss-free meal. Check the full printable recipe card below for detailed measurements.
Expert Tips
💡 Elevate your French Dip Sliders from good to absolutely unforgettable with these pro tips:
- Choose Your Roast Beef Wisely: Opt for good quality, thinly sliced deli roast beef. Look for varieties labeled ‘medium rare’ for the best texture and flavor. Boar’s Head or a similar premium brand often works wonderfully. The thinner the slice, the more tender it will be in the slider.
- Don’t Skimp on the Butter Mixture: The seasoned butter brushed over the tops of the buns is crucial! It adds a fantastic savory crust and helps toast the buns to golden perfection. Mix in a pinch of onion powder and garlic powder for an extra layer of flavor.
- Layering is Key: Arrange the roast beef in layers rather than one thick pile. This ensures that the cheese melts evenly throughout the meat and that each bite gets a good distribution of everything. A slight overlap of meat slices is ideal.
- Cheese Selection Matters: While provolone is traditional and melts beautifully, Swiss, white cheddar, or even a smoked gouda can be delicious alternatives. Ensure you use enough cheese to create that irresistible gooey pull! Slice or shred your cheese for best melting.
- Warm the Au Jus Properly: A warm, flavorful au jus is essential for dipping. Don’t just serve it lukewarm! Keep it gently simmering on the stovetop in a small saucepan or in a slow cooker on the ‘warm’ setting for parties. A sprinkle of fresh parsley in the au jus can add a nice touch.
- Toast Your Buns Lightly First (Optional): For extra crunch and to prevent sogginess, you can lightly toast the cut sides of your slider buns in a dry skillet or under the broiler for a minute before assembling. This creates a barrier against the moisture from the meat and cheese.
- Seal the Sliders: Once assembled, cover the baking dish tightly with aluminum foil before baking. This creates a steamy environment that helps the cheese melt perfectly and keeps the buns soft while the flavors meld. Remove the foil for the last 5-10 minutes to crisp up the tops.
- Don’t Overbake: These sliders bake relatively quickly. Overbaking can dry out the buns and make the beef tough. Keep an eye on them; once the cheese is bubbly and the tops are golden, they’re ready! The goal is melted cheese and warm beef, not crispy meat.
- Use a Serrated Knife for Slicing: After baking, let the slab of sliders rest for just a minute or two before slicing into individual portions. A serrated knife works best for clean cuts through the soft, buttery buns without squishing them.
- Serving Suggestions: Serve immediately with individual ramekins of warm au jus for dipping. A side of crispy potato chips, a simple green salad, or even some roasted vegetables can round out the meal perfectly.
- Season Your Butter Generously: Don’t be shy with the seasonings for the melted butter that goes on top. Garlic powder, onion powder, a pinch of dried parsley, and a tiny bit of Dijon mustard mixed in can elevate the flavor significantly. This buttery top is what truly makes the buns irresistible.
- Choose the Right Slider Buns: Hawaiian rolls are fantastic for their subtle sweetness, which complements the savory beef beautifully. Brioche slider buns are another excellent choice for their rich, buttery texture. Avoid overly dense or too soft buns that might fall apart easily.
Variations & Substitutions
- Cheese Swap: Try Swiss, white cheddar, or even a smoked provolone for a different flavor profile. Pepper Jack could add a slight kick!
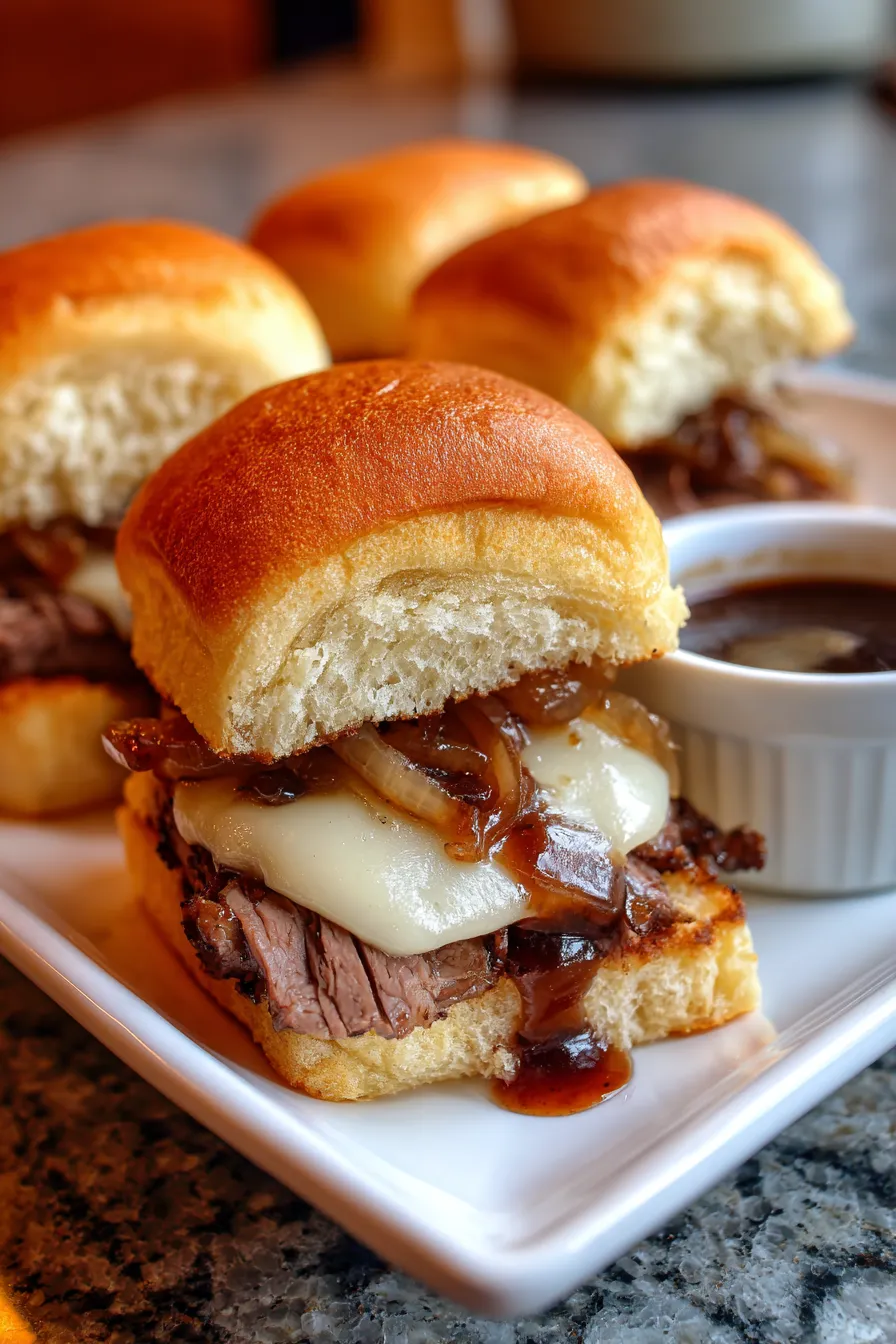
- Add Onions: Sautéed or caramelized onions layered with the beef and cheese would be an incredible addition, mimicking a classic Philly cheesesteak vibe.
- Spicy Kick: Drizzle a little sriracha or add some thinly sliced jalapeños before baking for a touch of heat.
- Garlic Bread Style: Instead of the seasoned butter, spread a layer of garlic butter (store-bought or homemade) on the inside of the top buns before placing them on the beef and cheese.
- Gluten-Free: Use your favorite gluten-free slider buns or dinner rolls. Ensure they are sturdy enough to hold the fillings.
- Mushroom “French Dip” (Vegetarian): For a vegetarian option, sauté sliced mushrooms with a little soy sauce or Worcestershire (ensure it’s vegetarian) until deeply browned and savory. Use this in place of roast beef.
Storage & Freezing
- Storing Leftovers: If you have any sliders left (a rare occurrence!), store them in an airtight container in the refrigerator for up to 2-3 days. Store any leftover au jus separately.
- Reheating: To reheat, warm the sliders gently in the oven at 300°F (150°C) until heated through, about 10-15 minutes, or in a microwave for quicker results (though buns might soften). Reheat au jus on the stovetop or in the microwave.
- Freezing: While you *can* freeze assembled sliders before baking (without the au jus), the texture of the buns might change slightly upon thawing and baking. It’s generally best to enjoy them fresh. If freezing, wrap individual sliders tightly in plastic wrap, then foil, and freeze for up to 1 month. Thaw in the refrigerator overnight before baking as directed.
FAQ
What kind of roast beef is best for French Dip Sliders?
Thinly sliced deli roast beef, preferably medium-rare, works best. You want a tender, flavorful cut that isn’t too dry. Ask your deli counter for high-quality, freshly sliced roast beef for the best results.
Can I make French Dip Sliders ahead of time?
Absolutely! You can assemble the sliders, cover the baking dish tightly with plastic wrap or foil, and refrigerate them for up to 24 hours before baking. Just add a few extra minutes to the baking time to account for starting cold.
How do I make my own au jus from scratch?
While a packet mix is easy, you can make homemade au jus by simmering beef broth with a touch of Worcestershire sauce, a bay leaf, and a pinch of dried thyme. Reduce it by about a third until concentrated and flavorful. You can also deglaze the pan with beef broth if you’ve browned some roast beef yourself.
What sides pair well with French Dip Sliders?
Crispy potato chips, French fries (especially sweet potato fries!), a simple green salad with a light vinaigrette, coleslaw, or even some roasted asparagus or green beans make excellent companions to these savory sliders.
There you have it – the ultimate guide to making the most delicious and easy French Dip Sliders. Whether it’s a quick family dinner or a festive gathering, these will undoubtedly be a resounding success. Don’t forget to pin this recipe for later and share your creations!
Easy French Dip Sliders: Quick Dinner or Party Recipe
Ingredients
- 1 (12-count) package Hawaiian sweet rolls or slider buns
- 1 lb thinly sliced deli roast beef
- 8-10 slices provolone cheese
- 1/2 cup unsalted butter, melted
- 1 tsp onion powder
- 1 tsp garlic powder
- 1 (0.6 oz) package au jus gravy mix
- 2 cups beef broth
Instructions
- Step 1 Preheat oven to 350°F (175°C). Lightly grease a 9x13 inch baking dish.
- Step 2 Slice the slider buns horizontally, keeping the top and bottom halves intact. Place the bottom halves in the prepared baking dish.
- Step 3 Layer the roast beef evenly over the bottom buns.
- Step 4 Top the roast beef with the provolone cheese slices.
- Step 5 Place the top halves of the buns over the cheese.
- Step 6 In a small bowl, whisk together the melted butter, onion powder, and garlic powder. Brush this mixture generously over the tops of the slider buns.
- Step 7 Cover the baking dish tightly with aluminum foil.
- Step 8 Bake for 20 minutes, then remove the foil and bake for another 5-10 minutes, or until the tops are golden brown and the cheese is bubbly and melted.
- Step 9 While the sliders bake, prepare the au jus: In a small saucepan, whisk together the au jus gravy mix and beef broth. Bring to a simmer over medium heat, stirring constantly, until slightly thickened. Keep warm.
- Step 10 Once baked, remove sliders from the oven. Let them rest for a few minutes before slicing into individual portions. Serve immediately with warm au jus for dipping.