Crispy Honey Garlic Chicken: Easy Dinner Perfection Crispy honey garlic chicken is a weeknight dinner champion. This dish delivers irresistible flavors and textures in a surprisingly short amount of time. The secret lies in achieving that perfect balance of crispy chicken, a sweet and savory honey garlic sauce, and simple cooking techniques. Whether you’re a…
Crispy Honey Garlic Chicken: Easy Dinner Perfection
Crispy honey garlic chicken is a weeknight dinner champion. This dish delivers irresistible flavors and textures in a surprisingly short amount of time. The secret lies in achieving that perfect balance of crispy chicken, a sweet and savory honey garlic sauce, and simple cooking techniques. Whether you’re a seasoned cook or just starting out, this recipe is designed for easy success. This article will guide you through creating this family favorite from start to finish, offering tips and tricks to make it even easier and more delicious.
Mastering the Crispy Chicken
The foundation of any great crispy chicken dish is, unsurprisingly, the crispy chicken itself. Getting that desirable crunch isn’t as difficult as it might seem.
Choosing the Right Chicken
For this recipe, boneless, skinless chicken thighs are an excellent choice. They stay moist and tender during cooking and offer more flavor than chicken breasts. However, chicken breasts can also be used; just be mindful not to overcook them. Cut the chicken into bite-sized pieces, about 1-inch cubes, for even cooking and optimal crispiness.
Achieving Maximum Crispiness
The key to crispy chicken is removing excess moisture and creating a good coating. Here’s how:
1. Dry the Chicken: Pat the chicken pieces thoroughly dry with paper towels. The drier the chicken, the better the coating will adhere.
2. The Coating: A simple cornstarch coating is incredibly effective. Cornstarch absorbs moisture and creates a light, crispy crust when fried. You can also add a touch of flour or tapioca starch for added texture. Season the cornstarch with salt, pepper, garlic powder, and onion powder for extra flavor.
3. Double Coating (Optional): For extra crispiness, consider a double coating. Dip the chicken in a mixture of beaten egg and then dredge it in the seasoned cornstarch. This creates a thicker, more robust crust.
4. Don’t overcrowd the pan: Whether pan-frying or air frying, ensure the chicken pieces aren’t too close together. Overcrowding lowers the temperature, leading to steaming instead of crisping. Work in batches if needed.
Cooking Methods: Pan-Frying vs. Air Frying
- Pan-Frying: Heat a generous amount of oil (vegetable, canola, or peanut oil work well) in a large skillet over medium-high heat. The oil should be hot enough to sizzle when a piece of chicken is added. Fry the chicken in batches, turning occasionally, until golden brown and cooked through, about 5-7 minutes per batch.
- Air Frying: Preheat your air fryer to 400°F (200°C). Lightly spray the air fryer basket with cooking oil. Arrange the chicken pieces in a single layer, ensuring they don’t overlap. Air fry for 10-12 minutes, flipping halfway through, until golden brown and cooked through.
Crafting the Honey Garlic Sauce
The honey garlic sauce is where the magic happens. It’s a blend of sweet, savory, and umami flavors that perfectly complements the crispy chicken.
Key Ingredients and Their Roles
- Honey: Provides sweetness and helps the sauce thicken. Use a good-quality honey for the best flavor.
- Garlic: Adds a pungent and aromatic element. Freshly minced garlic is recommended, but garlic powder can be used in a pinch.
- Soy Sauce: Contributes umami and saltiness. Low-sodium soy sauce allows you to control the salt level.
- Rice Vinegar: Adds a touch of acidity to balance the sweetness and savory notes.
- Ginger (Optional): A small amount of grated ginger adds warmth and complexity to the sauce.
- Red Pepper Flakes (Optional): For a touch of heat.
- Cornstarch Slurry: A mixture of cornstarch and water used to thicken the sauce.
Making the Sauce: A Step-by-Step Guide
1. Sauté the Garlic: In a skillet or saucepan, heat a small amount of oil over medium heat. Add the minced garlic and cook for about 30 seconds, until fragrant. Be careful not to burn the garlic.
2. Add the Remaining Ingredients: Pour in the honey, soy sauce, rice vinegar, and ginger (if using). Stir well to combine. Add red pepper flakes if desired.
3. Thicken the Sauce: Bring the sauce to a simmer and then slowly pour in the cornstarch slurry while stirring continuously. The sauce should thicken quickly.
4. Simmer and Adjust: Reduce the heat to low and simmer the sauce for a few minutes, allowing the flavors to meld together. Taste and adjust the seasonings as needed. You may want to add more honey for sweetness, soy sauce for saltiness, or rice vinegar for acidity.
Combining Chicken and Sauce
Once the chicken is cooked and the sauce is ready, it’s time to bring them together.
Tossing and Coating
Add the crispy chicken to the skillet with the honey garlic sauce. Toss gently to coat each piece of chicken evenly. Ensure every piece is glistening with that beautiful sauce.
Simmering for Flavor Fusion
Let the chicken simmer in the sauce for a minute or two. This allows the flavors to meld together even further, creating a more cohesive and flavorful dish. Stir occasionally to prevent sticking.
Achieving the Perfect Glaze
As the sauce simmers, it will reduce slightly and become a glossy glaze that clings to the chicken. This is the perfect indication that your crispy honey garlic chicken is ready to serve.
Serving Suggestions and Variations
Crispy honey garlic chicken is incredibly versatile and can be served in a variety of ways.
Serving Suggestions
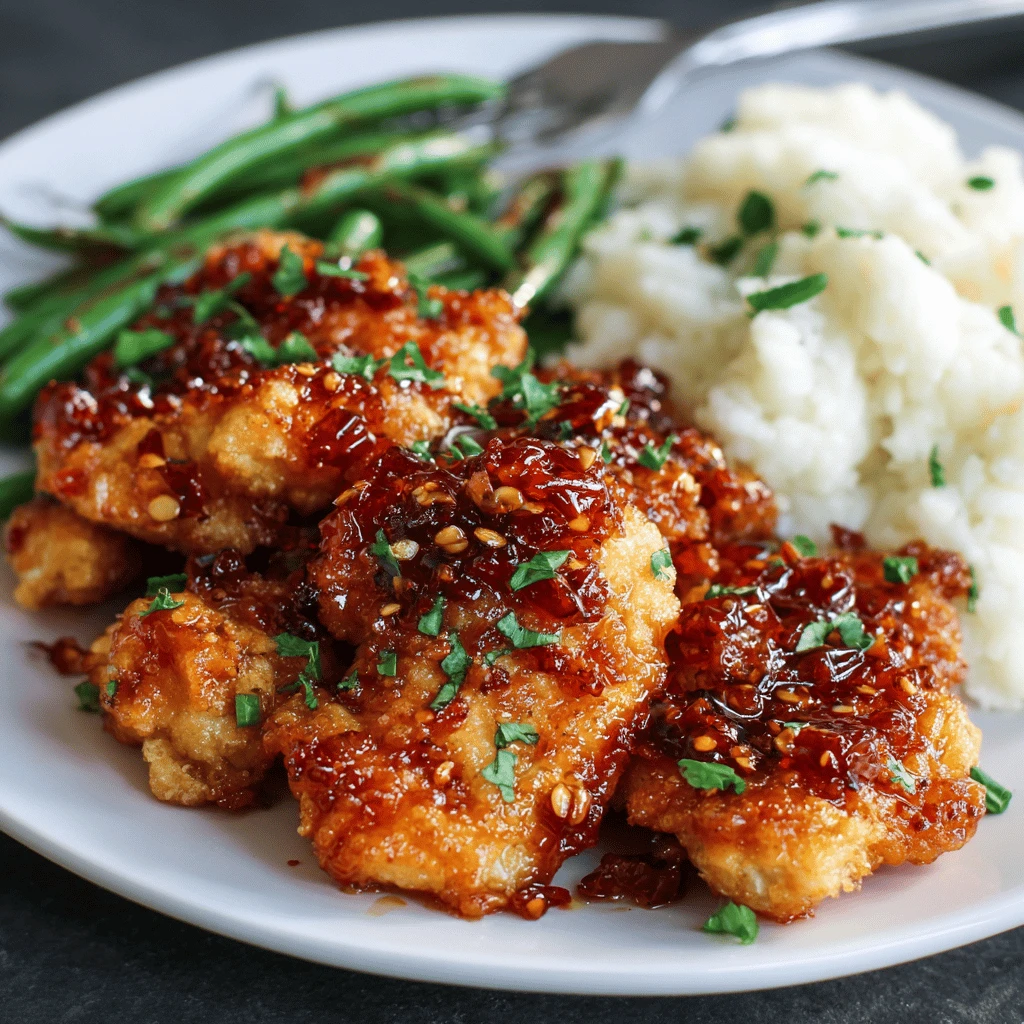
- Rice: Serve over steamed white or brown rice to soak up the delicious sauce.
- Noodles: Toss with your favorite noodles, such as lo mein or udon, for a complete meal.
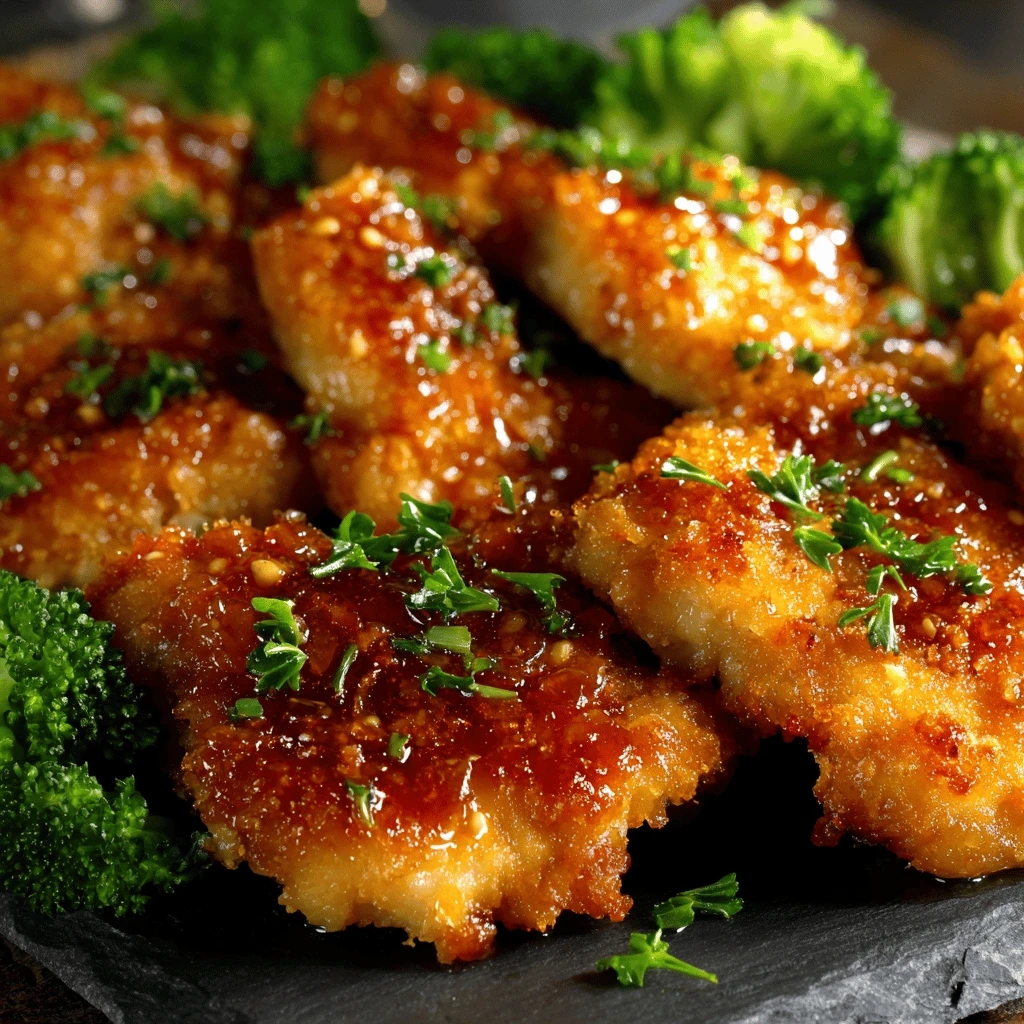
- Vegetables: Pair with steamed broccoli, green beans, or stir-fried vegetables for a balanced meal.
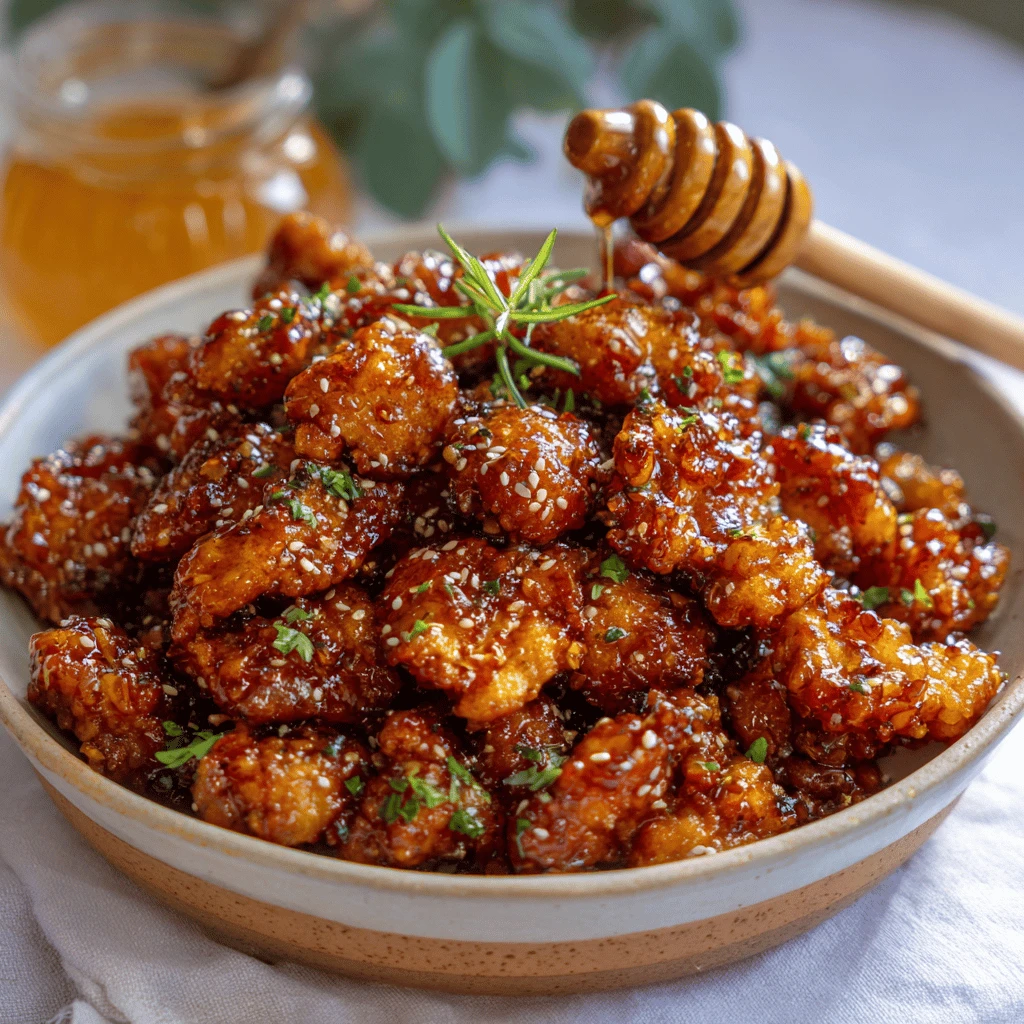
- Garnish: Garnish with sesame seeds, chopped green onions, or a sprinkle of red pepper flakes for added visual appeal and flavor.
Creative Variations
- Spicy Honey Garlic Chicken: Add more red pepper flakes or a dash of sriracha to the sauce for extra heat.
- Lemon Honey Garlic Chicken: Add a squeeze of lemon juice to the sauce for a brighter, more citrusy flavor.
- Pineapple Honey Garlic Chicken: Add chunks of pineapple to the sauce for a tropical twist.
- Cashew Honey Garlic Chicken: Stir in roasted cashews for added crunch and nutty flavor.
- Honey Garlic Shrimp: Substitute the chicken with shrimp for a seafood version of this dish.
Tips for Success and Common Mistakes
Even with a simple recipe, a few tips can ensure perfect results every time.
Avoiding Common Pitfalls
- Overcrowding the Pan: As mentioned earlier, overcrowding the pan when frying prevents the chicken from crisping properly. Work in batches to maintain the oil temperature.
- Burning the Garlic: Garlic burns easily, so keep a close eye on it while sautéing. Cook it over medium heat and stir frequently to prevent burning.
- Overcooking the Chicken: Overcooked chicken will be dry and tough. Use a meat thermometer to ensure the chicken reaches an internal temperature of 165°F (74°C).
- Too Much Cornstarch: Using too much cornstarch can result in a gummy sauce. Measure accurately and use a cornstarch slurry (cornstarch mixed with water) to prevent clumping.
- Skipping the Drying Step: Neglecting to dry the chicken thoroughly will prevent the coating from adhering properly, resulting in soggy chicken.
Essential Tips for the Best Results
- Use Fresh Ingredients: Fresh garlic, ginger, and honey will elevate the flavor of the sauce.
- Taste and Adjust Seasonings: Taste the sauce as it simmers and adjust the seasonings to your preference.
- Don’t Be Afraid to Experiment: Feel free to experiment with different variations and add-ins to create your own unique version of crispy honey garlic chicken.
- Prep Ahead: Chop the chicken, mince the garlic, and measure out the ingredients ahead of time to streamline the cooking process.
- Serve Immediately: For the best texture and flavor, serve the crispy honey garlic chicken immediately after cooking.
Make Ahead Instructions
While best served immediately, parts of this recipe can be prepared in advance.
- The sauce can be made a day or two in advance and stored in the refrigerator. Reheat gently before using.
- The chicken can be cut and coated with cornstarch ahead of time. Store in an airtight container in the refrigerator until ready to cook.
Frequently Asked Questions (FAQ)
Q: Can I use chicken breast instead of chicken thighs?
A: Yes, you can use chicken breast. However, chicken thighs tend to be more flavorful and stay moist better. If using chicken breast, be careful not to overcook it.
Q: Can I bake the chicken instead of frying?
A: Yes, you can bake the chicken. Preheat your oven to 400°F (200°C). Place the coated chicken pieces on a baking sheet lined with parchment paper. Bake for 20-25 minutes, or until cooked through and golden brown.
Q: Can I add vegetables to this dish?
A: Absolutely! Broccoli, bell peppers, onions, and snap peas all work well with this recipe. Add them to the skillet after the garlic has been sautéed and cook until tender-crisp before adding the remaining sauce ingredients.
Q: How long does the leftover crispy honey garlic chicken last?
A: Leftovers can be stored in an airtight container in the refrigerator for up to 3 days. The chicken may lose some of its crispiness, but it will still be delicious.
Q: Can I freeze crispy honey garlic chicken?
A: Freezing is not recommended as the chicken’s texture will change. If you must freeze, ensure it’s in an airtight container and consume within a month for best quality.