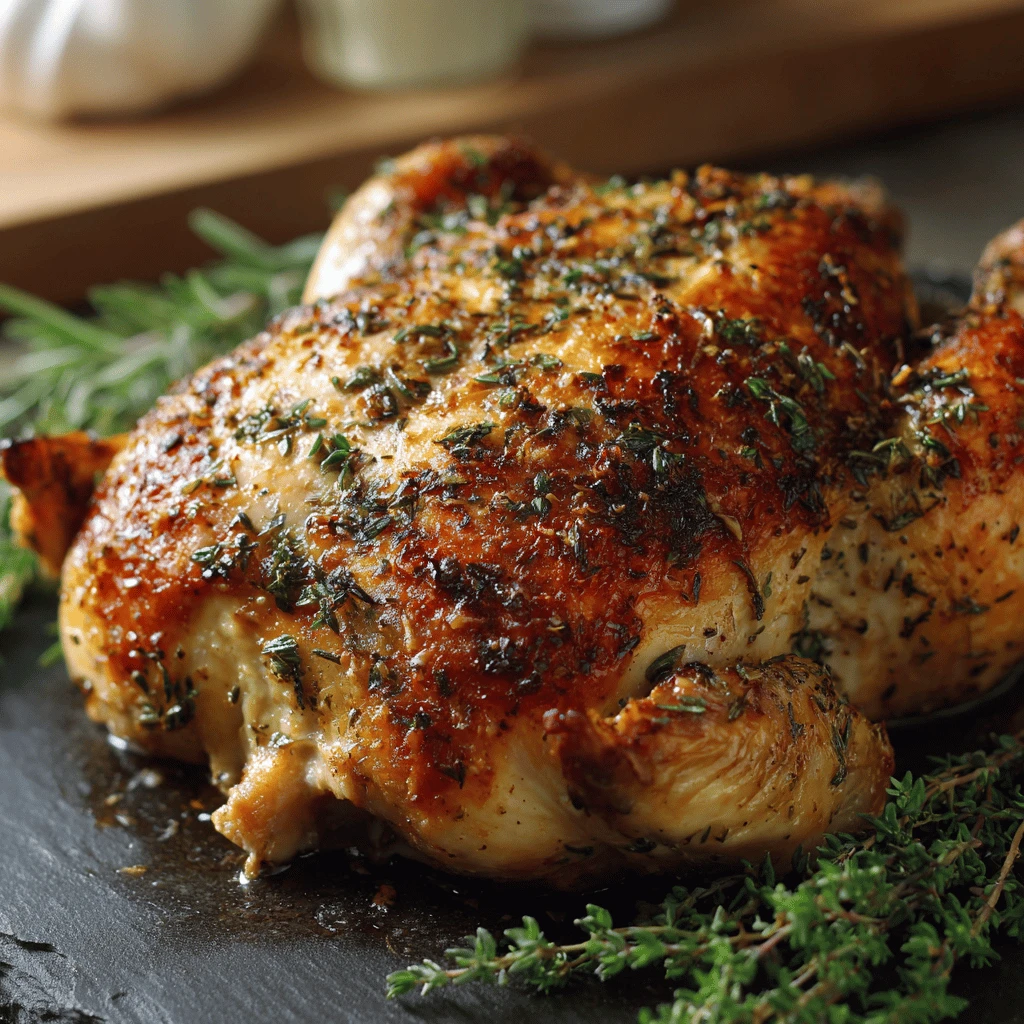
Garlic and Herb Roasted Chicken Roasted chicken is a timeless classic, a centerpiece dish that brings comfort and flavor to any table. But elevating this simple staple with the vibrant tastes of garlic and herbs takes it to a whole new level. This Garlic and Herb Roasted Chicken recipe is designed to be straightforward yet…
Garlic and Herb Roasted Chicken
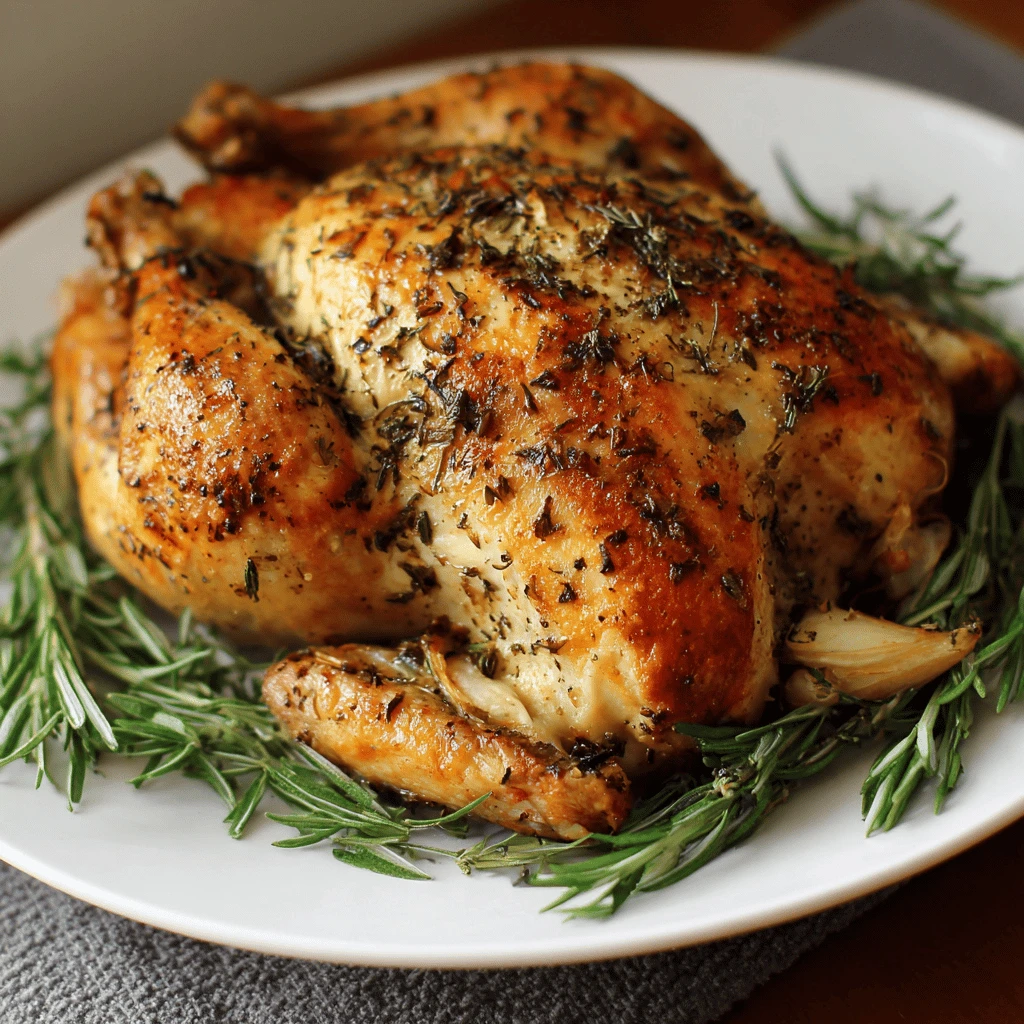
Roasted chicken is a timeless classic, a centerpiece dish that brings comfort and flavor to any table. But elevating this simple staple with the vibrant tastes of garlic and herbs takes it to a whole new level. This Garlic and Herb Roasted Chicken recipe is designed to be straightforward yet deliver exceptional results, promising a juicy, flavorful bird with crispy, golden-brown skin. Whether you’re a seasoned cook or just starting your culinary journey, this guide will equip you with everything you need to master this delicious dish.
Preparing Your Perfect Chicken
The foundation of a truly outstanding roasted chicken lies in the preparation. Starting with the right ingredients and taking a few key steps will set you up for success.
Choosing the Right Chicken
Selecting the best chicken is crucial. Opt for a whole chicken, ideally between 3 to 5 pounds. Look for chickens that are plump and have even coloring. If possible, choose an air-chilled chicken. Air-chilling results in crispier skin because it removes more moisture than traditional water-chilling methods. Consider organic or free-range options for enhanced flavor and ethical considerations.
Essential Ingredients for Flavor
The beauty of this recipe lies in its simplicity, yet the combination of garlic and herbs creates a symphony of flavors. Here’s what you’ll need:
- Fresh Herbs: Fresh herbs are the cornerstone of this recipe. A blend of rosemary, thyme, and sage works exceptionally well, but feel free to customize with your favorites like oregano or parsley. Aim for about 2-3 tablespoons of chopped herbs in total.
- Garlic: Garlic adds a pungent and savory depth to the chicken. You’ll need around 4-6 cloves, minced or crushed. Don’t be shy – garlic is key to the flavor profile.
- Lemon: A lemon not only adds brightness but also helps to tenderize the chicken. Use half a lemon, cut into wedges, to stuff inside the cavity.
- Olive Oil: Olive oil provides moisture and helps the herbs and garlic adhere to the chicken.
- Salt and Pepper: Essential for seasoning. Use kosher salt for best results, and freshly ground black pepper.
- Optional Additions: For even more flavor, consider adding onion wedges or carrots to the roasting pan. These will caramelize in the chicken drippings, adding a delicious side dish.
Preparing the Chicken for Roasting
Proper preparation ensures even cooking and maximum flavor penetration.
1. Pat Dry: Use paper towels to thoroughly dry the chicken, inside and out. This is crucial for achieving crispy skin.
2. Loosen the Skin: Gently loosen the skin over the breast and thighs using your fingers. This creates pockets where you can insert the herb and garlic mixture directly onto the meat.
3. Herb and Garlic Paste: In a small bowl, combine the minced garlic, chopped herbs, olive oil, salt, and pepper. Mix well to form a paste.
4. Apply the Paste: Carefully spread the herb and garlic paste under the skin of the breast and thighs. Rub the remaining paste all over the outside of the chicken.
5. Stuff the Cavity: Place the lemon wedges and a few sprigs of fresh herbs inside the chicken cavity.
6. Truss (Optional): Trussing the chicken helps it cook more evenly and maintains a compact shape. Use kitchen twine to tie the legs together. If you don’t want to truss, simply tuck the wing tips under the body of the chicken.
The Roasting Process: Achieving Perfection
With the chicken prepped, it’s time to focus on the roasting process itself. Temperature control and proper technique are vital for a juicy and flavorful bird.
Oven Temperature and Time
Roasting at the correct temperature is crucial. Start with a high temperature to achieve crispy skin, then lower it to ensure even cooking throughout.
- Initial High Heat: Preheat your oven to 450°F (232°C). Roast the chicken at this temperature for the first 15-20 minutes.
- Reduce Temperature: After the initial high heat, reduce the oven temperature to 350°F (175°C).
- Total Roasting Time: The total roasting time will depend on the size of your chicken. A general rule is to roast for 20 minutes per pound. Use a meat thermometer to ensure the chicken is cooked through.
Roasting Pan and Rack
The choice of roasting pan and whether or not to use a rack can significantly impact the final result.
- Roasting Pan: Use a sturdy roasting pan that’s large enough to accommodate the chicken without overcrowding.
- Roasting Rack (Recommended): Place the chicken on a roasting rack inside the pan. This allows hot air to circulate around the entire chicken, promoting even cooking and crispier skin. If you don’t have a rack, you can use chopped vegetables like onions, carrots, and celery to elevate the chicken.
- Adding Liquid (Optional): Pour about 1 cup of chicken broth or water into the bottom of the roasting pan. This helps to keep the chicken moist and creates flavorful pan drippings. Be mindful, this can result in steam and less crispy skin.
Monitoring and Basting
During the roasting process, it’s important to monitor the chicken’s progress and baste it periodically.
- Basting: Every 30 minutes, baste the chicken with the pan drippings. This helps to keep the skin moist and adds flavor.
- Meat Thermometer: The most reliable way to determine if the chicken is cooked through is to use a meat thermometer. Insert the thermometer into the thickest part of the thigh, being careful not to touch the bone. The internal temperature should reach 165°F (74°C).
Resting and Carving for Optimal Juiciness
Resting the chicken after roasting is crucial for retaining its juices. Proper carving ensures that you present the chicken beautifully and efficiently.
The Importance of Resting
Allowing the chicken to rest for at least 15-20 minutes after roasting is essential. During this time, the juices redistribute throughout the meat, resulting in a more moist and flavorful bird. Cover the chicken loosely with foil while it rests. This will help to keep it warm without steaming the skin.
Carving Techniques
Carving a roasted chicken can seem daunting, but with a few simple techniques, you can master it with ease.
1. Remove the Legs: Using a sharp carving knife, cut through the skin and joint connecting the leg to the body. Pull the leg away from the body and cut through the remaining joint to detach it completely. Repeat on the other side.
2. Separate the Thigh and Drumstick: Find the joint connecting the thigh and drumstick and cut through it to separate them.
3. Remove the Wings: Cut through the skin and joint connecting the wing to the body. Pull the wing away from the body and cut through the remaining joint to detach it. Repeat on the other side.
4. Carve the Breast: Locate the breastbone in the center of the chicken. Using your carving knife, slice down along one side of the breastbone, following the curve of the ribs. Repeat on the other side. You should now be able to lift the entire breast off the carcass. Slice the breast meat into even pieces.
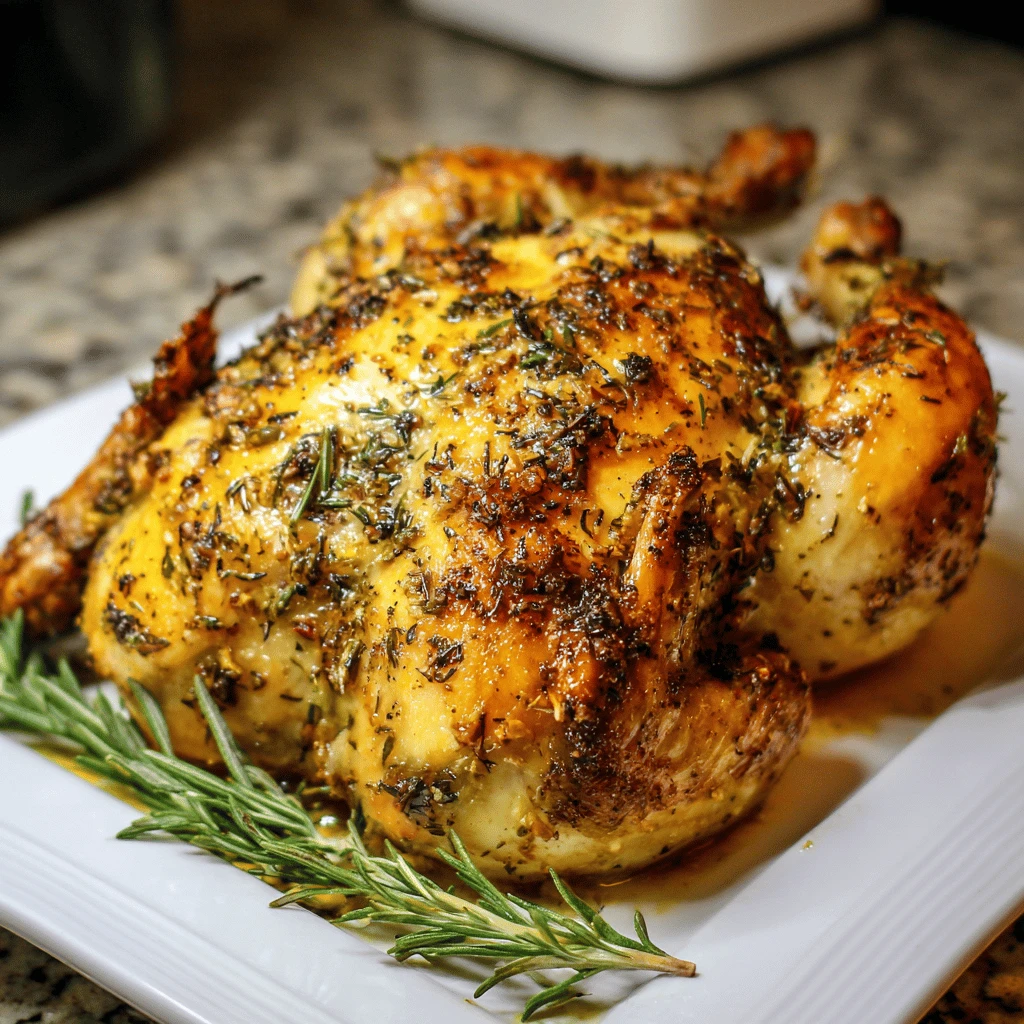
Presenting Your Masterpiece
Arrange the carved chicken on a platter, garnishing with fresh herbs and lemon wedges. Drizzle with pan juices for added flavor and moisture.
Serving Suggestions and Creative Leftovers
Garlic and Herb Roasted Chicken is incredibly versatile and pairs well with a variety of side dishes. Don’t let any leftovers go to waste – there are countless ways to transform them into new and exciting meals.
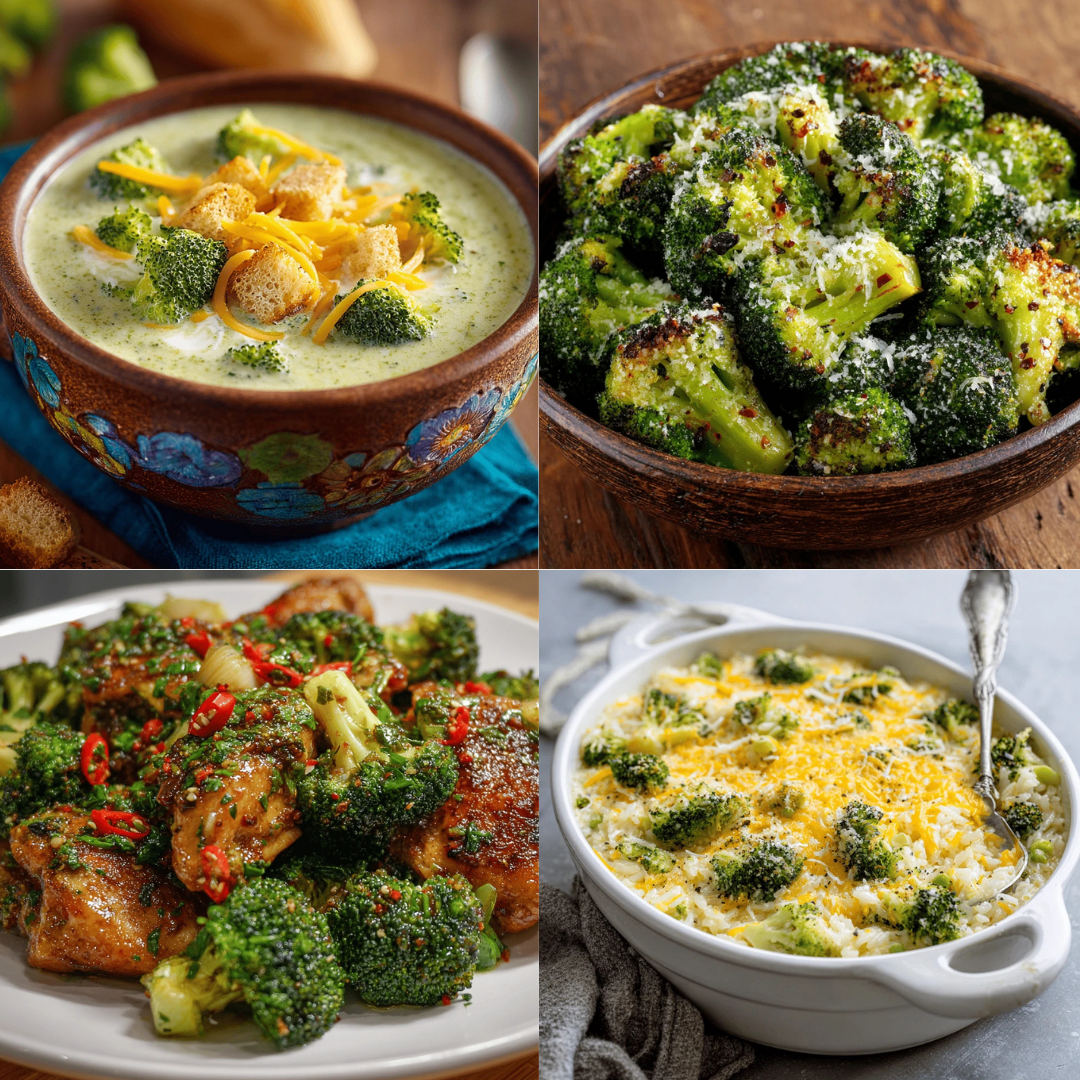
Perfect Side Dish Pairings
- Roasted Vegetables: Root vegetables like carrots, potatoes, and parsnips roast beautifully alongside the chicken, absorbing the flavorful drippings.
- Mashed Potatoes: Creamy mashed potatoes are a classic accompaniment to roasted chicken.
- Green Salad: A fresh green salad with a light vinaigrette provides a refreshing contrast to the richness of the chicken.
- Rice Pilaf: A flavorful rice pilaf complements the herbed chicken perfectly.
- Stuffing: Classic stuffing makes any roast chicken dinner complete.
Delicious Leftover Transformations
- Chicken Salad: Shred leftover chicken and mix it with mayonnaise, celery, onion, and seasonings for a delicious chicken salad sandwich or salad topping.
- Chicken Soup: Use the leftover chicken carcass to make a flavorful chicken broth. Add shredded chicken, vegetables, and noodles for a comforting soup.
- Chicken Tacos: Shred leftover chicken and use it as a filling for tacos, burritos, or enchiladas.
- Chicken Pot Pie: Transform leftover chicken into a comforting chicken pot pie with a flaky crust.
- Chicken Pasta: Add shredded chicken to your favorite pasta dish for a quick and easy meal.
Frequently Asked Questions
Here are some common questions about making Garlic and Herb Roasted Chicken:
-
- How do I prevent the chicken from drying out?
Ensure you pat the chicken dry before roasting.
Baste the chicken with pan juices every 30 minutes.
Don't overcook the chicken. Use a meat thermometer to check for doneness.
Let the chicken rest for at least 15-20 minutes before carving.
-
- Can I use dried herbs instead of fresh herbs?
Yes, you can use dried herbs, but fresh herbs will provide a more vibrant flavor. If using dried herbs, use about 1 teaspoon of each herb.
-
- What if I don’t have a roasting rack?
You can use chopped vegetables like onions, carrots, and celery to elevate the chicken in the roasting pan.
-
- Can I prepare the chicken ahead of time?
Yes, you can prepare the chicken up to 24 hours in advance. Apply the herb and garlic paste and store the chicken in the refrigerator until ready to roast.
-
- How do I get crispy chicken skin?
Start with a dry chicken.
Roast at a high temperature initially.
Use a roasting rack to allow air to circulate around the chicken.
Avoid overcrowding the pan.