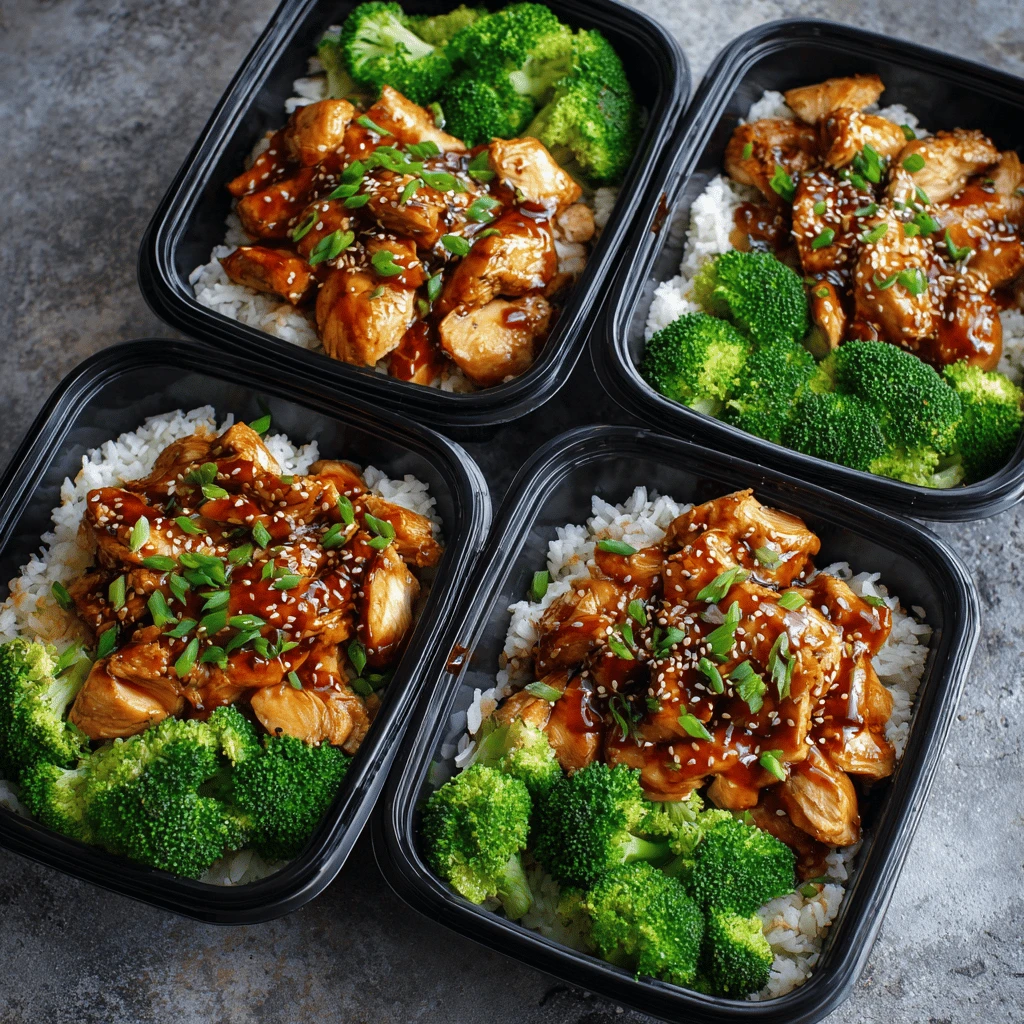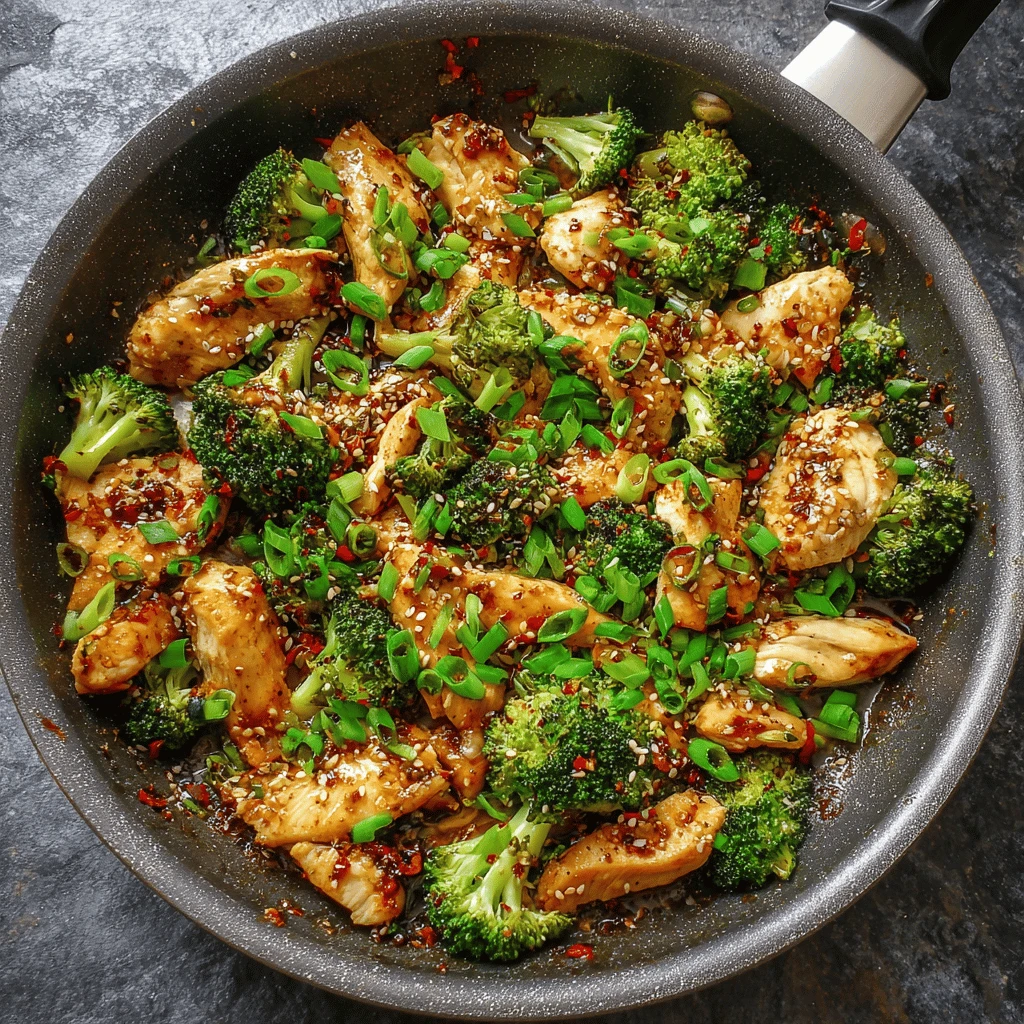
Broccoli and Chicken Skillet: A Delicious and Easy One-Pan Meal The Broccoli and Chicken Skillet: It’s a weeknight dinner champion, a flavorful lunch option, and a meal prep superstar all rolled into one. This dish combines tender chicken, crisp-tender broccoli, and a delicious sauce, all cooked in a single skillet for easy cleanup. Forget complicated…
Broccoli and Chicken Skillet: A Delicious and Easy One-Pan Meal
The Broccoli and Chicken Skillet: It’s a weeknight dinner champion, a flavorful lunch option, and a meal prep superstar all rolled into one. This dish combines tender chicken, crisp-tender broccoli, and a delicious sauce, all cooked in a single skillet for easy cleanup. Forget complicated recipes and mountains of dishes – this recipe delivers big flavor with minimal effort.
Why You’ll Love This Broccoli and Chicken Skillet Recipe
This isn’t just another chicken recipe; it’s a complete meal bursting with flavor and nutrients. Here’s why you’ll be adding it to your regular rotation:
- Quick and Easy: Ready in under 30 minutes, making it perfect for busy weeknights.
- One-Pan Wonder: Minimal cleanup is always a win!
- Healthy and Delicious: Packed with protein, fiber, and essential vitamins.
- Customizable: Easily adapted to your preferences and dietary needs.
- Versatile: Serve it over rice, quinoa, pasta, or enjoy it as is.
Mastering the Basics: Ingredients and Preparation
The success of any Broccoli and Chicken Skillet hinges on using fresh, high-quality ingredients and employing proper cooking techniques. Here’s a breakdown of everything you need and how to prepare it for optimal results:
The Star Ingredients
- Chicken Breast: Boneless, skinless chicken breasts are ideal. You can also use chicken thighs for a richer flavor. Cut the chicken into bite-sized pieces for even cooking.
- Broccoli Florets: Fresh broccoli is best, but frozen broccoli florets can be used in a pinch. If using frozen, make sure to thaw and drain them well before adding them to the skillet.
- Garlic: Freshly minced garlic adds a pungent and aromatic flavor to the dish.
- Olive Oil: Used for sautéing the chicken and vegetables.
- Soy Sauce: Provides a savory and umami-rich base for the sauce. Use low-sodium soy sauce to control the salt content.
- Brown Sugar: Adds a touch of sweetness to balance the saltiness of the soy sauce.
- Ginger: Freshly grated ginger adds a warm and spicy note to the sauce. Ginger paste can be used as a substitute.
- Sesame Oil: A small amount of sesame oil adds a nutty and aromatic flavor to the finished dish.
- Cornstarch: Used to thicken the sauce.
- Red Pepper Flakes (Optional): For a touch of heat.
- Sesame Seeds (Optional): For garnish.
- Green Onions (Optional): For garnish.
Preparation Steps
1. Prepare the Chicken: Cut the chicken breast into bite-sized pieces, about 1-inch cubes. Season with salt and pepper.
2. Prepare the Broccoli: Wash and cut the broccoli into small florets.
3. Make the Sauce: In a small bowl, whisk together the soy sauce, brown sugar, grated ginger, minced garlic, sesame oil, cornstarch, and red pepper flakes (if using).
4. Mince the Garlic: Finely mince the garlic to release its flavor.
5. Grate the Ginger: Use a fine grater to grate the fresh ginger.
Cooking Your Broccoli and Chicken Skillet: A Step-by-Step Guide
With your ingredients prepped and ready, it’s time to get cooking! Follow these steps for a perfectly cooked and flavorful Broccoli and Chicken Skillet:
1. Sauté the Chicken: Heat the olive oil in a large skillet over medium-high heat. Add the chicken and cook until browned on all sides and cooked through, about 5-7 minutes. Remove the chicken from the skillet and set aside.
2. Cook the Broccoli: Add the broccoli florets to the skillet and cook until crisp-tender, about 5-7 minutes. You may need to add a tablespoon or two of water to the skillet to help steam the broccoli.
3. Add the Sauce: Pour the sauce over the broccoli and bring to a simmer. Cook until the sauce has thickened, about 1-2 minutes.
4. Combine and Simmer: Return the cooked chicken to the skillet and stir to combine with the broccoli and sauce. Simmer for a few more minutes to allow the flavors to meld together.
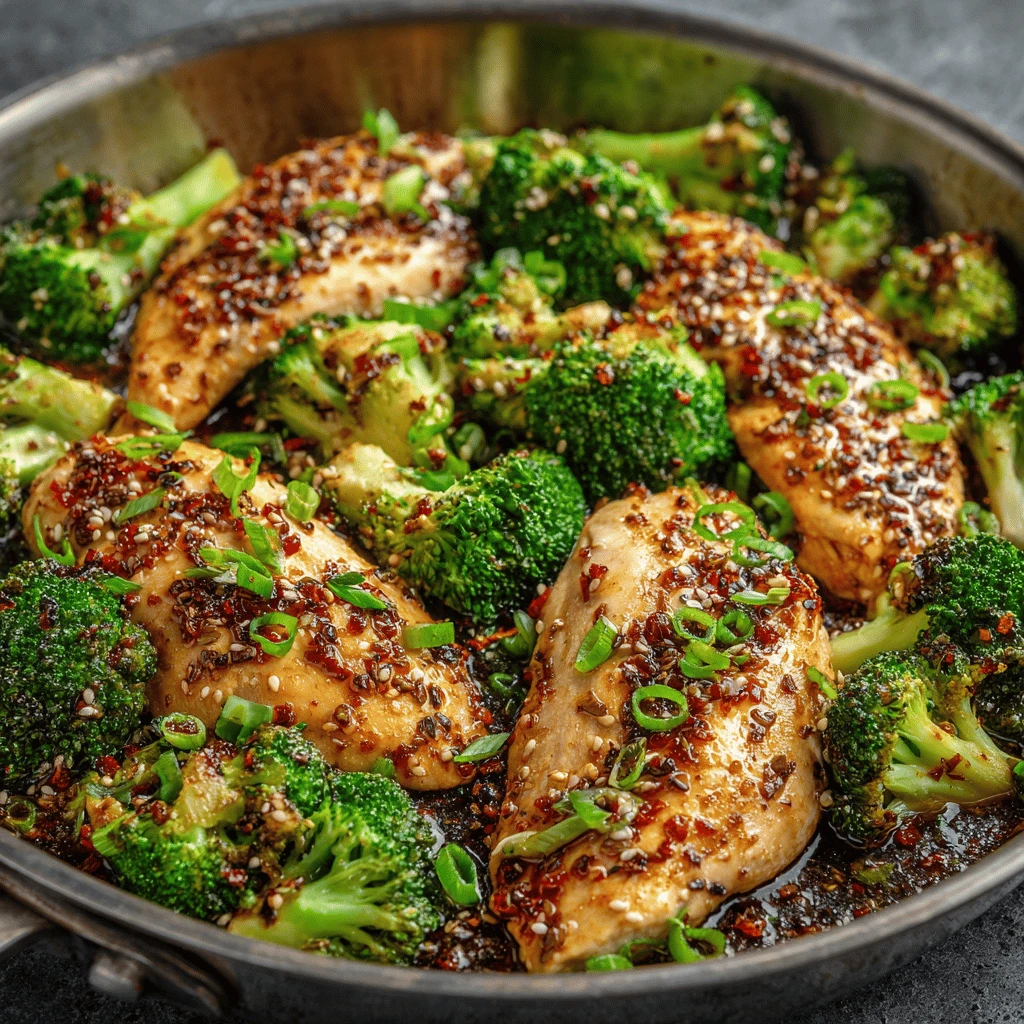
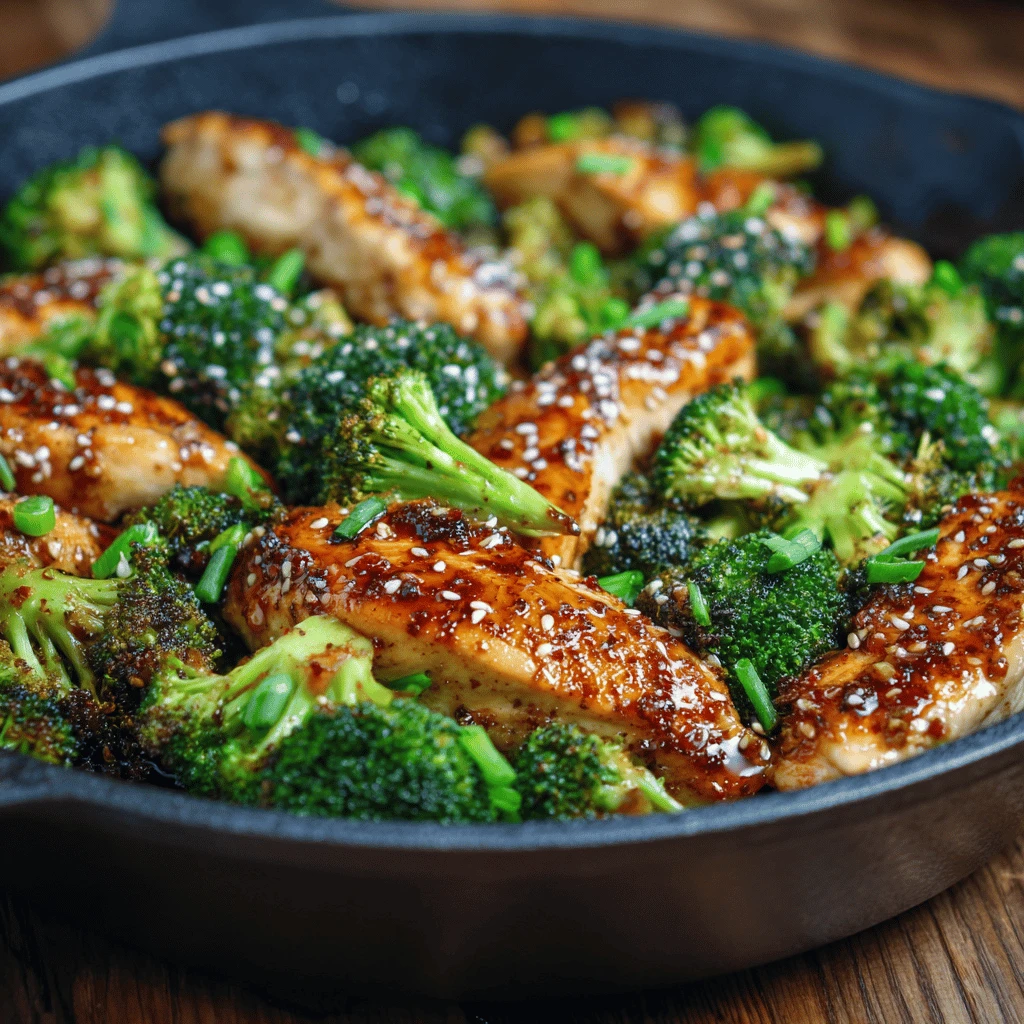
5. Garnish and Serve: Garnish with sesame seeds and sliced green onions (if using). Serve over rice, quinoa, pasta, or enjoy it as is.
Pro Tips for the Perfect Skillet
- Don’t Overcrowd the Skillet: Cook the chicken in batches if necessary to avoid overcrowding the skillet. Overcrowding will lower the temperature and prevent the chicken from browning properly.
- Use a Large Skillet: A large skillet will provide enough space for the chicken and broccoli to cook evenly. A 12-inch skillet is ideal.
- Adjust the Sauce to Your Taste: Feel free to adjust the amount of soy sauce, brown sugar, ginger, and red pepper flakes to your liking.
- Don’t Overcook the Broccoli: The broccoli should be crisp-tender, not mushy.
- For Extra Flavor: Add a splash of rice vinegar or a squeeze of lemon juice to the finished dish for a bright and tangy flavor.
Variations and Adaptations: Making It Your Own
One of the best things about this Broccoli and Chicken Skillet recipe is its versatility. Here are a few variations and adaptations to try:
- Add Vegetables: Incorporate other vegetables like bell peppers, carrots, snap peas, or mushrooms.
- Spice it Up: Increase the amount of red pepper flakes or add a dash of chili garlic sauce for extra heat.
- Make it Gluten-Free: Use tamari instead of soy sauce to make the recipe gluten-free.
- Add Nuts: Sprinkle some chopped peanuts or cashews over the finished dish for added crunch and flavor.
- Creamy Version: Stir in a dollop of plain Greek yogurt or a splash of coconut milk at the end for a creamier sauce.
- Honey Garlic Chicken and Broccoli: Replace the brown sugar with honey for a different flavor profile.
- Lemon Chicken and Broccoli: Add lemon juice and zest for a bright and citrusy flavor.
Serving and Storing Your Broccoli and Chicken Skillet
Now that you’ve created a delicious Broccoli and Chicken Skillet, let’s talk about how to best serve and store it:
Serving Suggestions
- Over Rice: Serve over steamed white rice, brown rice, or jasmine rice.
- With Quinoa: For a healthier option, serve over cooked quinoa.
- With Pasta: Toss with your favorite pasta, such as spaghetti, linguine, or penne.
- As a Salad Topping: Use it as a protein-packed topping for a green salad.
- In Lettuce Wraps: Serve in crisp lettuce cups for a light and refreshing meal.
- With Noodles: Serve with stir-fried noodles.
Storing and Reheating
- Storage: Store leftover Broccoli and Chicken Skillet in an airtight container in the refrigerator for up to 3-4 days.
- Reheating: Reheat in a skillet over medium heat or in the microwave until heated through. Add a splash of water or broth if the sauce has thickened too much.
Frequently Asked Questions (FAQ)
- Can I use frozen broccoli? Yes, you can use frozen broccoli. Thaw and drain it well before adding it to the skillet.
- Can I use chicken thighs instead of chicken breasts? Yes, chicken thighs can be used for a richer flavor.
- How do I prevent the broccoli from getting mushy? Don’t overcook the broccoli. It should be crisp-tender.
- Can I make this recipe ahead of time? Yes, you can make the sauce ahead of time. Store it in an airtight container in the refrigerator for up to 3 days.
- Is this recipe gluten-free? No, this recipe is not gluten-free because it uses soy sauce. Use tamari instead of soy sauce to make it gluten-free.
- How do I make the sauce thicker? If the sauce is not thick enough, whisk together 1 teaspoon of cornstarch with 1 tablespoon of cold water and add it to the skillet. Cook until the sauce has thickened.
- Can I add other vegetables? Yes, you can add other vegetables like bell peppers, carrots, snap peas, or mushrooms.
- How long does it last in the fridge? The cooked dish lasts for about 3-4 days in the refrigerator.
- What can I serve it with? It’s great with rice, quinoa, noodles, or even cauliflower rice for a lower-carb option.