Classic Beef Chili Classic beef chili is a timeless comfort food, perfect for chilly evenings, game days, or anytime you crave a hearty and flavorful meal. This robust dish, featuring tender beef, vibrant vegetables, and a medley of spices, is surprisingly easy to make and endlessly customizable. This article will guide you through creating the…
Classic Beef Chili
Classic beef chili is a timeless comfort food, perfect for chilly evenings, game days, or anytime you crave a hearty and flavorful meal. This robust dish, featuring tender beef, vibrant vegetables, and a medley of spices, is surprisingly easy to make and endlessly customizable. This article will guide you through creating the perfect pot of classic beef chili, exploring the best ingredients, techniques, and variations to suit your taste.
The Foundation: Beef and Beans
The heart of any good beef chili is, of course, the beef. The cut of beef you choose will significantly impact the final texture and flavor.
- Choosing the Right Beef: Chuck roast is generally considered the gold standard for chili. It’s relatively inexpensive, contains good marbling (fat), and becomes incredibly tender as it simmers. Other suitable options include sirloin or even ground beef, though the latter will yield a less chunky chili. If using chuck roast, trim any excess fat and cut it into 1-inch cubes.
- Browning the Beef: This is a crucial step. Browning the beef develops a rich, savory crust that adds depth of flavor to the entire chili. Work in batches to avoid overcrowding the pot, ensuring each piece gets nicely browned. Remove the beef from the pot and set aside.
- Beans or No Beans? The bean debate is a long-standing one in the chili world. Purists argue that true chili should contain no beans, focusing solely on the meat. However, beans add texture, fiber, and heartiness. Kidney beans, pinto beans, and black beans are all excellent choices. Canned beans are convenient, but dried beans, soaked overnight and cooked until tender, offer superior flavor and texture. If using canned beans, rinse them thoroughly before adding them to the chili.
Building Flavor: Aromatics, Vegetables, and Spices
With the beef prepped, it’s time to build layers of flavor with aromatics, vegetables, and a blend of spices.
- The Aromatic Base: Onions, garlic, and bell peppers form the foundation of the chili’s flavor profile. Dice the onions and bell peppers and sauté them in the same pot used to brown the beef, scraping up any browned bits from the bottom (this is called “deglazing” and adds tremendous flavor). Cook until the vegetables are softened. Add minced garlic and cook for another minute until fragrant.
- Vegetable Variations: While onions, garlic, and bell peppers are essential, you can also add other vegetables to enhance the chili’s flavor and texture. Diced celery, carrots, or even corn can be incorporated. For a touch of sweetness, consider adding a small amount of diced sweet potato.
- The Spice Blend: The spice blend is what truly defines chili. The exact combination and proportions are a matter of personal preference, but some essential spices include chili powder, cumin, oregano, paprika (smoked paprika adds a wonderful smoky flavor), and cayenne pepper for heat. Experiment with different amounts of each spice to find your perfect blend. Consider adding a pinch of cocoa powder or cinnamon for an extra layer of complexity.
- Adding Acidity: A touch of acidity helps to balance the richness of the chili. Diced tomatoes (canned or fresh), tomato paste, and a splash of apple cider vinegar or lime juice can all be used to add acidity.
The Simmer: Bringing it All Together
Once the aromatics, vegetables, and spices are combined, it’s time to add the beef back to the pot and let the chili simmer.
- Liquid Base: Add enough liquid to cover the beef and vegetables. Beef broth is the classic choice, but chicken broth or even water can be used. Some people also add beer or coffee for extra depth of flavor.
- Simmering Time: The longer the chili simmers, the more the flavors will meld together and the beef will become more tender. Aim for at least 2-3 hours of simmering time, or even longer if possible. Check the chili periodically and add more liquid if necessary to prevent it from drying out.
- Adjusting the Consistency: If the chili is too thin, you can thicken it by simmering it uncovered for a while or by adding a cornstarch slurry (mix cornstarch with a little cold water before adding it to the chili). If the chili is too thick, add more liquid.
Serving and Toppings: The Finishing Touches
The chili is ready to serve! But the experience isn’t complete without the right toppings.
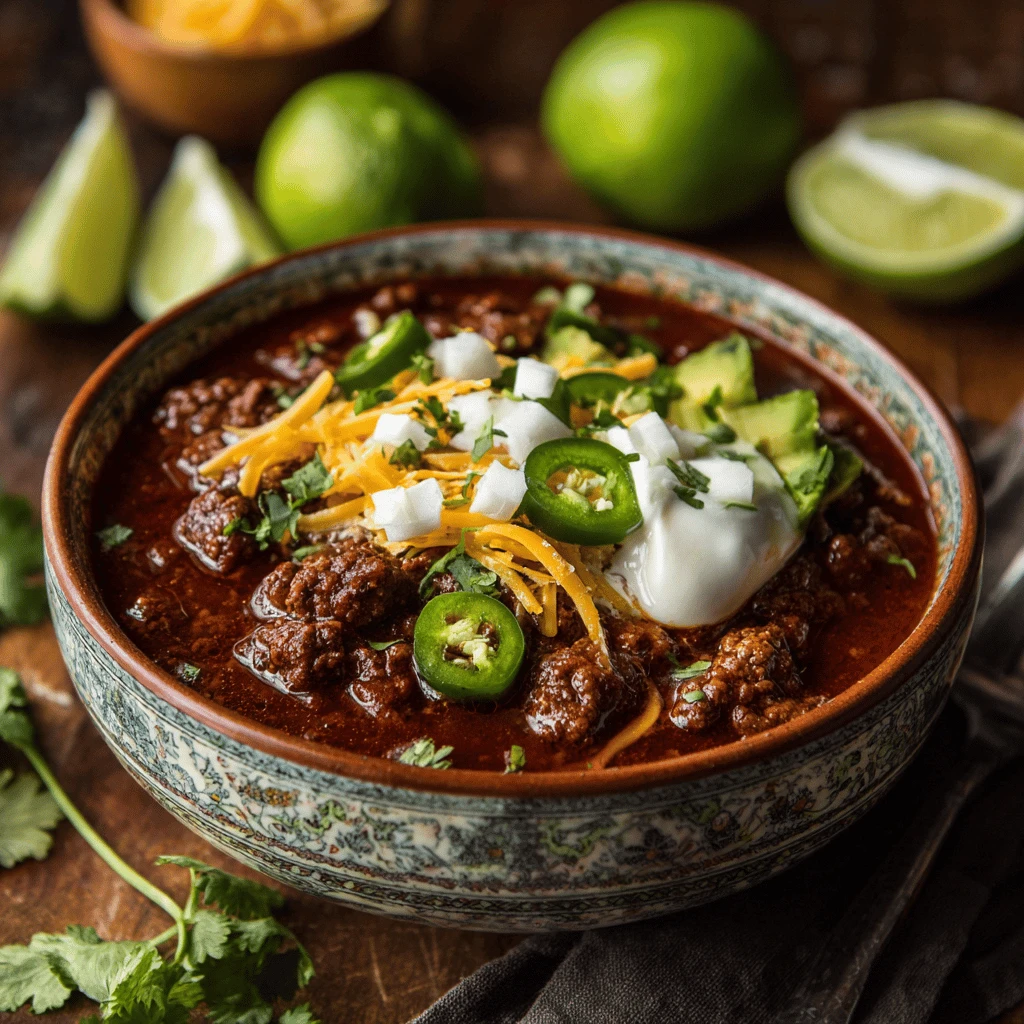
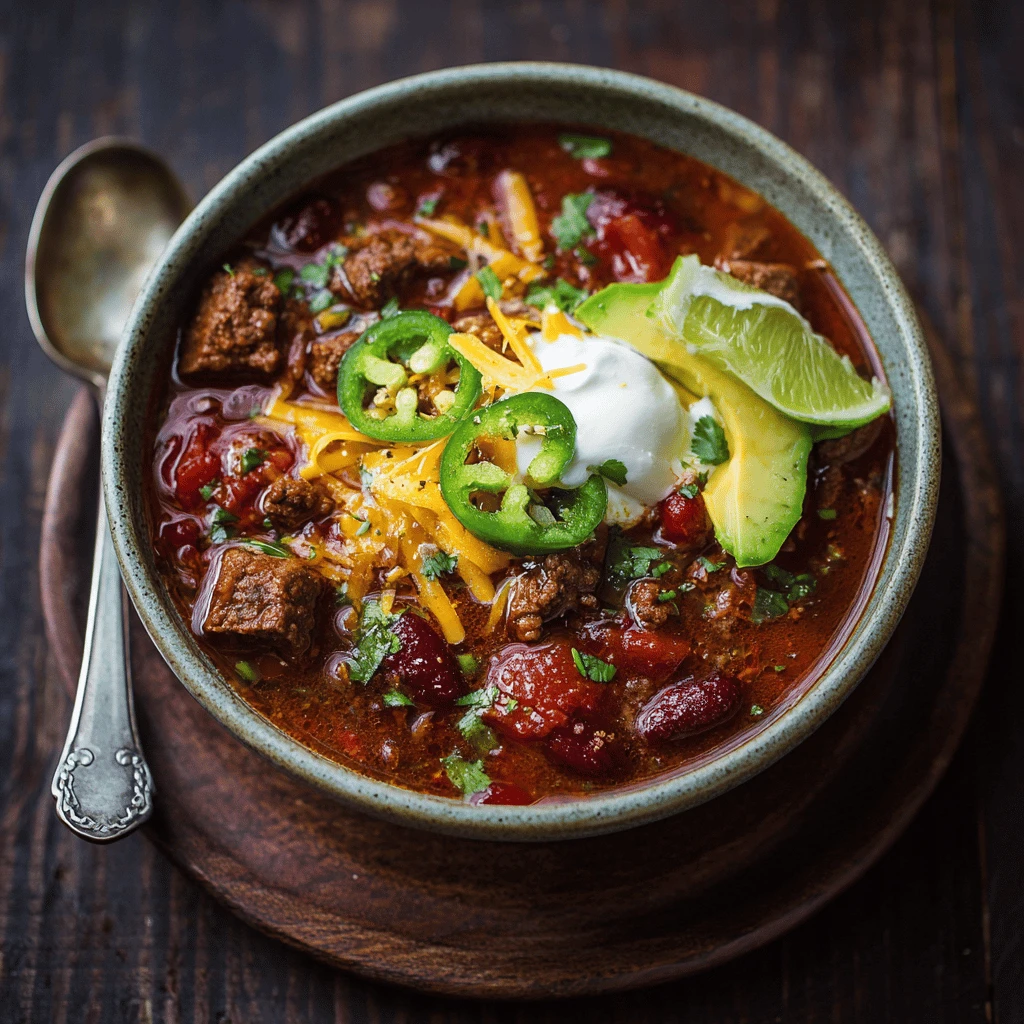
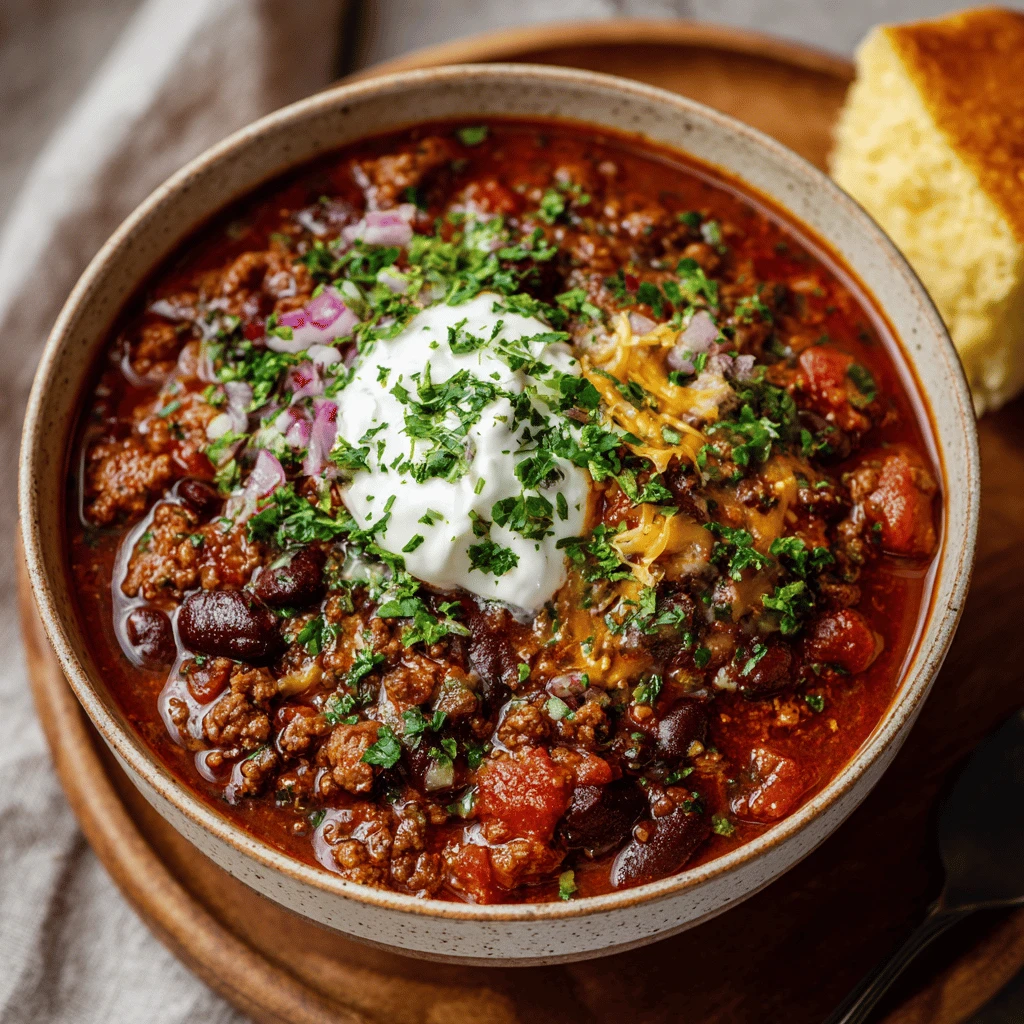
- Classic Toppings: Shredded cheese (cheddar, Monterey Jack, or pepper jack), sour cream or Greek yogurt, chopped onions, and cilantro are classic chili toppings.
- Other Options: Diced avocado, jalapenos, a dollop of guacamole, or even a fried egg can add extra flavor and texture.
- Serving Suggestions: Serve the chili in bowls or mugs, accompanied by cornbread, tortilla chips, or a side salad. Chili is also great on top of baked potatoes, nachos, or even hot dogs.
Variations and Adaptations: Making it Your Own
Classic beef chili is a versatile dish that can be easily adapted to suit your preferences.
- Spicy Chili: Add more cayenne pepper, hot sauce, or diced jalapenos to increase the heat level. You can also use hotter varieties of chili powder.
- Vegetarian Chili: Omit the beef and add more vegetables, such as mushrooms, zucchini, or eggplant. Use vegetable broth instead of beef broth.
- White Chicken Chili: Substitute chicken for beef and use white beans instead of kidney beans or pinto beans. Add green chilies and cumin for a Southwestern flavor.
- Slow Cooker Chili: Brown the beef and sauté the vegetables as directed in the recipe. Then, transfer everything to a slow cooker and cook on low for 6-8 hours or on high for 3-4 hours.
- Pressure Cooker Chili: Use a pressure cooker to significantly reduce the cooking time. Follow the manufacturer’s instructions for your specific pressure cooker.
- Sweet Chili: A little brown sugar can be added to balance the spices.
Frequently Asked Questions
- How do I store leftover chili? Let the chili cool completely before storing it in an airtight container in the refrigerator for up to 3-4 days.
- Can I freeze chili? Yes, chili freezes very well. Let it cool completely before storing it in a freezer-safe container for up to 2-3 months.
- How do I reheat chili? Reheat chili in a saucepan over medium heat, stirring occasionally, until heated through. You can also reheat it in the microwave.
- What kind of beer goes well with chili? A dark, malty beer like a porter or stout pairs well with the rich flavors of chili. An amber ale or a crisp lager are also good choices.
- Can I make chili in advance? Yes, chili is often even better the next day after the flavors have had a chance to meld together. Make it a day or two in advance and store it in the refrigerator until ready to reheat and serve.
- What if my chili is too spicy? Add a dollop of sour cream or Greek yogurt to each serving to help cool it down. You can also add a little sugar or honey to the chili to balance the heat.