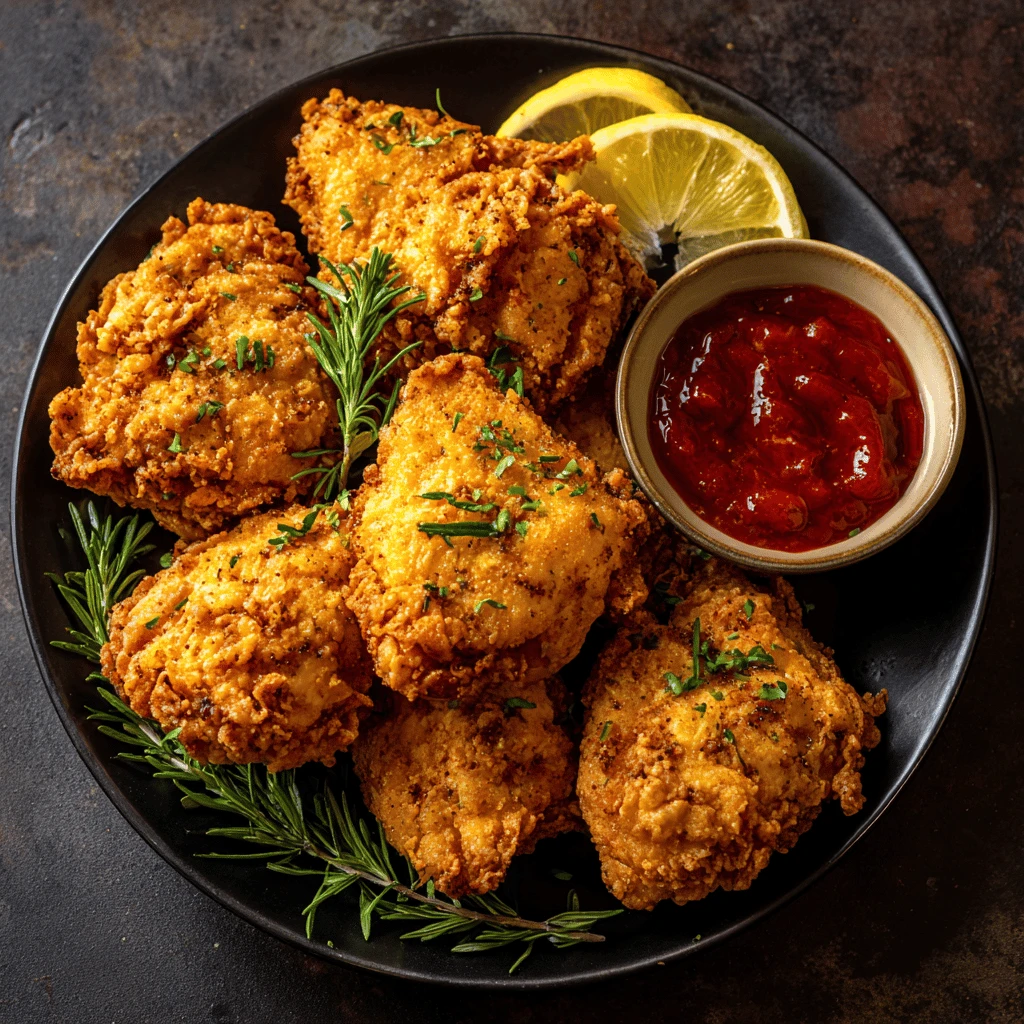
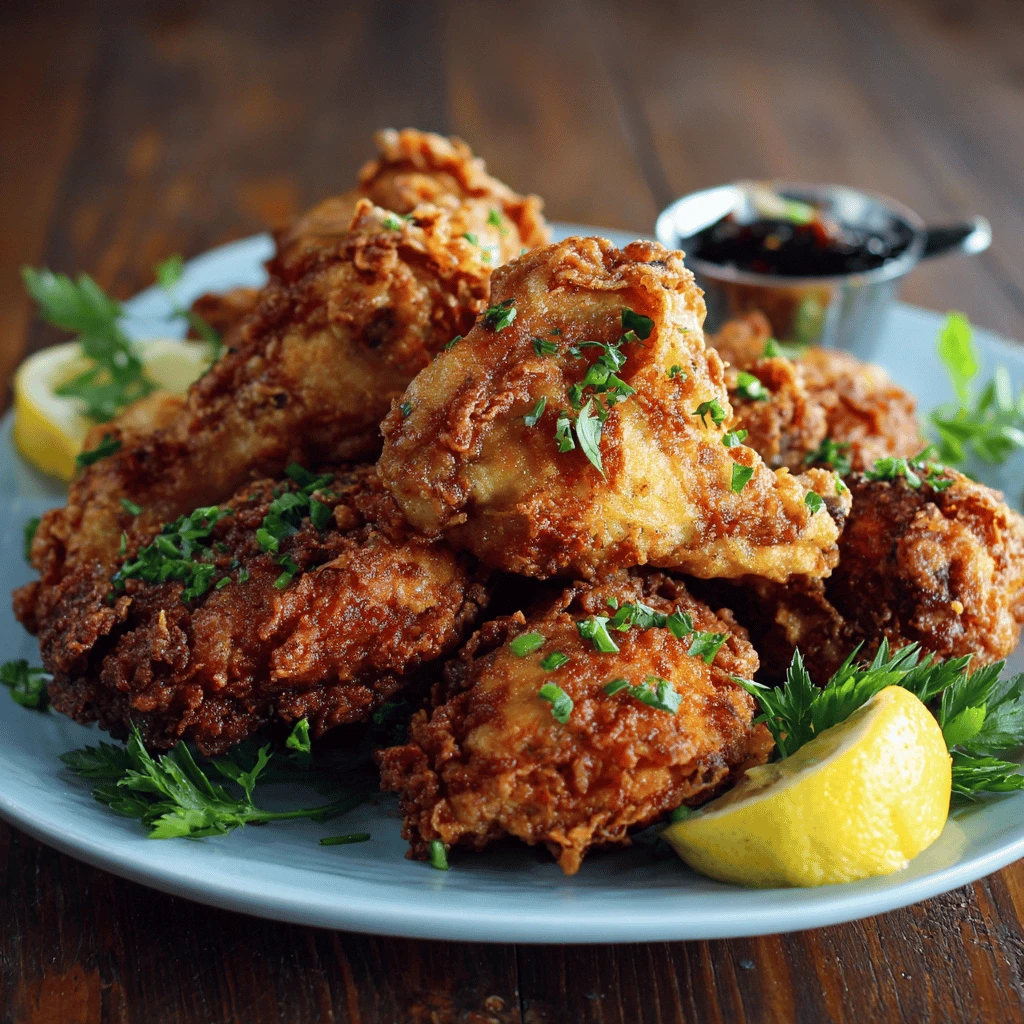
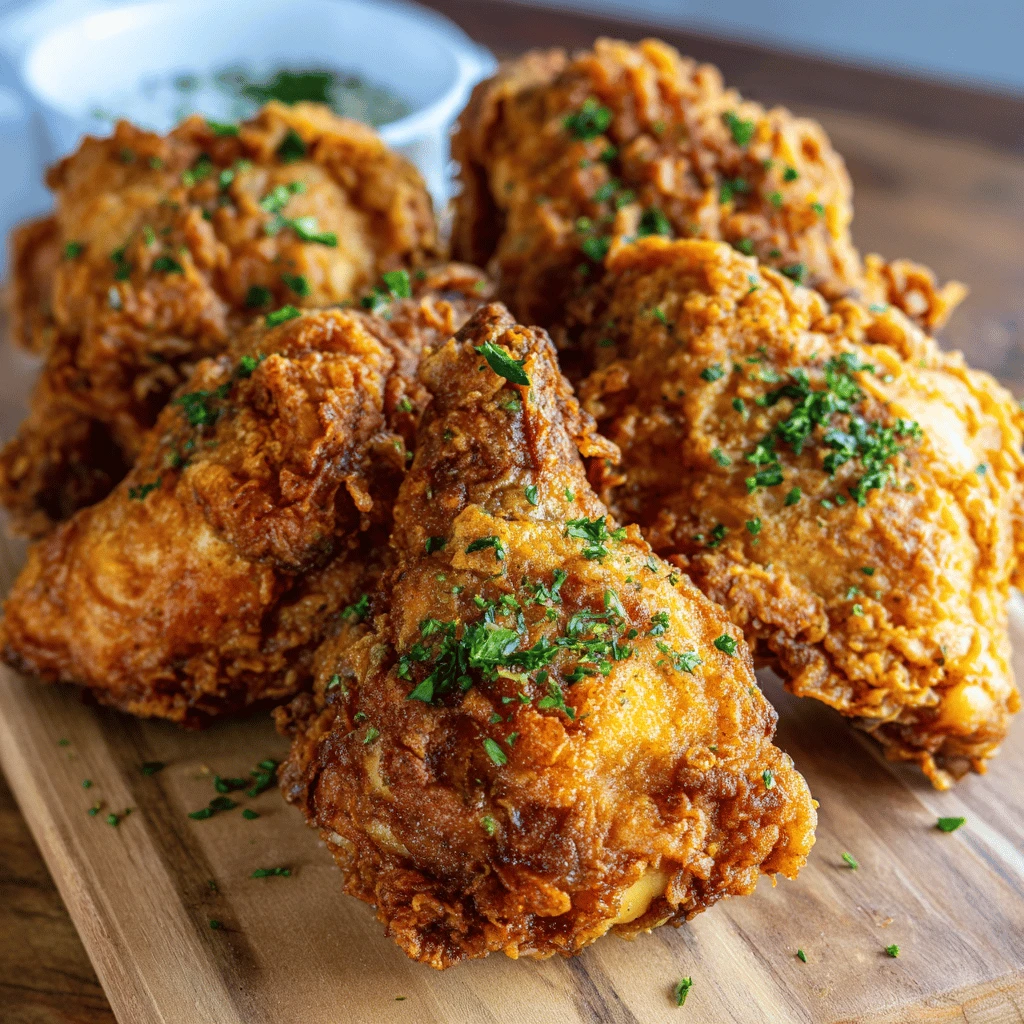
Crispy Buttermilk Fried Chicken Crispy Buttermilk Fried Chicken. The name alone conjures images of golden-brown perfection, a symphony of textures and flavors that dance on the palate. But achieving that ideal crispiness and juicy interior can seem like a culinary challenge. Fear not! This guide will demystify the process, providing you with all the secrets…
Crispy Buttermilk Fried Chicken
Crispy Buttermilk Fried Chicken. The name alone conjures images of golden-brown perfection, a symphony of textures and flavors that dance on the palate. But achieving that ideal crispiness and juicy interior can seem like a culinary challenge. Fear not! This guide will demystify the process, providing you with all the secrets to creating restaurant-quality crispy buttermilk fried chicken in your own kitchen.
The Magic of Buttermilk: Tenderizing and Flavoring
Buttermilk isn’t just a liquid; it’s a key ingredient that elevates fried chicken from ordinary to extraordinary. Its acidity tenderizes the chicken, breaking down proteins and resulting in incredibly juicy meat. The subtle tang of buttermilk also adds a complex layer of flavor that complements the richness of the fried chicken.
Why Buttermilk is Essential
The benefits of using buttermilk extend beyond tenderizing and flavoring. The slight acidity also helps the coating adhere better to the chicken, leading to a thicker, more satisfying crust. Furthermore, buttermilk helps to create a more even browning during frying.
Making Your Own Buttermilk Substitute
If you don’t have buttermilk on hand, don’t worry! You can easily make a substitute. Combine 1 tablespoon of white vinegar or lemon juice with enough milk to measure 1 cup. Stir and let it sit for 5-10 minutes until the mixture curdles slightly. This quick substitute will provide similar tenderizing and flavor-enhancing effects.
Achieving the Ultimate Crispy Coating: Flour Power
The coating is where the magic truly happens. It’s the shield that protects the chicken from the hot oil and transforms into a delightful, crunchy crust. The choice of flour and the addition of seasonings are crucial for achieving the desired texture and flavor.
Flour Selection: All-Purpose vs. Self-Rising
While all-purpose flour is a reliable choice, some cooks prefer self-rising flour for its added lift and lightness. Self-rising flour contains baking powder and salt, which contribute to a puffier, more delicate crust. However, be mindful of the salt content if using self-rising flour and adjust the seasoning accordingly.
Seasoning Secrets: Flavor Beyond Salt and Pepper
Don’t be afraid to experiment with different seasonings to create a unique flavor profile. Paprika adds color and a subtle smoky note, while garlic powder and onion powder provide savory depth. A pinch of cayenne pepper or a dash of hot sauce can add a delightful kick. Consider including herbs like thyme, oregano, or rosemary for an earthy aroma.
The Double Dredge Technique: Maximum Crispy
For the ultimate crispy coating, employ the double-dredge technique. After the initial buttermilk soak, dredge the chicken thoroughly in the seasoned flour mixture. Then, dip it back into the buttermilk and dredge it in the flour again. This creates a thicker, more textured coating that will yield a satisfyingly crunchy crust.
Frying Perfection: Temperature and Technique
The frying process is just as important as the ingredients. Maintaining the correct oil temperature is crucial for even cooking and preventing the chicken from becoming greasy or undercooked.
Choosing the Right Oil: High Smoke Point is Key
Select an oil with a high smoke point, such as canola oil, peanut oil, or vegetable oil. These oils can withstand the high temperatures required for frying without breaking down and imparting an unpleasant flavor to the chicken.
Maintaining the Ideal Oil Temperature: 325-350°F (160-175°C)
The ideal oil temperature for frying chicken is between 325-350°F (160-175°C). Use a deep-fry thermometer to monitor the temperature accurately. If the oil is too hot, the chicken will brown too quickly on the outside while remaining raw on the inside. If the oil is too cool, the chicken will absorb too much oil and become greasy.
Frying in Batches: Avoiding Overcrowding
Fry the chicken in batches to avoid overcrowding the pot. Overcrowding lowers the oil temperature and results in uneven cooking and greasy chicken. Allow the oil to return to the desired temperature between batches.
Safe Handling of Hot Oil
Always exercise caution when working with hot oil. Use long-handled tongs or a slotted spoon to carefully lower the chicken into the oil and remove it when it’s cooked through. Never leave hot oil unattended.
Achieving Juicy Chicken: Doneness and Resting
Crispy on the outside, juicy on the inside – that’s the goal. Knowing when the chicken is cooked through and allowing it to rest properly are essential for achieving this perfect balance.
Determining Doneness: Internal Temperature is Key
The best way to ensure the chicken is cooked through is to use a meat thermometer. Insert the thermometer into the thickest part of the chicken, avoiding the bone. The internal temperature should reach 165°F (74°C).
Visual Cues: Golden Brown and No Pink Juices
In addition to using a thermometer, you can also rely on visual cues. The chicken should be golden brown and the juices should run clear when pierced with a fork. If the juices are still pink, continue frying until the chicken is cooked through.
Resting the Chicken: Locking in the Juices
Once the chicken is cooked through, remove it from the oil and place it on a wire rack to drain. Allow the chicken to rest for at least 5-10 minutes before serving. This allows the juices to redistribute throughout the meat, resulting in a more tender and flavorful bite.
Serving and Storing Your Crispy Buttermilk Fried Chicken
Now that you’ve mastered the art of crispy buttermilk fried chicken, it’s time to enjoy the fruits of your labor.
Pairing Suggestions: Classic Sides and Creative Twists
Crispy buttermilk fried chicken is delicious on its own, but it’s even better when paired with complementary sides. Classic sides like mashed potatoes, coleslaw, macaroni and cheese, and green beans are always a hit. For a more creative twist, try pairing it with cornbread waffles, sweet potato fries, or a refreshing salad.
Storage and Reheating: Maintaining Crispiness
If you have leftover fried chicken, store it in an airtight container in the refrigerator. To reheat, preheat the oven to 350°F (175°C) and place the chicken on a wire rack. Bake for 15-20 minutes, or until heated through. This helps to crisp up the skin and prevent the chicken from becoming soggy. Alternatively, you can reheat the chicken in an air fryer for a similar result.
Frequently Asked Questions (FAQ)
- Why is my fried chicken not crispy? Several factors can contribute to soggy fried chicken. The oil temperature may be too low, causing the chicken to absorb too much oil. Overcrowding the pot can also lower the oil temperature. Finally, not allowing the chicken to rest on a wire rack after frying can cause the coating to steam and become soggy.
- Can I use boneless, skinless chicken breasts? Yes, you can use boneless, skinless chicken breasts, but they tend to dry out more easily than bone-in, skin-on pieces. Reduce the frying time accordingly and be sure to monitor the internal temperature carefully.
- How long should I marinate the chicken in buttermilk? Ideally, you should marinate the chicken in buttermilk for at least 4 hours, or preferably overnight. This allows the buttermilk to fully tenderize the chicken and infuse it with flavor.
- What can I do to prevent the breading from falling off? Make sure the chicken is completely dry before dredging it in the flour mixture. Also, press the flour mixture firmly onto the chicken to ensure it adheres properly. The double-dredge technique also helps to create a more secure coating.
- Can I fry the chicken in a cast iron skillet? Yes, a cast iron skillet is an excellent choice for frying chicken. It distributes heat evenly and retains heat well, which helps to maintain a consistent oil temperature.
- What is the best way to keep fried chicken warm? Place the fried chicken on a wire rack in a preheated oven at 200°F (93°C). This will help to keep the chicken warm and crispy without causing it to become soggy.
- Can I bake instead of fry the chicken? While baking won’t achieve the same level of crispiness as frying, it is a healthier alternative. Preheat the oven to 400°F (200°C) and bake the chicken for 30-40 minutes, or until cooked through.
- What type of flour is best for fried chicken? All-purpose flour is a standard choice, but some prefer self-rising flour for its added lightness. You can also use a combination of all-purpose flour and cornstarch for extra crispiness.
- How do I know when the oil is hot enough? Use a deep-fry thermometer to monitor the oil temperature. You can also test the oil by dropping a small piece of bread into it. If the bread browns quickly, the oil is hot enough.
- Why is my fried chicken greasy? The oil temperature may be too low, causing the chicken to absorb too much oil. Also, overcrowding the pot can lower the oil temperature. Make sure to maintain the ideal oil temperature and fry the chicken in batches.