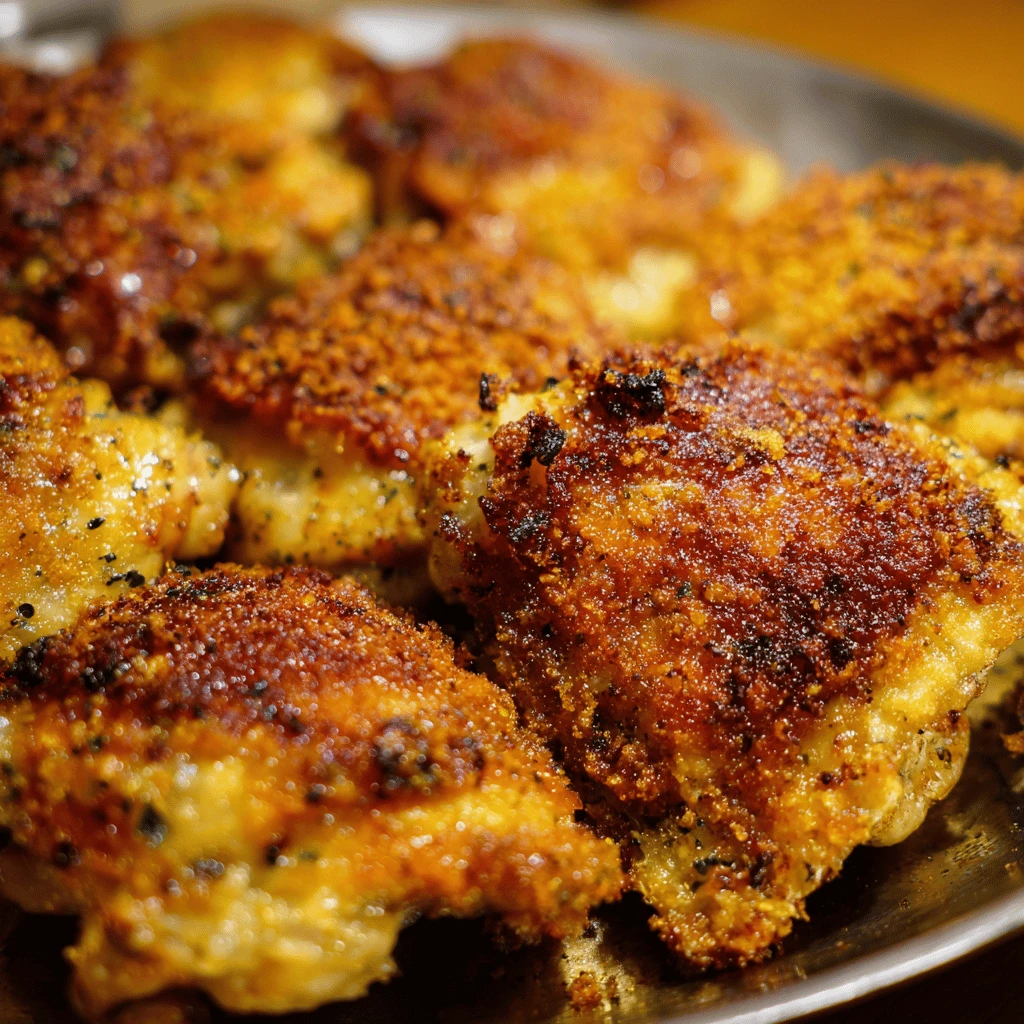
Crispy Chicken Thighs Easy Dinner Crispy chicken thighs are a weeknight dinner champion. They deliver big flavor and satisfying crunch without requiring hours in the kitchen. This recipe focuses on simple techniques and readily available ingredients, ensuring a delicious and easy meal for everyone. Forget complicated steps – we’re all about maximum taste with minimum…
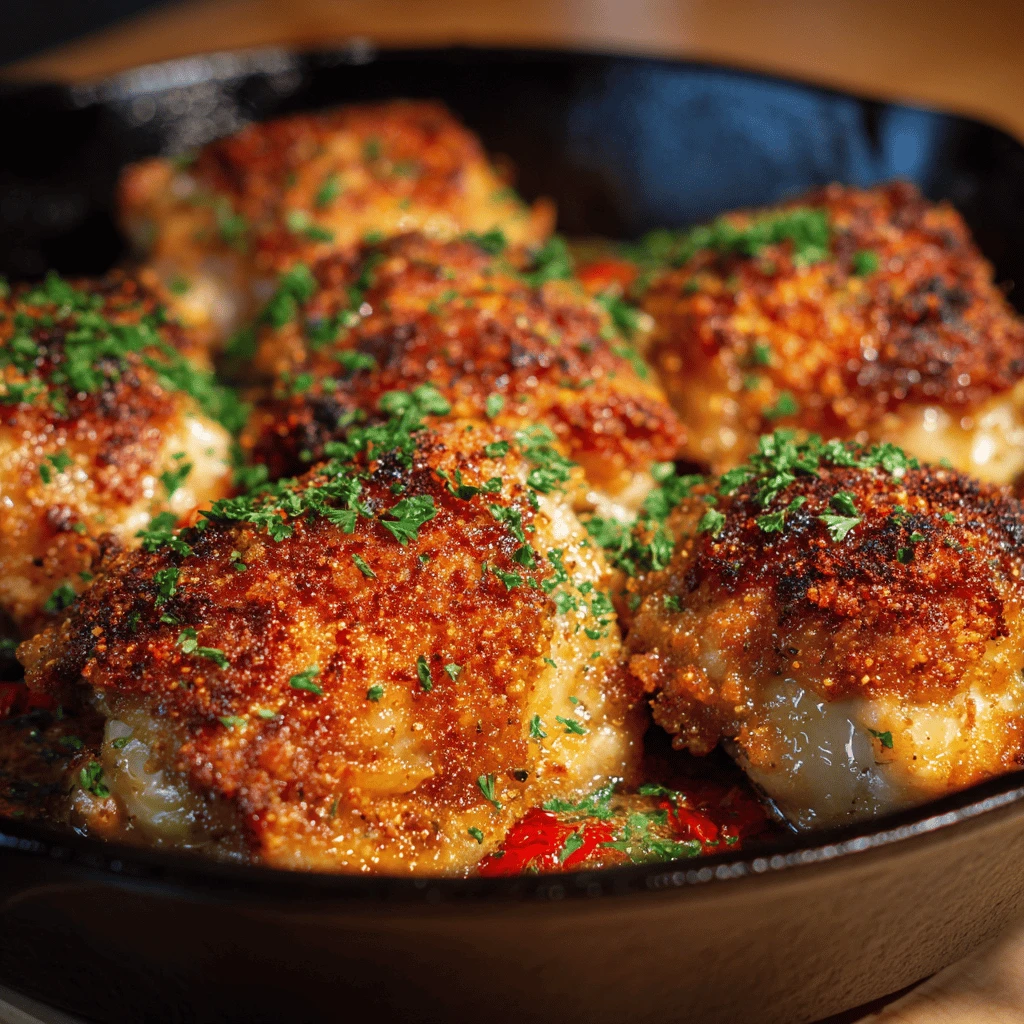
Crispy Chicken Thighs Easy Dinner
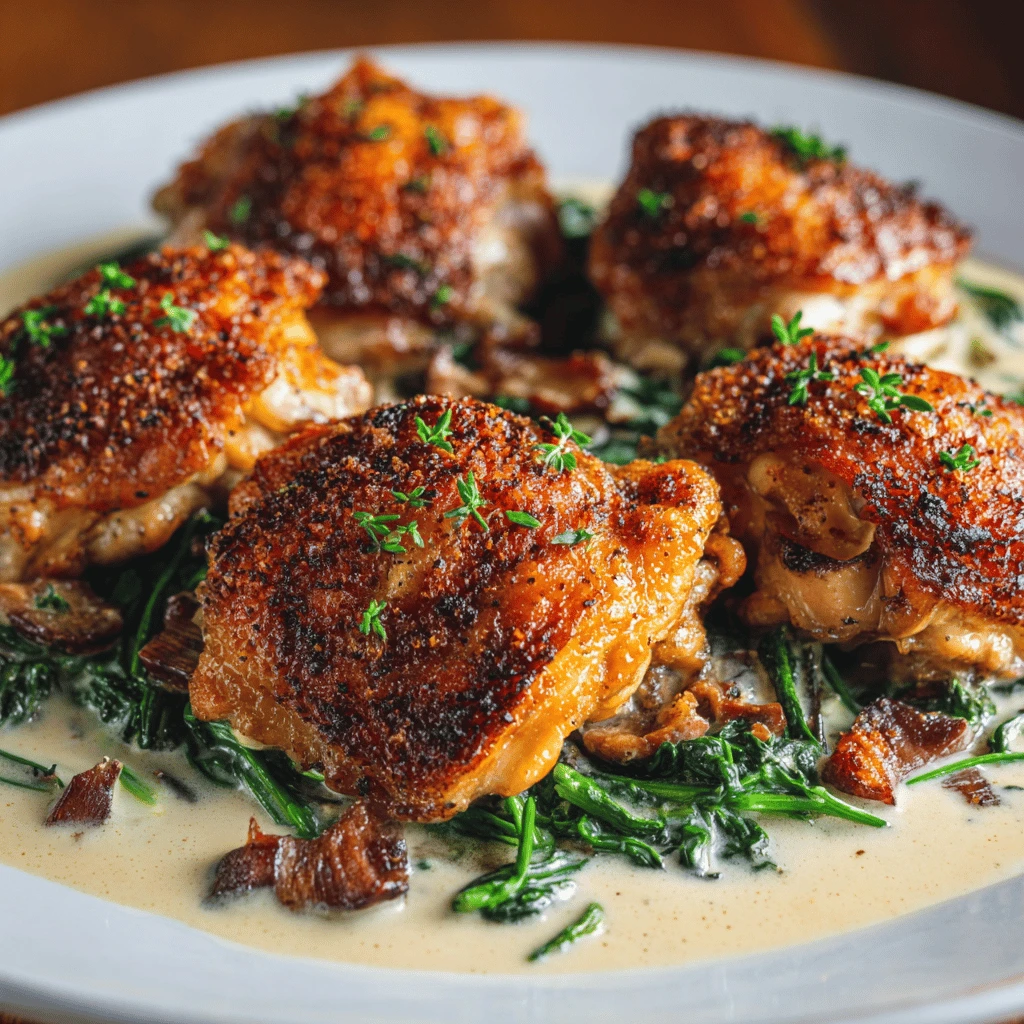
Crispy chicken thighs are a weeknight dinner champion. They deliver big flavor and satisfying crunch without requiring hours in the kitchen. This recipe focuses on simple techniques and readily available ingredients, ensuring a delicious and easy meal for everyone. Forget complicated steps – we’re all about maximum taste with minimum effort.
Achieving the Perfect Crispy Skin
The key to truly outstanding crispy chicken thighs lies in achieving that perfect skin. Several factors contribute to this culinary triumph, starting with proper preparation and execution.
Dry Skin is Key: The most crucial element is ensuring the chicken skin is completely dry before cooking. Moisture is the enemy of crispiness. Pat the chicken thighs dry with paper towels, pressing firmly to remove excess water. For even better results, unwrap the chicken and let it sit uncovered in the refrigerator for an hour or two before cooking. This allows the surface moisture to evaporate, setting you up for optimal crisping.
Choosing the Right Pan: Selecting the right pan is equally important. A cast iron skillet is ideal, as it distributes heat evenly and retains it exceptionally well, promoting even browning and crisping. If you don’t have cast iron, a heavy-bottomed stainless steel skillet will also work. Avoid non-stick pans, as they don’t get hot enough to truly crisp the skin.
High Heat, Gentle Start: Don’t be afraid of heat! Moderate-high heat is essential for rendering the chicken fat and achieving that signature golden-brown crust. However, start gently. Place the chicken skin-side down in a cold pan. As the pan heats, the fat will slowly render out, creating a natural frying effect. If the pan is too hot from the beginning, the skin will burn before it has a chance to render properly.
Resist the Urge to Move It: Once the chicken is in the pan, resist the urge to move it around. Let the skin sear undisturbed for at least 8-10 minutes, or until it releases easily from the pan. Trying to move it too early will result in tearing and prevent even browning. The chicken will tell you when it’s ready to be flipped.
Simple Yet Flavorful Seasoning
While the cooking technique is paramount, the right seasoning elevates crispy chicken thighs from good to exceptional. A basic blend of spices can create a surprisingly complex flavor profile.
Essential Spices: Start with the basics: salt, black pepper, garlic powder, onion powder, and paprika. These staples provide a foundation of savory, aromatic flavor. Adjust the quantities to your preference, but a generous seasoning is key.
Adding Depth: To add depth and complexity, consider incorporating other spices like dried thyme, rosemary, or oregano. A pinch of cayenne pepper or red pepper flakes can introduce a subtle kick of heat. Smoked paprika will provide a rich, smoky flavor that complements the chicken beautifully.
Herb Infusion: Fresh herbs, such as thyme or rosemary sprigs, can be added to the pan during cooking to infuse the chicken with their aromatic oils. Simply tuck a few sprigs around the chicken thighs as they cook.
Lemon Zest: A touch of lemon zest brightens the flavor and adds a refreshing zing. Grate the zest of one lemon over the chicken thighs before cooking.
Dry Rub or Marinade? For this quick and easy recipe, a dry rub is preferable to a marinade. It’s faster, less messy, and still delivers excellent flavor. If you prefer a marinade, ensure the chicken is thoroughly dried before cooking to maintain that critical crispness. A quick dry brine (coating in salt and refrigerating for an hour) is a great way to both season and dry the chicken.
Cooking Methods: Pan-Seared vs. Oven-Baked
While pan-searing is the preferred method for achieving maximum crispiness, oven-baking offers a more hands-off approach. Both methods can yield delicious results, depending on your priorities and available equipment.
Pan-Seared Perfection: Pan-searing, as detailed above, is the gold standard for crispy chicken thighs. The direct contact with the hot pan ensures even browning and maximum crisping of the skin. However, it requires more attention and can generate more smoke. Be sure to have good ventilation and monitor the heat carefully. After searing skin-side down, flip the thighs and cook until the internal temperature reaches 165°F (74°C).
Oven-Baked Convenience: Oven-baking is a convenient alternative, especially if you’re cooking a large batch. Preheat your oven to 400°F (200°C). Place the seasoned chicken thighs skin-side up on a baking sheet lined with parchment paper or a wire rack. Baking on a rack allows air to circulate around the chicken, promoting crisping. Bake for 30-40 minutes, or until the internal temperature reaches 165°F (74°C) and the skin is golden brown and crispy. For even crispier skin, you can broil the chicken for the last few minutes, but watch it carefully to prevent burning.
Hybrid Approach: For the best of both worlds, consider a hybrid approach. Start by searing the chicken thighs skin-side down in a hot pan until golden brown. Then, transfer the pan to a preheated oven to finish cooking. This method combines the crisping power of pan-searing with the even cooking of oven-baking.
Air Fryer Option: The air fryer offers another convenient way to achieve crispy chicken thighs. Preheat your air fryer to 400°F (200°C). Place the seasoned chicken thighs in the air fryer basket, ensuring they are not overcrowded. Cook for 15-20 minutes, flipping halfway through, or until the internal temperature reaches 165°F (74°C) and the skin is crispy.
Delicious Side Dish Pairings
Crispy chicken thighs are incredibly versatile and pair well with a wide range of side dishes. From simple salads to hearty grains, the options are endless.
Classic Comfort: For a classic pairing, serve crispy chicken thighs with mashed potatoes and roasted vegetables like broccoli, carrots, or Brussels sprouts. The creamy potatoes and tender vegetables provide a comforting counterpoint to the crispy chicken.
Healthy & Fresh: If you’re looking for a lighter option, pair the chicken with a fresh salad and a side of quinoa or brown rice. A simple green salad with a vinaigrette dressing or a more elaborate salad with grilled vegetables and crumbled cheese would both be excellent choices.
International Flavors: Explore international flavors by serving crispy chicken thighs with rice pilaf, couscous, or roasted sweet potatoes. You can also add a spicy Asian-inspired sauce or a Mediterranean-style yogurt sauce for an extra layer of flavor.
Quick & Easy Sides: For a truly quick and easy meal, pair the chicken with a store-bought salad kit, steamed green beans, or a simple pasta salad. The key is to choose sides that complement the flavor of the chicken without requiring too much effort.
Creative Options: Consider serving crispy chicken thighs with polenta, creamy grits, or even tucked into tacos or sandwiches. The possibilities are endless – let your creativity guide you!
Tips and Tricks for Success
Mastering crispy chicken thighs requires attention to detail and a few insider tips. These suggestions will help you achieve consistently delicious results.
Even Cooking: To ensure even cooking, use chicken thighs that are roughly the same size. This will prevent some pieces from being overcooked while others are still undercooked.
Temperature Matters: Invest in a meat thermometer to ensure the chicken is cooked to a safe internal temperature of 165°F (74°C). Insert the thermometer into the thickest part of the thigh, avoiding the bone.
Resting Period: After cooking, let the chicken rest for 5-10 minutes before serving. This allows the juices to redistribute, resulting in more tender and flavorful meat.
Don’t Overcrowd the Pan: When pan-searing, avoid overcrowding the pan. This will lower the temperature and prevent the chicken from browning properly. Cook in batches if necessary.
Cleaning Up: If you’re using cast iron, clean it immediately after cooking. Use a stiff brush and hot water to remove any food particles. Dry the pan thoroughly and season it with a thin layer of oil to prevent rust.
Storage: Leftover crispy chicken thighs can be stored in the refrigerator for up to 3 days. Reheat them in the oven or air fryer to restore their crispness.
Experiment with Flavors: Don’t be afraid to experiment with different spices and seasonings. Try adding different herbs, spices, or sauces to create your own signature crispy chicken thighs.
Dealing with Splatter: Pan-searing can create a lot of splatter. To minimize mess, use a splatter screen or partially cover the pan with a lid.
Use a Cold Pan: Starting in a cold pan allows the fat to render slowly, leading to crispier skin.
Frequently Asked Questions
How do I keep chicken skin crispy?
Ensure the skin is completely dry before cooking. Pat it dry with paper towels and let it air dry in the refrigerator for an hour or two. Use high heat and a heavy-bottomed pan.
What is the best oil for frying chicken?
Oils with high smoke points, such as canola oil, peanut oil, or avocado oil, are ideal for frying chicken.
How long does it take to cook chicken thighs in the oven?
Chicken thighs typically take 30-40 minutes to cook in a preheated oven at 400°F (200°C).
How do I know when chicken thighs are done?
Use a meat thermometer to check the internal temperature. The chicken is done when it reaches 165°F (74°C) in the thickest part of the thigh.
Can I use bone-in or boneless chicken thighs?
Both bone-in and boneless chicken thighs can be used in this recipe. Bone-in thighs will take slightly longer to cook and tend to be more flavorful.