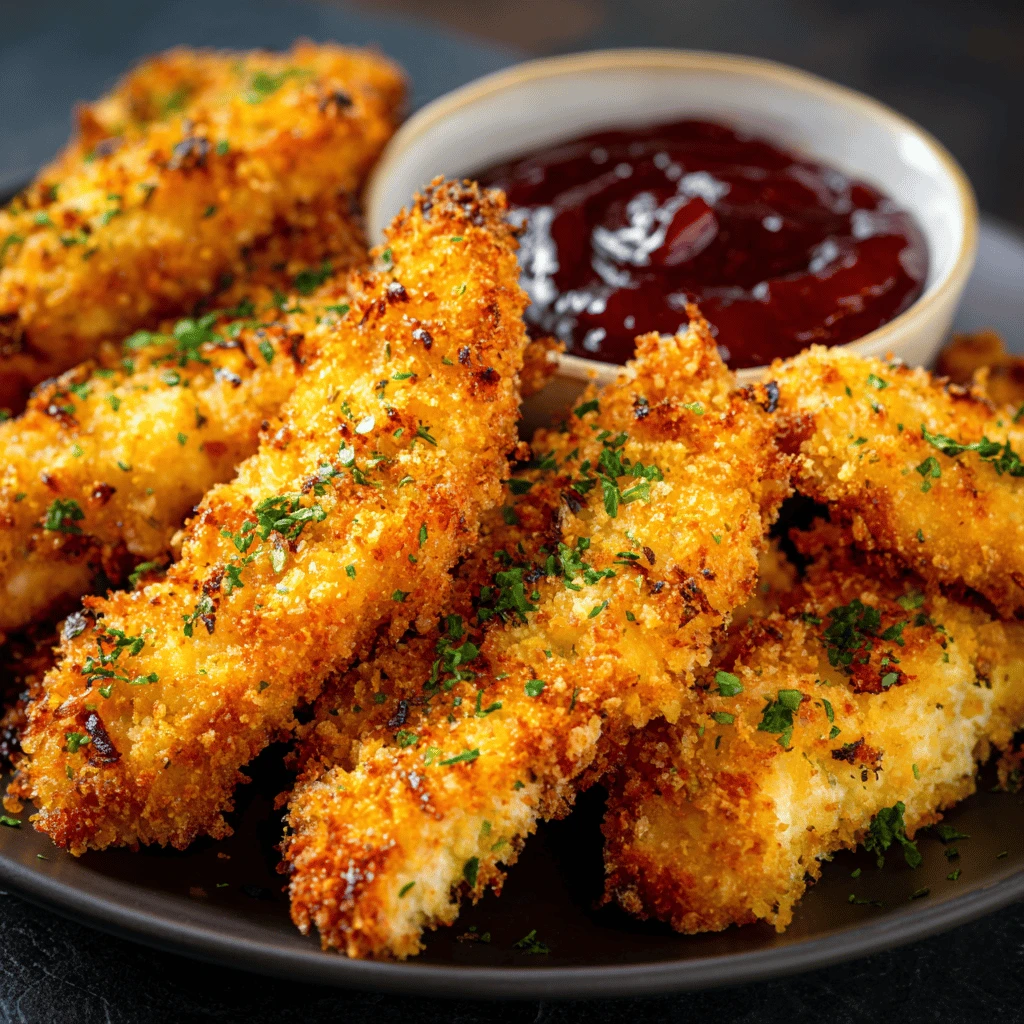
Crispy Oven-Baked Chicken Tenders: The Ultimate Guide Craving crispy, golden-brown chicken tenders without the guilt of deep-frying? Look no further! These oven-baked chicken tenders deliver all the satisfying crunch and flavor you love, but with a healthier twist. This comprehensive guide will walk you through creating the perfect batch every time, from selecting the right…
Crispy Oven-Baked Chicken Tenders: The Ultimate Guide
Craving crispy, golden-brown chicken tenders without the guilt of deep-frying? Look no further! These oven-baked chicken tenders deliver all the satisfying crunch and flavor you love, but with a healthier twist. This comprehensive guide will walk you through creating the perfect batch every time, from selecting the right ingredients to mastering the baking technique.
Section 1: Why Oven-Baked Chicken Tenders?
Oven-baked chicken tenders offer a multitude of advantages over their fried counterparts. The most obvious is the reduced fat content. Baking eliminates the need for large amounts of oil, significantly lowering the calorie count and making this a healthier option for everyone.
Beyond the health benefits, oven-baking is also incredibly convenient. It’s less messy than frying, requiring minimal cleanup. Plus, you can bake a large batch of tenders at once, making it perfect for family dinners or meal prepping.
Finally, don’t underestimate the deliciousness factor! With the right techniques and ingredients, oven-baked chicken tenders can achieve an incredibly crispy exterior while remaining juicy and tender on the inside.
Healthier Alternative
The avoidance of excessive oil consumption is the most striking. Reduced fat content is a major win for those watching their health. This option caters to those watching calorie intake, reducing overall caloric density.
Convenience and Ease
Baking requires less hands-on time compared to deep-frying. Cleanup is simpler with baking, avoiding oil splatters and disposal issues. The process minimizes active monitoring, freeing up time for other tasks.
Flavor and Texture
Achieving a crispy coating without frying is a key advantage. The oven baking method also maintains moisture, preventing dry tenders. Baking allows for even cooking, resulting in consistent texture.
Section 2: Gathering Your Ingredients and Supplies
The secret to amazing oven-baked chicken tenders lies in the quality of your ingredients. Here’s a breakdown of what you’ll need:
- Chicken: Boneless, skinless chicken breasts are ideal. Cut them into strips about 1 inch wide and 3-4 inches long.
- Breading: Panko breadcrumbs are the key to achieving that signature crispy texture. Their larger, coarser texture creates a more satisfying crunch than regular breadcrumbs.
- Seasoning: A flavorful blend of spices is crucial. Consider using paprika, garlic powder, onion powder, dried thyme, salt, and pepper. Feel free to customize the seasoning to your liking – a touch of cayenne pepper for heat, or Italian seasoning for an herby flavor.
- Binding Agent: Eggs are the classic choice for helping the breadcrumbs adhere to the chicken. For a dairy-free option, you can use a mixture of milk and a tablespoon of cornstarch.
- Optional Enhancements: Parmesan cheese adds a savory depth to the breading. Olive oil spray helps the tenders crisp up in the oven.
As for supplies, you’ll need:
- Two shallow dishes (for the egg mixture and breadcrumb mixture)
- A baking sheet
- Parchment paper or a silicone baking mat
- Tongs
The Importance of Panko
Panko breadcrumbs are a game-changer. Their flaky texture creates air pockets, resulting in superior crispiness. Regular breadcrumbs tend to become dense and soggy in the oven.
Seasoning for Success
Don’t be afraid to experiment with different spice combinations. Smoked paprika adds a delicious smoky flavor. Consider adding a pinch of brown sugar for a touch of sweetness.
Preparing the Chicken
Cutting the chicken into uniform strips ensures even cooking. Pat the chicken dry with paper towels before breading to help the breadcrumbs adhere.
Section 3: The Breading Process: Achieving Maximum Crispiness
The breading process is where the magic happens. Follow these steps for perfectly coated, crispy chicken tenders:
1. Set up your breading station: Place the egg mixture in one shallow dish and the breadcrumb mixture in the other.
2. Dip the chicken: Dip each chicken strip into the egg mixture, making sure it’s fully coated. Allow any excess egg to drip off.
3. Coat with breadcrumbs: Transfer the chicken strip to the breadcrumb mixture and press gently to ensure the breadcrumbs adhere evenly. Flip the chicken and repeat on the other side.
4. Place on baking sheet: Place the breaded chicken tenders on the prepared baking sheet, leaving some space between each tender to allow for even cooking.
5. Spray with oil: Lightly spray the breaded chicken tenders with olive oil. This helps them brown and crisp up in the oven.
Tips for Even Coating
Use one hand for dipping in the egg and the other for coating with breadcrumbs to avoid clumping. Gently shake off excess egg and breadcrumbs to prevent a thick, uneven coating.
Preventing Soggy Bottoms
Parchment paper or a silicone baking mat prevents the tenders from sticking to the baking sheet and helps them crisp up evenly. Elevating the tenders on a wire rack is another option for maximum crispiness.
The Double-Dip Method
For an extra crispy coating, try the double-dip method: Dip the chicken in the egg, then the breadcrumbs, then back into the egg, and finally back into the breadcrumbs.
Section 4: Baking to Perfection: Time, Temperature, and Technique
Baking time and temperature are crucial for achieving crispy, juicy chicken tenders.
1. Preheat oven: Preheat your oven to 400°F (200°C).
2. Bake: Bake the chicken tenders for 15-20 minutes, or until they are golden brown and cooked through. The internal temperature should reach 165°F (74°C).
3. Flip halfway: Flip the chicken tenders halfway through baking to ensure even browning on both sides.
4. Broil (optional): For extra crispiness, broil the chicken tenders for the last 1-2 minutes of baking, keeping a close eye on them to prevent burning.
Ensuring Doneness
Use a meat thermometer to check the internal temperature of the chicken. Insert the thermometer into the thickest part of the tender.
Achieving Golden Brown Color
Olive oil spray is essential for browning. Make sure the oven is fully preheated before baking.
Troubleshooting Common Issues
If the chicken tenders are not crispy enough, try broiling them for a short period. If they are burning, lower the oven temperature slightly and bake for a longer time.
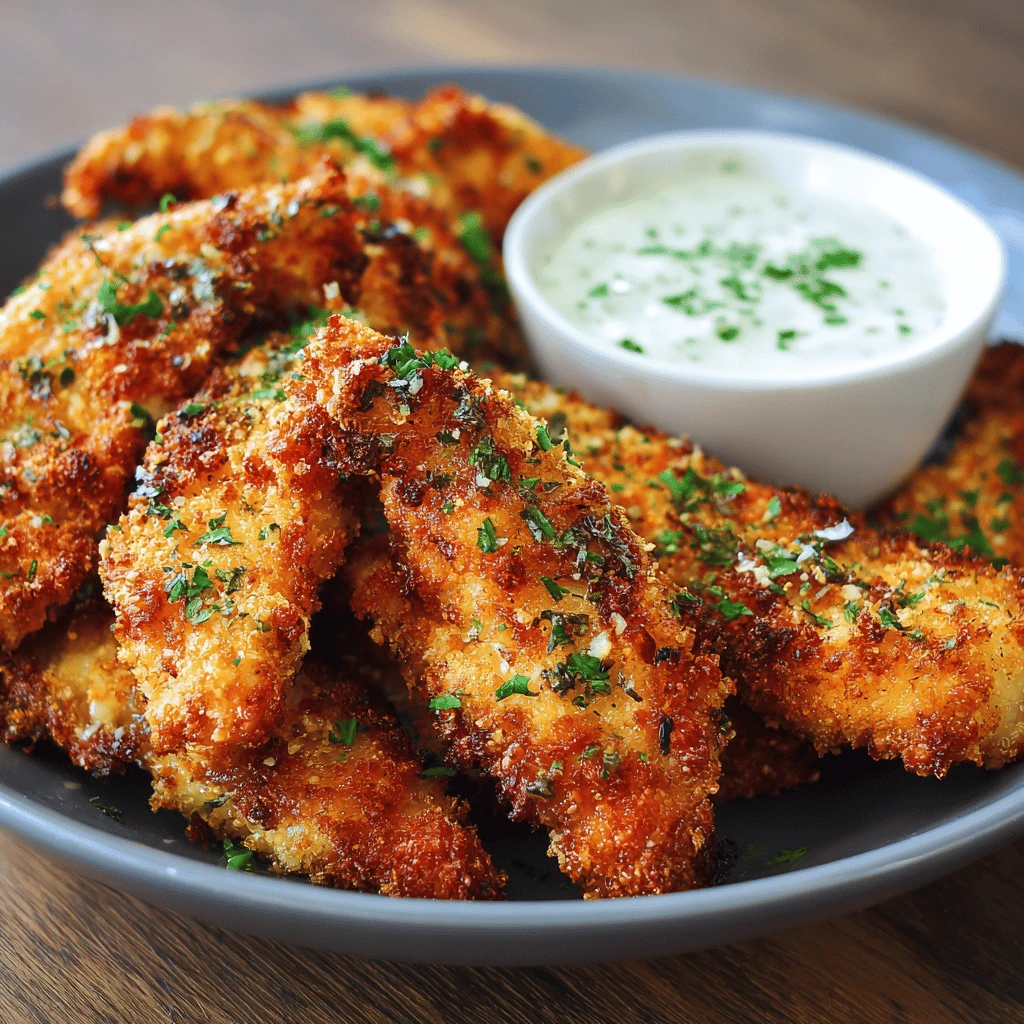
Section 5: Serving Suggestions and Variations
Once your crispy oven-baked chicken tenders are ready, it’s time to enjoy them!
Serving Suggestions:
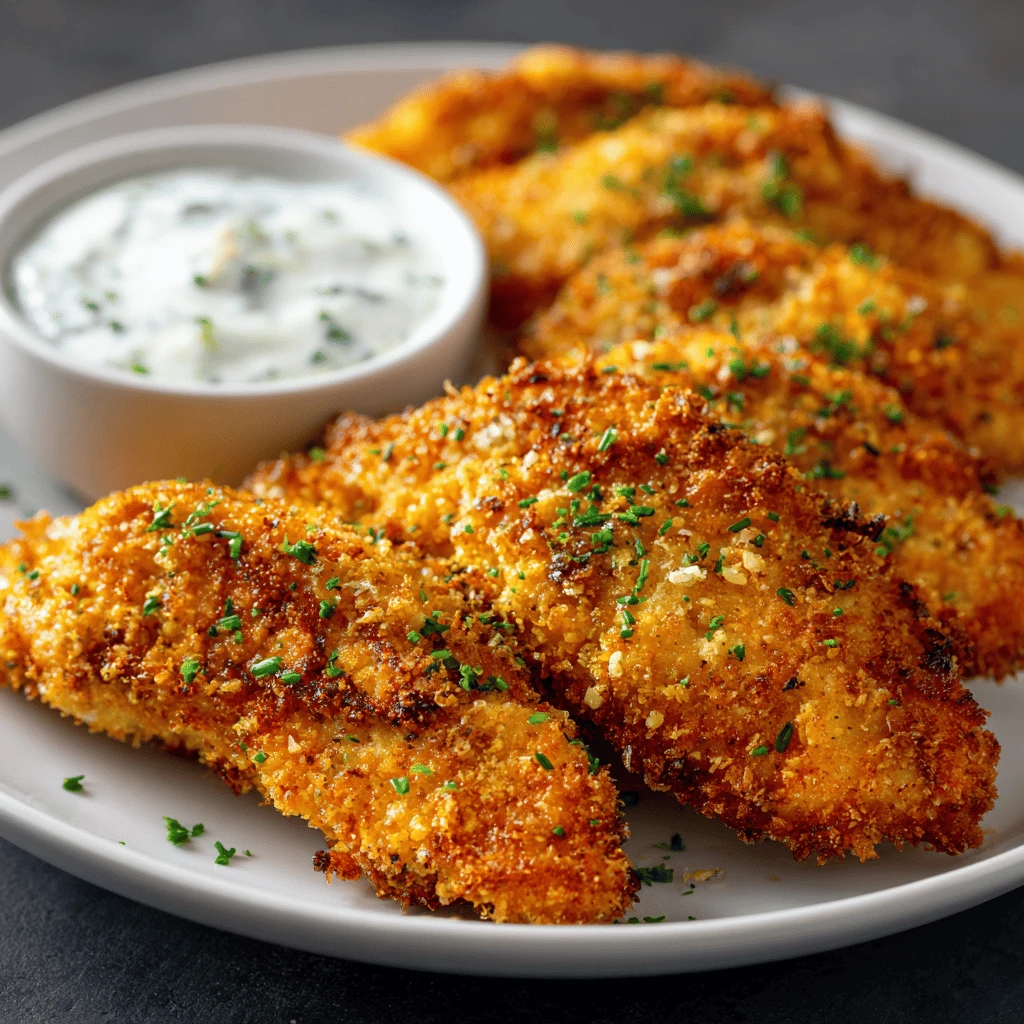
- Serve with your favorite dipping sauces, such as honey mustard, barbecue sauce, ranch dressing, or sweet chili sauce.
- Pair them with classic sides like French fries, mashed potatoes, coleslaw, or corn on the cob.
- Use them in salads, wraps, or sandwiches for a quick and easy meal.
Variations:
- Spicy Chicken Tenders: Add cayenne pepper or hot sauce to the breadcrumb mixture for a kick of heat.
- Parmesan Chicken Tenders: Mix grated Parmesan cheese into the breadcrumb mixture for a cheesy flavor.
- Lemon Herb Chicken Tenders: Add lemon zest and dried herbs like oregano and basil to the breadcrumb mixture for a fresh, flavorful twist.
- Gluten-Free Chicken Tenders: Use gluten-free breadcrumbs or almond flour instead of panko breadcrumbs.
Dipping Sauce Pairings
Honey mustard provides a sweet and tangy contrast. Barbecue sauce adds a smoky and savory flavor. Ranch dressing offers a creamy and classic option.
Side Dish Recommendations
French fries are a classic and crowd-pleasing choice. Mashed potatoes provide a comforting and creamy side. Coleslaw adds a refreshing and crunchy element.
Creative Meal Ideas
Chicken tender salads are a healthy and delicious option. Chicken tender wraps are perfect for a quick and easy lunch. Chicken tender sandwiches are a satisfying and portable meal.
Frequently Asked Questions (FAQ)
Q: Can I use frozen chicken tenders?
A: While fresh chicken is preferred for the best texture, you can use frozen chicken tenders. Make sure to thaw them completely before breading and baking. Pat them dry with paper towels to remove excess moisture.
Q: How do I keep the chicken tenders from sticking to the baking sheet?
A: Using parchment paper or a silicone baking mat is the best way to prevent sticking. You can also lightly grease the baking sheet with cooking spray.
Q: How long do oven-baked chicken tenders last?
A: Cooked chicken tenders can be stored in the refrigerator for up to 3-4 days. Reheat them in the oven or air fryer for the best results.
Q: Can I make these ahead of time?
A: You can bread the chicken tenders ahead of time and store them in the refrigerator for up to 24 hours. Bake them just before serving.
Q: What temperature should the chicken be cooked to?
A: The internal temperature of the chicken should reach 165°F (74°C) to ensure it is fully cooked.