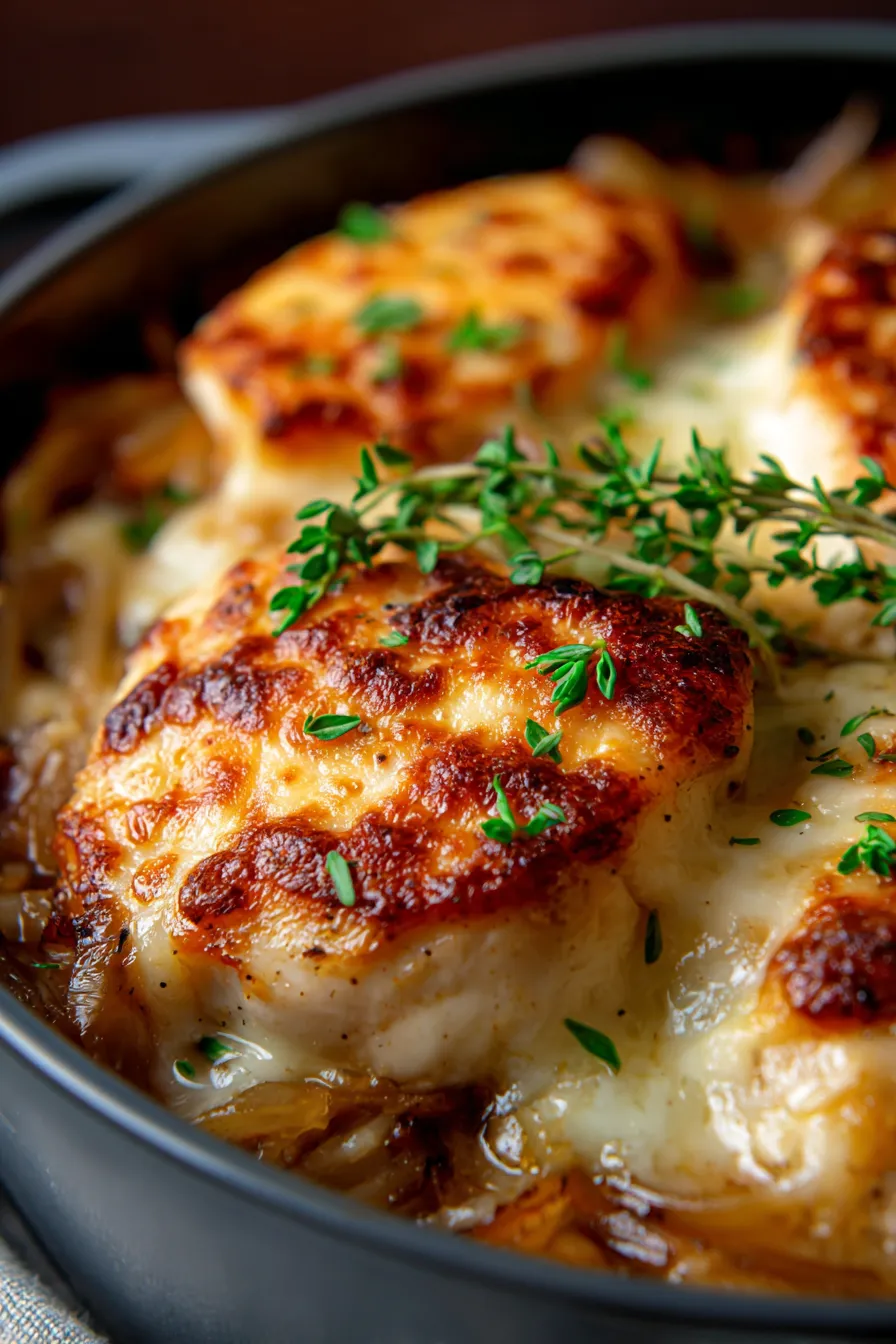
Easy Baked Chicken Breast: The Ultimate Guide to Juicy Perfection Baking chicken breast is a healthy and convenient way to prepare a delicious meal. However, it can be tricky to achieve consistently juicy and flavorful results. This comprehensive guide will walk you through everything you need to know to bake perfect chicken breast every time,…
Easy Baked Chicken Breast: The Ultimate Guide to Juicy Perfection
Baking chicken breast is a healthy and convenient way to prepare a delicious meal. However, it can be tricky to achieve consistently juicy and flavorful results. This comprehensive guide will walk you through everything you need to know to bake perfect chicken breast every time, from choosing the right cut to mastering the optimal cooking time and temperature.
Section 1: Understanding Chicken Breast
Chicken breast is a lean protein source prized for its versatility. Before diving into baking, it’s crucial to understand the different types of chicken breast available and how they impact the final outcome.
Types of Chicken Breast
- Boneless, Skinless: This is the most common type, offering maximum convenience and a lower fat content. However, it’s also the most prone to drying out during baking.
- Bone-In, Skin-On: Bone-in chicken breast takes longer to bake, but the bone helps retain moisture and adds flavor. The skin, when crisped properly, provides a delicious textural contrast.
- Cutlets (Thin-Sliced): These are pre-sliced for faster cooking and are ideal for quick weeknight meals. Due to their thinness, they require extra care to prevent overcooking.
- Organic vs. Conventional: Organic chicken is raised without antibiotics or growth hormones. Choosing organic can offer peace of mind, but it may come at a higher cost.
Choosing the Right Chicken Breast
When selecting chicken breasts, look for:
- Color: A healthy pink color. Avoid chicken that looks pale or grey.
- Texture: The meat should feel firm and slightly springy to the touch.
- Packaging: Ensure the packaging is airtight and undamaged.
- Expiration Date: Always check the “use by” or “sell by” date.
Storing Chicken Breast Safely
Proper storage is essential to prevent foodborne illness.
- Refrigerate: Store raw chicken breast in the refrigerator at 40°F (4°C) or below for no more than 1-2 days. Place it on the bottom shelf to prevent drips from contaminating other foods.
- Freeze: Chicken breast can be frozen for up to 9 months. Wrap it tightly in plastic wrap or freezer bags to prevent freezer burn.
- Thawing: Thaw frozen chicken breast in the refrigerator, in cold water (changing the water every 30 minutes), or in the microwave (using the defrost setting). Never thaw chicken at room temperature.
Section 2: Preparing for Baking
The key to juicy baked chicken breast lies in proper preparation. This section covers brining, pounding, seasoning, and oiling techniques.
Brining for Extra Moisture
Brining involves soaking the chicken breast in a salt water solution. This process helps the meat retain moisture during cooking, resulting in a more tender and flavorful product.
- Simple Brine: Combine 4 cups of water with 1/4 cup of salt (kosher or sea salt) and 2 tablespoons of sugar.
- Submerge: Place the chicken breast in the brine, ensuring it’s completely submerged.
- Refrigerate: Refrigerate for at least 30 minutes, or up to 2 hours. Longer brining times can result in overly salty chicken.
- Rinse and Pat Dry: After brining, rinse the chicken breast thoroughly with cold water and pat it dry with paper towels.
Pounding for Even Cooking
Chicken breasts often have uneven thickness, leading to some parts cooking faster than others. Pounding them to a uniform thickness ensures even cooking.
- Place: Place the chicken breast between two sheets of plastic wrap or in a resealable plastic bag.
- Pound: Using a meat mallet or rolling pin, gently pound the chicken breast to an even thickness of about 1/2 inch. Start from the center and work your way outwards.
Seasoning to Perfection
Seasoning is where you can add your personal touch to the chicken breast.
- Basic Seasoning: A simple combination of salt, pepper, garlic powder, and onion powder is a great starting point.
- Herbs and Spices: Experiment with different herbs and spices such as paprika, thyme, rosemary, oregano, or chili powder.
- Marinades: Marinating chicken breast not only adds flavor but also helps tenderize the meat. Popular marinade ingredients include olive oil, lemon juice, vinegar, soy sauce, and honey.
- Dry Rubs: A dry rub is a mixture of spices that are applied directly to the chicken breast before baking.
Oiling for Crispy Results
A light coating of oil helps the chicken breast brown nicely in the oven and prevents it from sticking to the baking pan.
- Oil Options: Olive oil, avocado oil, or melted butter are all good choices.
- Application: Brush the chicken breast lightly with oil before seasoning.
Section 3: Baking Techniques and Temperatures
The baking temperature and time are critical factors in achieving perfectly cooked chicken breast. This section covers different baking methods and provides guidelines for optimal results.
Baking Temperatures
- High Heat (400-425°F / 200-220°C): This method cooks the chicken breast quickly and can result in a slightly drier texture. It’s best for thinner chicken breasts or cutlets.
- Medium Heat (350-375°F / 175-190°C): This is a more gentle method that promotes even cooking and helps retain moisture. It’s suitable for thicker chicken breasts.
- Low and Slow (300°F / 150°C): This method takes longer but results in the most tender and juicy chicken breast. It’s ideal for large, thick chicken breasts.
Baking Time Guidelines
-
- Boneless, Skinless Chicken Breast (1-inch thick):
400°F (200°C): 20-25 minutes
350°F (175°C): 25-30 minutes
-
- Bone-In, Skin-On Chicken Breast:
375°F (190°C): 35-40 minutes
-
- Chicken Cutlets (Thin-Sliced):
400°F (200°C): 12-15 minutes
These times are approximate and may vary depending on the thickness of the chicken breast and the accuracy of your oven. Always use a meat thermometer to ensure the chicken is cooked to a safe internal temperature.
Baking Methods
- Direct Baking: Place the seasoned chicken breast directly on a baking sheet lined with parchment paper or aluminum foil.
- Baking in a Dish: Arrange the chicken breast in a baking dish, either plain or with a sauce.
- Covered Baking: Cover the baking dish with aluminum foil for the first half of the cooking time, then remove the foil to allow the chicken to brown. This method helps retain moisture.
- Sous Vide Then Bake: For ultimate juiciness, consider sous vide cooking the chicken breast before briefly baking it to develop a golden crust.
Using a Meat Thermometer
A meat thermometer is the most reliable way to ensure that the chicken breast is cooked to a safe internal temperature.
- Insert: Insert the thermometer into the thickest part of the chicken breast, avoiding the bone.
- Target Temperature: The USDA recommends cooking chicken breast to an internal temperature of 165°F (74°C).
Section 4: Tips for Juicy Chicken Breast
Achieving juicy baked chicken breast is an art. Here are some additional tips to help you succeed:
Avoid Overcooking
Overcooking is the most common cause of dry chicken breast. Use a meat thermometer to monitor the internal temperature and remove the chicken from the oven as soon as it reaches 165°F (74°C).
Rest Before Slicing
Allow the chicken breast to rest for 5-10 minutes after removing it from the oven. This allows the juices to redistribute throughout the meat, resulting in a more tender and flavorful product. Tent the chicken loosely with foil while it rests.
Pan Sauce
Create a simple pan sauce while the chicken rests. Deglaze the baking pan with chicken broth, wine, or lemon juice and scrape up any browned bits from the bottom. Simmer until the sauce thickens slightly, then drizzle it over the chicken breast.
Tenderizing Techniques
If you’re short on time, you can tenderize the chicken breast by pounding it or using a meat tenderizer.
Flavor Boosters
Experiment with different flavor combinations to create unique and delicious chicken breast dishes. Some ideas include:
- Lemon Herb: Lemon juice, olive oil, garlic, thyme, and rosemary.
- Garlic Parmesan: Garlic powder, grated Parmesan cheese, and Italian seasoning.
- Honey Mustard: Honey, Dijon mustard, and a touch of vinegar.
- BBQ: BBQ sauce, paprika, and chili powder.
- Spicy: Chili powder, cumin, cayenne pepper, and garlic powder.
Don’t Crowd the Pan
Give the chicken breast enough space on the baking sheet so it can brown properly. If you’re cooking a large batch, use two baking sheets.
Section 5: Serving Suggestions and Recipes
Baked chicken breast is incredibly versatile and can be used in a variety of dishes.
Serving Suggestions
- Salads: Slice or dice baked chicken breast and add it to your favorite salad.
- Sandwiches: Use baked chicken breast as a filling for sandwiches or wraps.
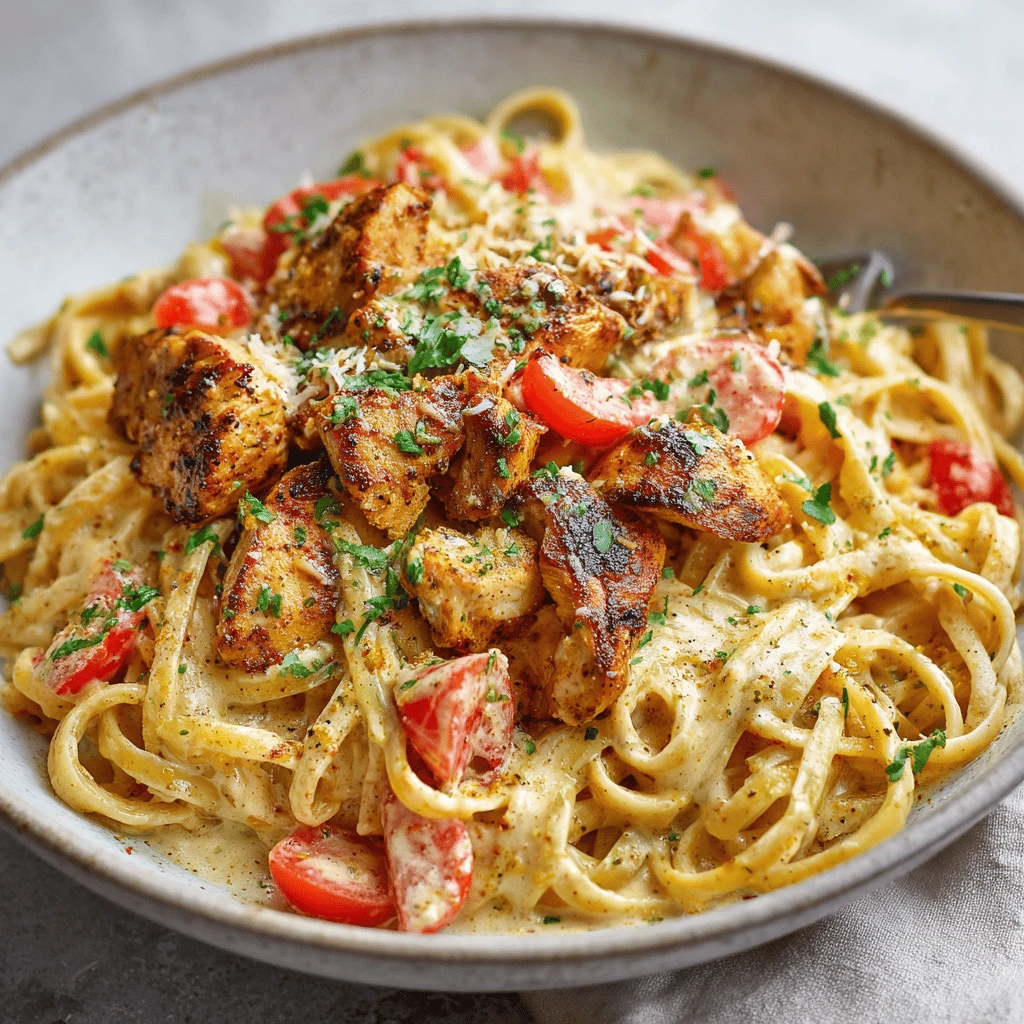
- Pasta Dishes: Add baked chicken breast to pasta dishes, such as fettuccine Alfredo or spaghetti with marinara sauce.
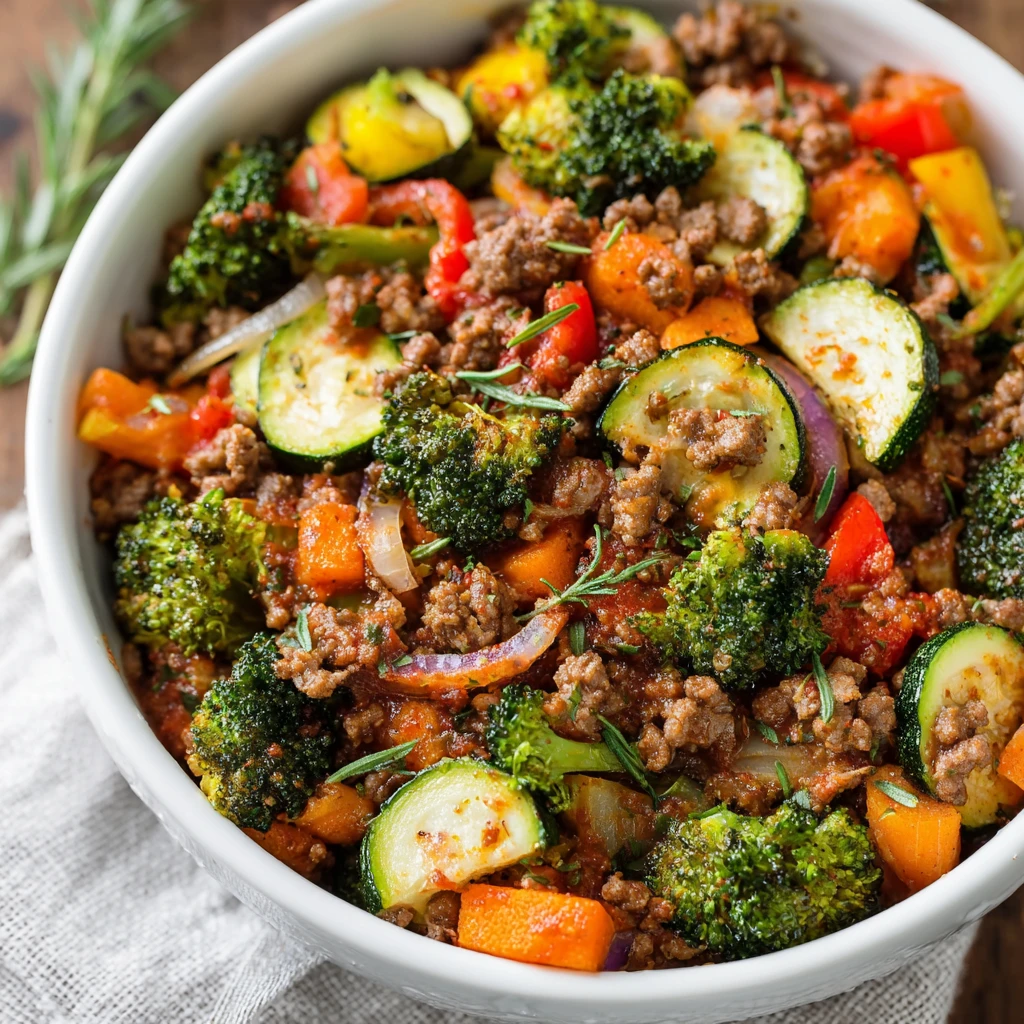
- Grain Bowls: Create a healthy and satisfying grain bowl with baked chicken breast, quinoa or rice, roasted vegetables, and a flavorful sauce.
- Tacos or Fajitas: Shred baked chicken breast and use it as a filling for tacos or fajitas.
Recipe Variations
- Lemon Herb Baked Chicken Breast: Combine lemon juice, olive oil, garlic, thyme, and rosemary in a bowl. Marinate the chicken breast for at least 30 minutes, then bake at 375°F (190°C) until cooked through.
- Garlic Parmesan Baked Chicken Breast: Combine garlic powder, grated Parmesan cheese, and Italian seasoning in a bowl. Brush the chicken breast with olive oil, then coat it with the Parmesan mixture. Bake at 400°F (200°C) until golden brown.
- Honey Mustard Baked Chicken Breast: Combine honey, Dijon mustard, and a touch of vinegar in a bowl. Brush the chicken breast with the honey mustard mixture, then bake at 350°F (175°C) until cooked through.
- BBQ Baked Chicken Breast: Brush the chicken breast with your favorite BBQ sauce, then bake at 375°F (190°C) until heated through.
FAQ About Baking Chicken Breast
Q: How do I keep chicken breast from drying out in the oven?
A: Brining, pounding to an even thickness, avoiding overcooking, and resting the chicken before slicing are all essential for preventing dryness. Using a meat thermometer is the most reliable way to ensure it’s cooked to the right temperature.
Q: What temperature should I bake chicken breast at?
A: A temperature of 350-375°F (175-190°C) is a good starting point for most boneless, skinless chicken breasts. Adjust the baking time based on the thickness of the chicken. Higher temperatures (400-425°F / 200-220°C) are suitable for thinner cutlets.
Q: How long does it take to bake chicken breast at 350?
A: At 350°F (175°C), a boneless, skinless chicken breast that’s about 1 inch thick will typically take 25-30 minutes to bake. Always use a meat thermometer to check for an internal temperature of 165°F (74°C).
Q: Should I cover chicken breast when baking?
A: Covering the chicken breast with aluminum foil for the first half of the cooking time can help retain moisture, but remove the foil during the last few minutes to allow the chicken to brown.
Q: Can I bake chicken breast from frozen?
A: While it’s generally recommended to thaw chicken breast before baking for best results, you can bake it from frozen in a pinch. However, the cooking time will be significantly longer, and the texture may be slightly different. Ensure the internal temperature reaches 165°F (74°C).
Q: How do I know when chicken breast is done?
A: The most reliable way to determine if chicken breast is done is to use a meat thermometer. Insert the thermometer into the thickest part of the chicken, avoiding the bone, and check for an internal temperature of 165°F (74°C).