Homemade Granola Bars: The Perfect Healthy Snack Granola bars are a convenient and tasty snack, but store-bought versions are often loaded with sugar, artificial ingredients, and preservatives. Making your own homemade granola bars is a fantastic way to control what goes into your body and tailor the recipe to your specific tastes and dietary needs….
Homemade Granola Bars: The Perfect Healthy Snack
Granola bars are a convenient and tasty snack, but store-bought versions are often loaded with sugar, artificial ingredients, and preservatives. Making your own homemade granola bars is a fantastic way to control what goes into your body and tailor the recipe to your specific tastes and dietary needs. This guide will walk you through creating the perfect batch of homemade granola bars, offering tips for ingredients, variations, and storage.
Why Make Your Own Granola Bars?
Store-bought granola bars are undeniably convenient, but there are compelling reasons to embrace the homemade approach. The primary advantage is control over ingredients. You can avoid processed sugars, artificial flavors, and unhealthy fats often found in commercial options. Homemade bars allow you to use natural sweeteners like honey, maple syrup, or agave, and incorporate healthy fats from nuts, seeds, and coconut oil.
Another significant benefit is customization. Do you love chocolate chips? Add them! Prefer dried cranberries to raisins? Go for it! Homemade granola bars can be tailored to your exact preferences, creating a snack that you truly enjoy. You can also adjust the recipe to accommodate dietary restrictions, such as gluten-free, vegan, or nut-free diets.
Finally, making your own granola bars can be more economical in the long run. Buying individual bars adds up quickly, while purchasing ingredients in bulk for homemade batches can save money. Plus, the satisfaction of creating a healthy and delicious snack from scratch is an added bonus!
Essential Ingredients for Homemade Granola Bars
While the possibilities for granola bar ingredients are endless, some key components form the foundation of a great recipe.
Base Ingredients: Oats and Binding Agents
Rolled oats are the quintessential granola bar ingredient, providing a chewy texture and a good source of fiber. Choose old-fashioned rolled oats for the best texture; quick oats can become mushy. Beyond oats, other grains like puffed rice, quinoa, or even shredded coconut can add variety and texture.
The binding agent is crucial for holding the granola bars together. Common choices include honey, maple syrup, brown rice syrup, or agave nectar. These sweeteners also contribute to the flavor of the bars. Nut butters, such as almond butter, peanut butter, or cashew butter, also act as excellent binders, adding healthy fats and protein.
Enhancing Flavor and Texture: Nuts, Seeds, and Dried Fruit
Nuts and seeds contribute both flavor and nutritional value. Almonds, walnuts, pecans, sunflower seeds, pumpkin seeds, and chia seeds are all excellent additions. Toasting the nuts and seeds before incorporating them into the recipe enhances their flavor and adds a satisfying crunch.
Dried fruit provides sweetness, chewiness, and valuable nutrients. Raisins, cranberries, apricots, dates, and cherries are popular choices. Be mindful of the sugar content in dried fruit, and opt for unsweetened varieties whenever possible. Chopping larger dried fruits into smaller pieces ensures even distribution throughout the bars.
Optional Add-ins: Chocolate, Spices, and More
The possibilities for customizing your granola bars are truly limitless. Chocolate chips, especially dark chocolate, add a touch of indulgence. Spices like cinnamon, nutmeg, or ginger can create warm and comforting flavors. Other additions might include protein powder, cocoa powder, shredded coconut, or even a pinch of sea salt to enhance the sweetness. Consider the overall flavor profile you’re aiming for and experiment with different combinations to find your favorites.
Step-by-Step Guide to Making Perfect Granola Bars
Making granola bars at home is surprisingly simple. Follow these steps for guaranteed success:
1. Prepare Your Ingredients: Gather all your ingredients and measure them out accurately. Chop any large nuts or dried fruits into smaller pieces. Preheat your oven to 300°F (150°C). Line an 8×8 inch baking pan with parchment paper, leaving an overhang on the sides for easy removal.
2. Combine Dry Ingredients: In a large bowl, combine the rolled oats, nuts, seeds, and any other dry ingredients like spices or shredded coconut.
3. Combine Wet Ingredients: In a separate saucepan, combine the binding agent (honey, maple syrup, etc.) and nut butter (if using). Heat over low heat, stirring constantly, until the mixture is smooth and melted. Remove from heat and add any liquid flavorings like vanilla extract.
4. Combine Wet and Dry Ingredients: Pour the wet ingredients over the dry ingredients and mix thoroughly until everything is evenly coated.
5. Press into Pan: Transfer the mixture to the prepared baking pan and press it firmly and evenly into the pan. Use the back of a spoon or a spatula to ensure a compact and uniform layer.
6. Bake: Bake for 20-25 minutes, or until the granola bars are lightly golden brown around the edges.
7. Cool and Cut: Remove the pan from the oven and let the granola bars cool completely in the pan. This is crucial for them to set properly. Once cooled, use the parchment paper overhang to lift the bars out of the pan. Cut them into desired shapes and sizes.
Tips and Tricks for Granola Bar Success
- Press Firmly: Pressing the granola mixture firmly into the pan is essential for preventing crumbly bars. Use a spatula or the back of a spoon to create a tightly packed layer.
- Don’t Overbake: Overbaking can result in dry and hard granola bars. Keep a close eye on them during baking and remove them from the oven when they are lightly golden brown.
- Cool Completely: Allow the granola bars to cool completely before cutting them. This allows the binding agent to set properly, resulting in bars that hold their shape.
- Adjust Sweetness: Taste the wet ingredients before combining them with the dry ingredients. Adjust the amount of sweetener to your liking.
- Experiment with Flavors: Don’t be afraid to experiment with different flavor combinations. Try adding spices, extracts, or different types of nuts, seeds, and dried fruit.
- Use Quality Ingredients: The quality of your ingredients will directly impact the flavor of your granola bars. Use high-quality oats, nuts, seeds, and sweeteners for the best results.
Storing Your Homemade Granola Bars
Proper storage is essential for maintaining the freshness and texture of your homemade granola bars.
- Airtight Container: Store granola bars in an airtight container at room temperature. This will prevent them from becoming stale or absorbing moisture.
- Layering: If stacking granola bars in the container, separate the layers with parchment paper to prevent them from sticking together.
- Refrigeration: For longer storage, granola bars can be stored in the refrigerator. This will help them stay fresh for up to two weeks.
- Freezing: Granola bars can also be frozen for up to three months. Wrap them individually in plastic wrap or freezer bags to prevent freezer burn. Thaw them at room temperature before serving.
Troubleshooting Common Granola Bar Issues
Even with the best recipe, sometimes things don’t go as planned. Here’s how to address common problems:
- Crumbly Bars: This is usually caused by not pressing the mixture firmly enough into the pan or not using enough binding agent. Try pressing harder next time, or increase the amount of honey or nut butter. Overbaking can also contribute to crumbly bars.
- Too Hard Bars: This is often due to overbaking or using too much sweetener. Reduce the baking time and the amount of sweetener in your next batch.
- Too Soft Bars: This can be caused by underbaking or using too much liquid. Bake the bars for a longer time, or reduce the amount of liquid ingredients.
- Sticking to the Pan: Make sure to line your baking pan with parchment paper, leaving an overhang for easy removal.
Granola Bar Variations and Recipes
Once you’ve mastered the basic recipe, the fun begins! Here are a few ideas to get you started:
- Chocolate Chip Granola Bars: Add 1/2 cup of chocolate chips to the dry ingredients.
- Peanut Butter Granola Bars: Use peanut butter as the binding agent and add chopped peanuts to the dry ingredients.
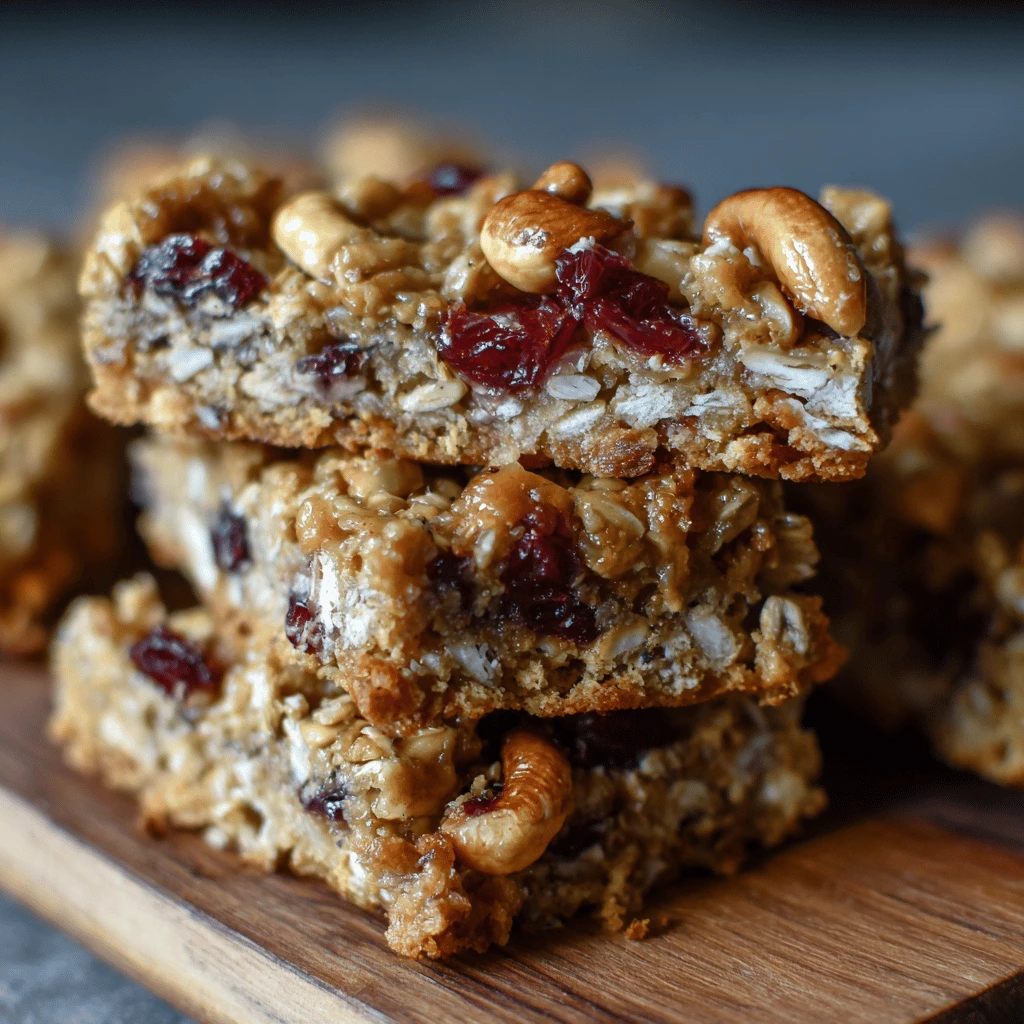
- Cranberry Almond Granola Bars: Add dried cranberries and chopped almonds to the dry ingredients.
- Coconut Cashew Granola Bars: Add shredded coconut and chopped cashews to the dry ingredients. Use coconut oil in the wet ingredients for an extra coconut flavor.
- Vegan Granola Bars: Use maple syrup or agave nectar as the binding agent and ensure that all other ingredients are vegan-friendly.
FAQ: Homemade Granola Bars
Why are my granola bars crumbly?
Crumbly granola bars are usually caused by not enough binder, insufficient pressing, or overbaking. Ensure you’re using enough honey, maple syrup, or nut butter, and press the mixture firmly into the pan. Avoid overbaking.
How do I make granola bars stick together?
Use a sticky binder like honey, maple syrup, or a combination of nut butter and a sweetener. Press the mixture firmly into the prepared pan and bake until golden brown.
How long do homemade granola bars last?
Homemade granola bars typically last for 1-2 weeks when stored in an airtight container at room temperature. You can also refrigerate them for up to 2 weeks or freeze them for up to 3 months.
What oats are best for granola bars?
Old-fashioned rolled oats are the best choice for granola bars as they provide the right texture. Quick oats can become mushy.
Can I add protein powder to granola bars?
Yes, you can add protein powder to your granola bars. Add 1/4 to 1/2 cup of your favorite protein powder to the dry ingredients. You may need to adjust the liquid ingredients slightly to achieve the right consistency.