Mini Apple Pies: Thanksgiving Desserts Thanksgiving is a time for family, gratitude, and, of course, delicious food. While the turkey takes center stage, the dessert spread is a close second, and what’s more delightful than individual servings of warm, comforting apple pie? Mini apple pies are the perfect solution for portion control, easy serving, and…
Mini Apple Pies: Thanksgiving Desserts
Thanksgiving is a time for family, gratitude, and, of course, delicious food. While the turkey takes center stage, the dessert spread is a close second, and what’s more delightful than individual servings of warm, comforting apple pie? Mini apple pies are the perfect solution for portion control, easy serving, and an adorable presentation. These bite-sized treats are a guaranteed crowd-pleaser and a great way to add a touch of homemade charm to your Thanksgiving celebration.
The Allure of Mini Apple Pies
Why choose mini apple pies over a traditional pie? Several reasons contribute to their popularity:
- Portion Control: Mini pies are naturally portioned, helping guests enjoy dessert without overindulging. This is especially helpful after a large Thanksgiving feast.
- Individual Servings: Each guest gets their own pie, eliminating the fuss of slicing and serving. This also adds a personal touch and allows for easier handling.
- Adorable Presentation: Let’s face it – mini pies are just plain cute! Their small size and rustic charm make them visually appealing and add to the festive atmosphere.
- Easy to Customize: Mini pies can be easily customized with different crust designs, toppings, and even fillings. This allows you to cater to different dietary needs or preferences.
- Perfect for Leftovers: Mini apple pies are a great way to use up leftover apple pie filling or to make a small batch of filling specifically for these individual treats.
Crafting the Perfect Mini Apple Pie Crust
The crust is the foundation of any great pie, and mini apple pies are no exception. Here’s how to create a flaky, tender crust that will complement the apple filling perfectly:
Ingredients:
- 2 ½ cups all-purpose flour
- 1 teaspoon salt
- 1 cup (2 sticks) cold unsalted cream cheese, cut into cubes
- ½ cup cold vegetable shortening, cut into cubes
- 6-8 tablespoons ice water
Instructions:
1. Combine Dry Ingredients: In a large bowl, whisk together the flour and salt.
2. Cut in the Fats: Add the cold cream cheese and shortening to the flour mixture. Use a pastry blender or your fingertips to cut the fats into the flour until the mixture resembles coarse crumbs. The smaller the pieces of fat, the flakier the crust will be.
3. Add Ice Water: Gradually add the ice water, one tablespoon at a time, mixing gently after each addition. Add just enough water until the dough comes together in a shaggy mass. Be careful not to overmix, as this will develop the gluten in the flour and result in a tough crust.
4. Divide and Chill: Divide the dough in half, flatten each half into a disc, wrap in plastic wrap, and refrigerate for at least 30 minutes (or up to 2 days). This chilling period allows the gluten to relax and the fats to solidify, resulting in a flakier crust.
5. Roll Out the Dough: On a lightly floured surface, roll out one disc of dough to about 1/8-inch thickness. Use a cookie cutter or a sharp knife to cut out circles slightly larger than the muffin tin cups.
6. Assemble the Pies: Gently press the dough circles into the muffin tin cups.
Tips for Success:
- Keep Ingredients Cold: Cold ingredients are key to a flaky crust. Make sure your cream cheese, shortening, and water are as cold as possible.
- Don’t Overmix: Overmixing develops the gluten in the flour, resulting in a tough crust. Mix the dough just until it comes together.
- Chill the Dough: Chilling the dough allows the gluten to relax and the fats to solidify, resulting in a flakier crust.
- Use a Pastry Blender: A pastry blender helps to cut the fats into the flour without overworking the dough. If you don’t have a pastry blender, you can use your fingertips.
- Blind Bake for Extra Crispness: For a particularly crisp bottom crust, pre-bake the crusts for 10-12 minutes at 350°F (175°C) before filling. Use pie weights or dried beans to prevent the crust from puffing up.
Creating a Delectable Apple Pie Filling
The filling is where the magic happens! This apple pie filling is packed with flavor, perfectly spiced, and irresistibly delicious.
Ingredients:
- 6 cups peeled and sliced apples (such as Honeycrisp, Granny Smith, or a combination)
- 1/2 cup granulated sugar
- 1/4 cup packed light brown sugar
- 2 tablespoons all-purpose flour
- 1 teaspoon ground cinnamon
- 1/4 teaspoon ground nutmeg
- 1/4 teaspoon ground allspice
- 2 tablespoons lemon juice
- 2 tablespoons butter, cut into small pieces
Instructions:
1. Combine Ingredients: In a large bowl, combine the apples, granulated sugar, brown sugar, flour, cinnamon, nutmeg, allspice, and lemon juice. Toss gently to coat the apples evenly.
2. Fill the Crusts: Spoon the apple filling into the prepared muffin tin cups, mounding slightly.
3. Dot with Butter: Dot the top of each pie with a few small pieces of butter.
4. Add a Top Crust (Optional): If desired, roll out the remaining dough and cut out smaller circles or strips to create a top crust for the pies. You can use a decorative cookie cutter or simply cut the dough into strips to create a lattice top.
5. Bake: Bake in a preheated oven at 375°F (190°C) for 25-30 minutes, or until the crust is golden brown and the filling is bubbly.
Apple Selection and Flavor Enhancements:
- Apple Variety: A combination of sweet and tart apples, such as Honeycrisp and Granny Smith, creates a balanced flavor. Other great options include Gala, Fuji, and Braeburn.
- Spice it Up: Adjust the spices to your liking. A pinch of cloves or cardamom can add warmth and complexity to the filling.
- Lemon Juice: Lemon juice helps to brighten the flavor of the apples and prevent them from browning.
- Butter: Butter adds richness and flavor to the filling.
- Caramel Sauce: Drizzle a little caramel sauce over the apples before baking for an extra decadent treat.
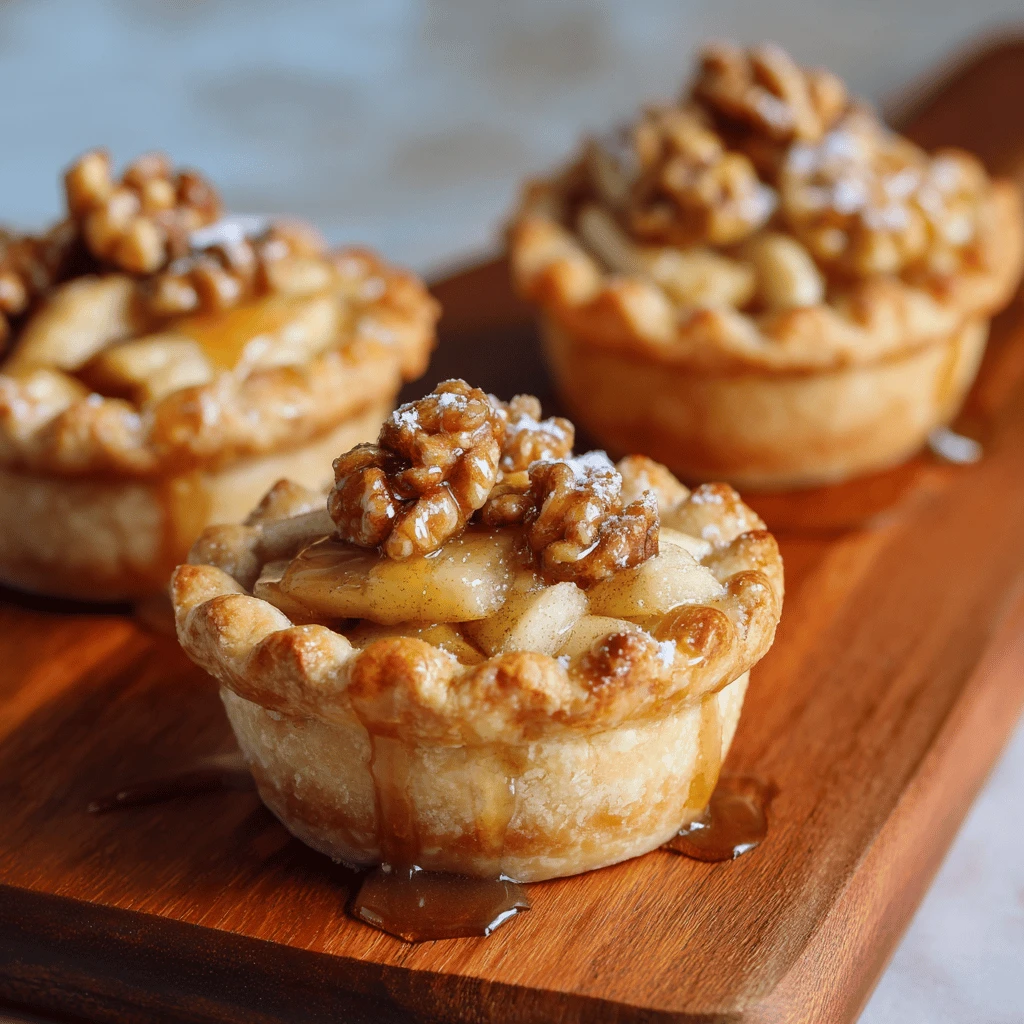
- Chopped Nuts: Add chopped pecans or walnuts to the filling for added texture and flavor.
Assembling and Baking Your Mini Apple Pies
Now that you have your crust and filling ready, it’s time to assemble and bake your mini apple pies!
Assembling the Pies:
1. Prepare Muffin Tin: Grease a 12-cup muffin tin with non-stick cooking spray or line with muffin liners.
2. Place Crusts: Gently press the dough circles into the muffin tin cups, making sure they are snug against the sides.
3. Fill with Filling: Spoon the apple filling into the crusts, mounding slightly.
4. Add Top Crust (Optional): If using a top crust, place the dough circles or strips over the filling. Crimp the edges of the top crust to seal it to the bottom crust.
5. Egg Wash (Optional): Brush the top crust with an egg wash (1 egg beaten with 1 tablespoon of water) for a golden brown color and extra shine.
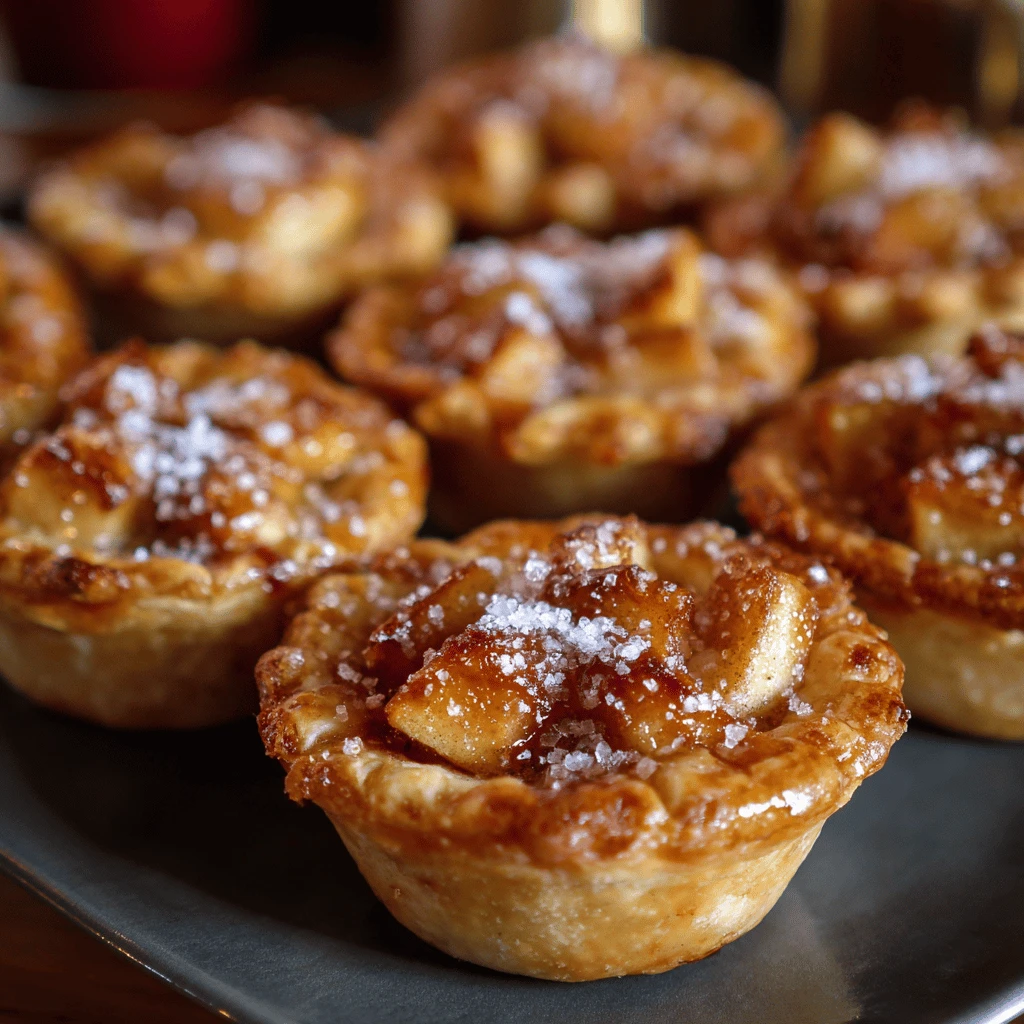
6. Sprinkle with Sugar (Optional): Sprinkle the top crust with coarse sugar or sanding sugar for added sweetness and sparkle.
Baking Instructions:
1. Preheat Oven: Preheat your oven to 375°F (190°C).
2. Bake: Bake the mini apple pies for 25-30 minutes, or until the crust is golden brown and the filling is bubbly.
3. Cool: Let the pies cool in the muffin tin for a few minutes before transferring them to a wire rack to cool completely.
Serving and Storage:
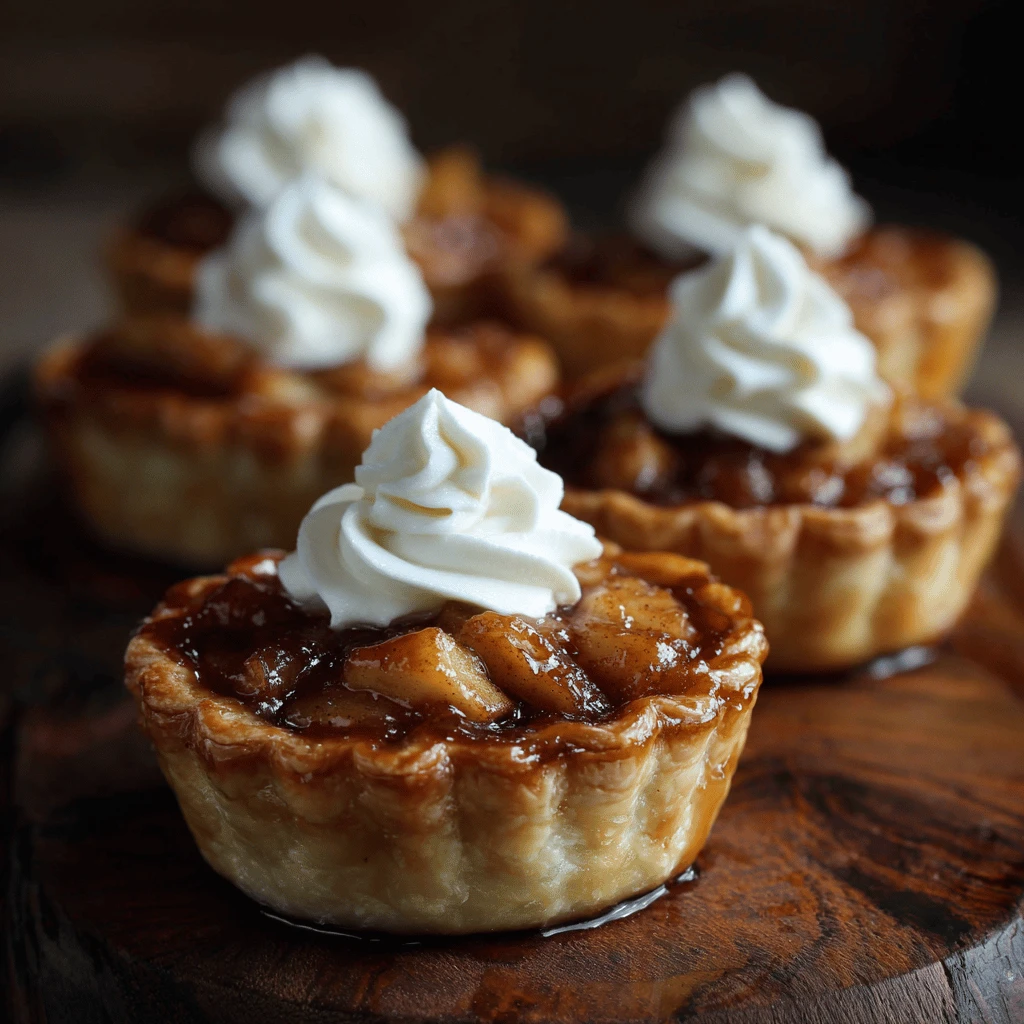
- Serving: Serve the mini apple pies warm or at room temperature. They are delicious on their own or with a scoop of ice cream, a dollop of whipped cream, or a drizzle of caramel sauce.
- Storage: Store leftover mini apple pies in an airtight container at room temperature for up to 2 days or in the refrigerator for up to 4 days.
- Freezing: Mini apple pies can be frozen for up to 2 months. Wrap them individually in plastic wrap and then place them in a freezer-safe bag or container. Thaw overnight in the refrigerator before serving. Reheat in a preheated oven at 350°F (175°C) for 10-15 minutes, or until warmed through.
Variations and Creative Twists
Mini apple pies are a versatile dessert that can be easily adapted to suit your taste and preferences. Here are a few creative twists to try:
- Caramel Apple Pies: Add a layer of caramel sauce to the bottom of the crust before adding the apple filling.
- Cranberry Apple Pies: Add a handful of fresh or frozen cranberries to the apple filling for a tart and festive twist.
- Pecan Streusel Topping: Instead of a top crust, sprinkle the pies with a pecan streusel topping made from flour, butter, sugar, and pecans.
- Gingerbread Apple Pies: Add gingerbread spices, such as ginger, cloves, and molasses, to the apple filling for a warm and cozy flavor.
- Salted Caramel Apple Pies: Drizzle salted caramel sauce over the baked pies for a sweet and salty treat.
- Apple Hand Pies: Instead of baking the pies in a muffin tin, cut out larger circles of dough, fill them with the apple filling, fold them over, and crimp the edges to create individual hand pies.
- Vegan Apple Pies: Use a vegan pie crust recipe and substitute the butter in the apple filling with vegan butter or coconut oil.
- Gluten-Free Apple Pies: Use a gluten-free pie crust recipe and ensure that the flour used in the apple filling is also gluten-free.
These variations allow you to experiment with flavors and create unique mini apple pie recipes that will impress your Thanksgiving guests. Don’t be afraid to get creative and put your own spin on this classic dessert!
Frequently Asked Questions (FAQ)
Here are some frequently asked questions about making mini apple pies:
Q: Can I use store-bought pie crust?
A: Yes, you can use store-bought pie crust to save time. Just make sure to thaw it completely before using and follow the package instructions for rolling and baking.
Q: Can I make the mini apple pies ahead of time?
A: Yes, you can make the mini apple pies ahead of time. You can assemble the pies and refrigerate them for up to 24 hours before baking. You can also bake the pies ahead of time and store them at room temperature or in the refrigerator.
Q: How do I prevent the crust from getting soggy?
A: To prevent the crust from getting soggy, make sure to use cold ingredients, don’t overmix the dough, and chill the dough before rolling it out. You can also blind bake the crust for 10-12 minutes before filling it.
Q: What is the best way to reheat mini apple pies?
A: To reheat mini apple pies, preheat your oven to 350°F (175°C) and bake them for 10-15 minutes, or until warmed through. You can also reheat them in the microwave for 30-60 seconds, but the crust may not be as crispy.
Q: Can I use different types of apples?
A: Yes, you can use different types of apples. A combination of sweet and tart apples, such as Honeycrisp and Granny Smith, creates a balanced flavor. Other great options include Gala, Fuji, and Braeburn.