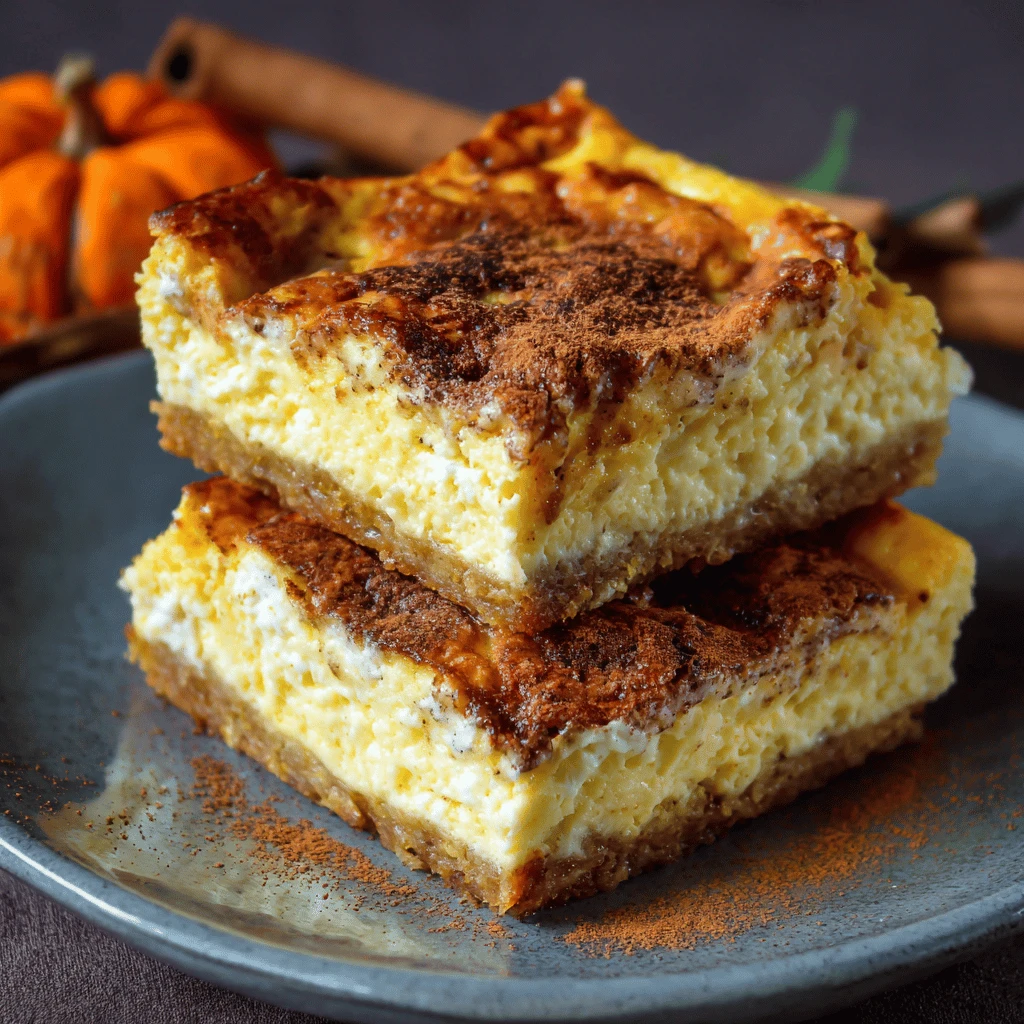
Pie Cheesecake Bars for Thanksgiving Thanksgiving is a time for family, friends, and, of course, an abundance of delicious food. While pumpkin pie is a Thanksgiving staple, why not shake things up this year with a delightful twist: Pie Cheesecake Bars? These bars combine the best of both worlds, offering the creamy richness of cheesecake…
Pie Cheesecake Bars for Thanksgiving
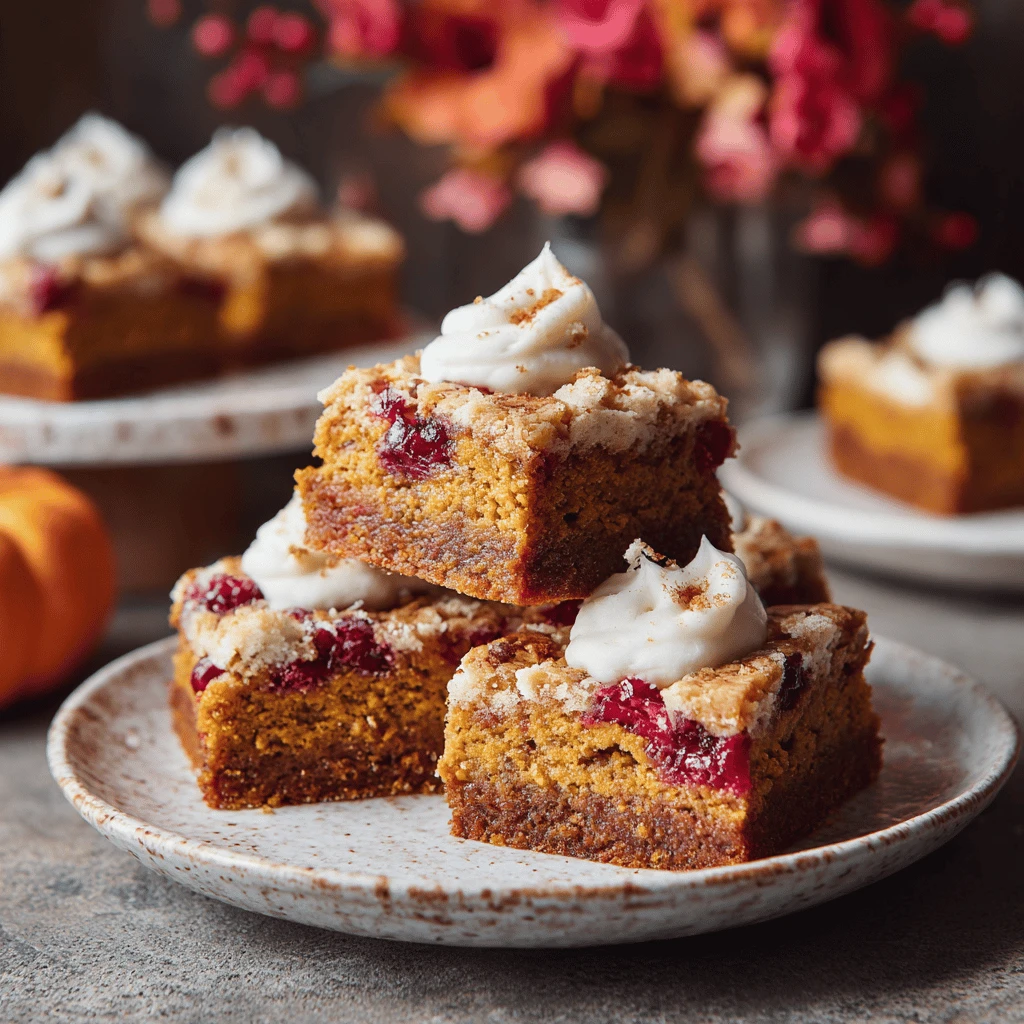
Thanksgiving is a time for family, friends, and, of course, an abundance of delicious food. While pumpkin pie is a Thanksgiving staple, why not shake things up this year with a delightful twist: Pie Cheesecake Bars? These bars combine the best of both worlds, offering the creamy richness of cheesecake and the comforting flavors of your favorite pie. This article will guide you through crafting the perfect pie cheesecake bars for your Thanksgiving feast.
Why Pie Cheesecake Bars Are the Perfect Thanksgiving Dessert
Tired of the same old pumpkin pie? Pie cheesecake bars offer a unique and exciting alternative that’s sure to impress your guests. They are easier to serve than traditional pie slices, making them ideal for larger gatherings. The combination of textures – a buttery crust, a creamy cheesecake filling, and a flavorful pie topping – creates a truly satisfying dessert experience. Plus, these bars can be prepared ahead of time, freeing up valuable oven space on Thanksgiving Day.
Pie cheesecake bars provide endless customization possibilities. From pumpkin spice to apple cinnamon to pecan praline, you can adapt the recipe to suit your family’s preferences. They are also naturally portion-controlled, helping you and your guests indulge without overdoing it. Finally, the visually appealing layers of crust, cheesecake, and pie filling make these bars a show-stopping centerpiece for your Thanksgiving dessert table.
The Advantages of Cheesecake Bars
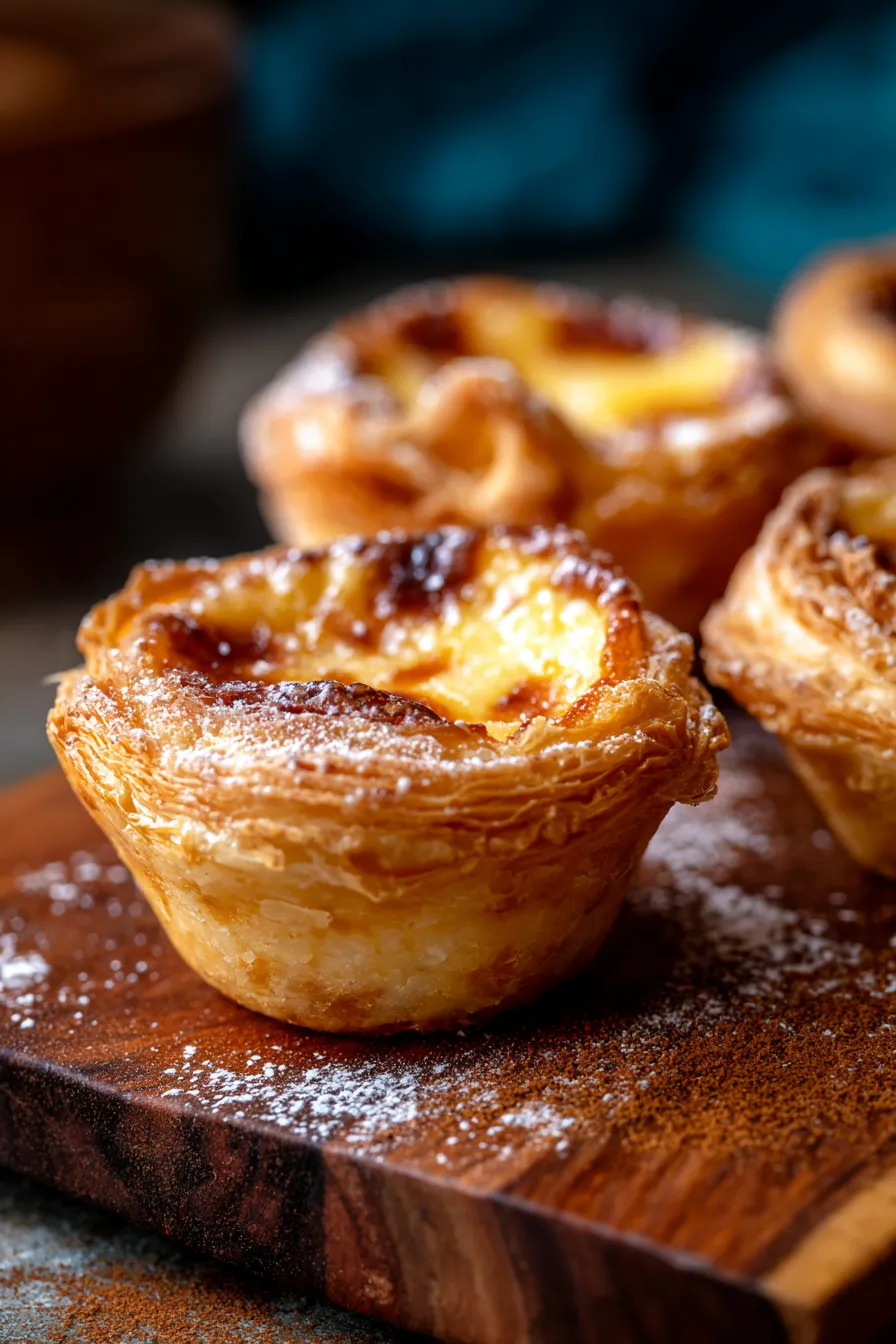
Traditional cheesecakes can be intimidating to bake, often requiring water baths and careful temperature control to prevent cracking. Cheesecake bars, on the other hand, are much more forgiving and easier to handle. They bake evenly in a rectangular pan, and any minor imperfections are easily hidden by the pie filling topping.
Pie Filling and Its Versatility
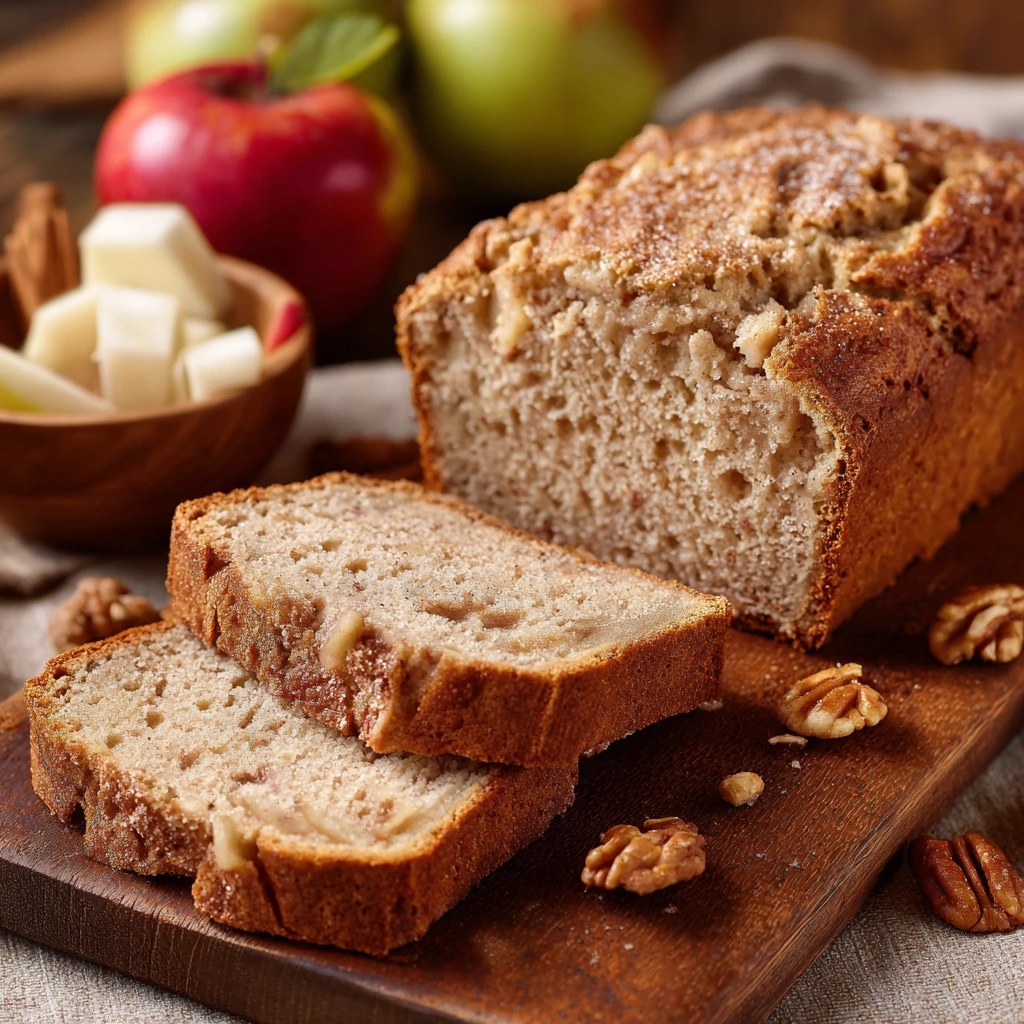
The pie filling is where you can really let your creativity shine. While pumpkin is a classic choice for Thanksgiving, consider exploring other options such as apple, pecan, sweet potato, or even cranberry. Experiment with different spices and flavor combinations to create a unique and memorable dessert. You can also use store-bought pie filling to save time, or make your own from scratch for a truly homemade touch.
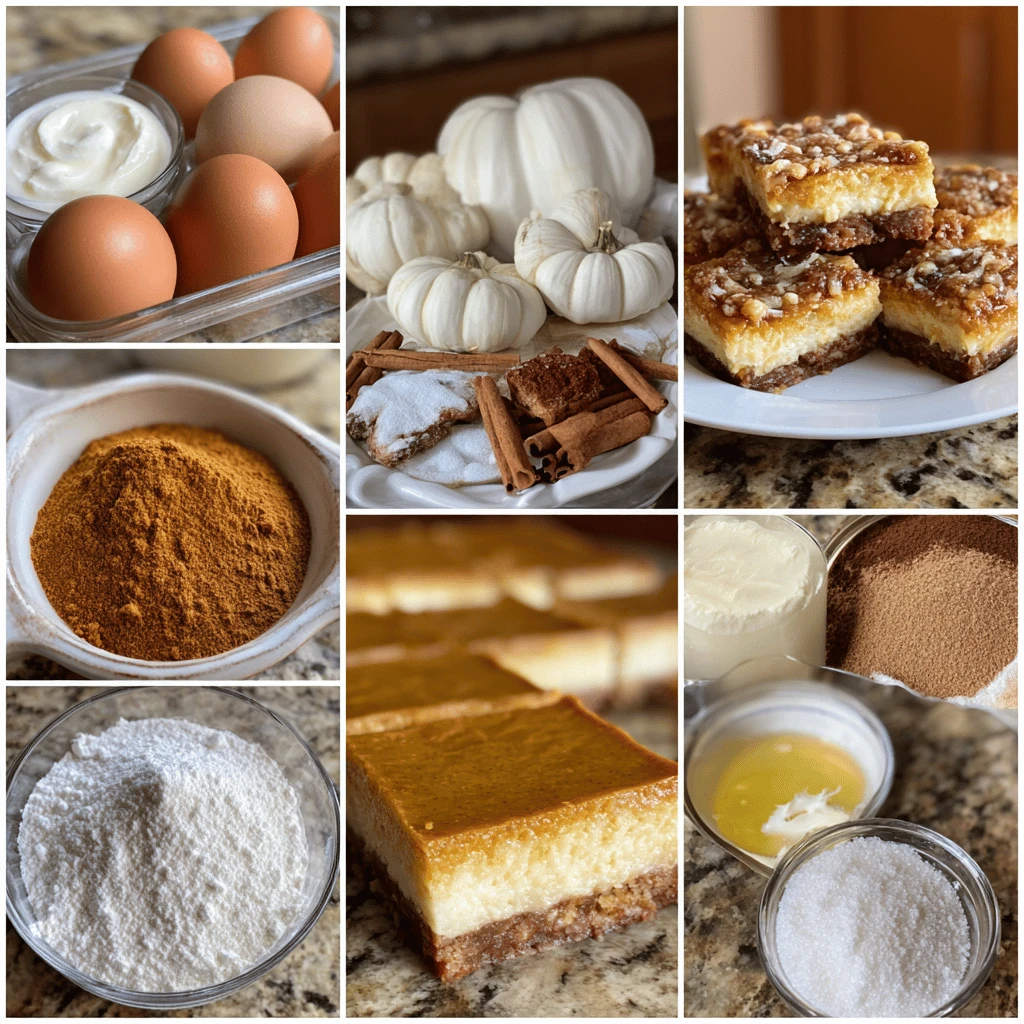
Essential Ingredients and Tools
Before you start baking, gather all the necessary ingredients and tools. This will ensure a smooth and efficient baking process.
Ingredients Checklist
- Crust: All-purpose flour, granulated sugar, cold unsalted butter, salt. You can substitute graham cracker crumbs for a different crust texture.
- Cheesecake Filling: Cream cheese (full-fat, softened), granulated sugar, eggs, vanilla extract, sour cream.
- Pie Filling: Canned or homemade pie filling (pumpkin, apple, pecan, etc.), spices (cinnamon, nutmeg, ginger), brown sugar (optional).
- Optional Toppings: Whipped cream, caramel sauce, chopped nuts, chocolate shavings.
Essential Baking Tools
- 9×13 inch baking pan
- Mixing bowls
- Electric mixer (stand or hand-held)
- Measuring cups and spoons
- Rubber spatula
- Parchment paper (optional, for easy removal)
Step-by-Step Baking Instructions
Now that you have your ingredients and tools ready, let’s get baking! Follow these step-by-step instructions to create delicious pie cheesecake bars.
Preparing the Crust
1. Preheat your oven to 350°F (175°C).
2. In a medium bowl, combine the flour, sugar, and salt.
3. Cut in the cold butter using a pastry blender or your fingertips until the mixture resembles coarse crumbs.
4. Press the mixture firmly into the bottom of the 9×13 inch baking pan.
5. Bake for 10-12 minutes, or until lightly golden brown. Let cool slightly.
Making the Cheesecake Filling
1. In a large bowl, beat the softened cream cheese and sugar until smooth and creamy.
2. Beat in the eggs one at a time, then stir in the vanilla extract and sour cream. Mix until just combined. Do not overmix.
3. Pour the cheesecake filling over the partially baked crust.
Adding the Pie Filling
1. Gently spoon the pie filling over the cheesecake layer. Be careful not to disturb the cheesecake filling too much.
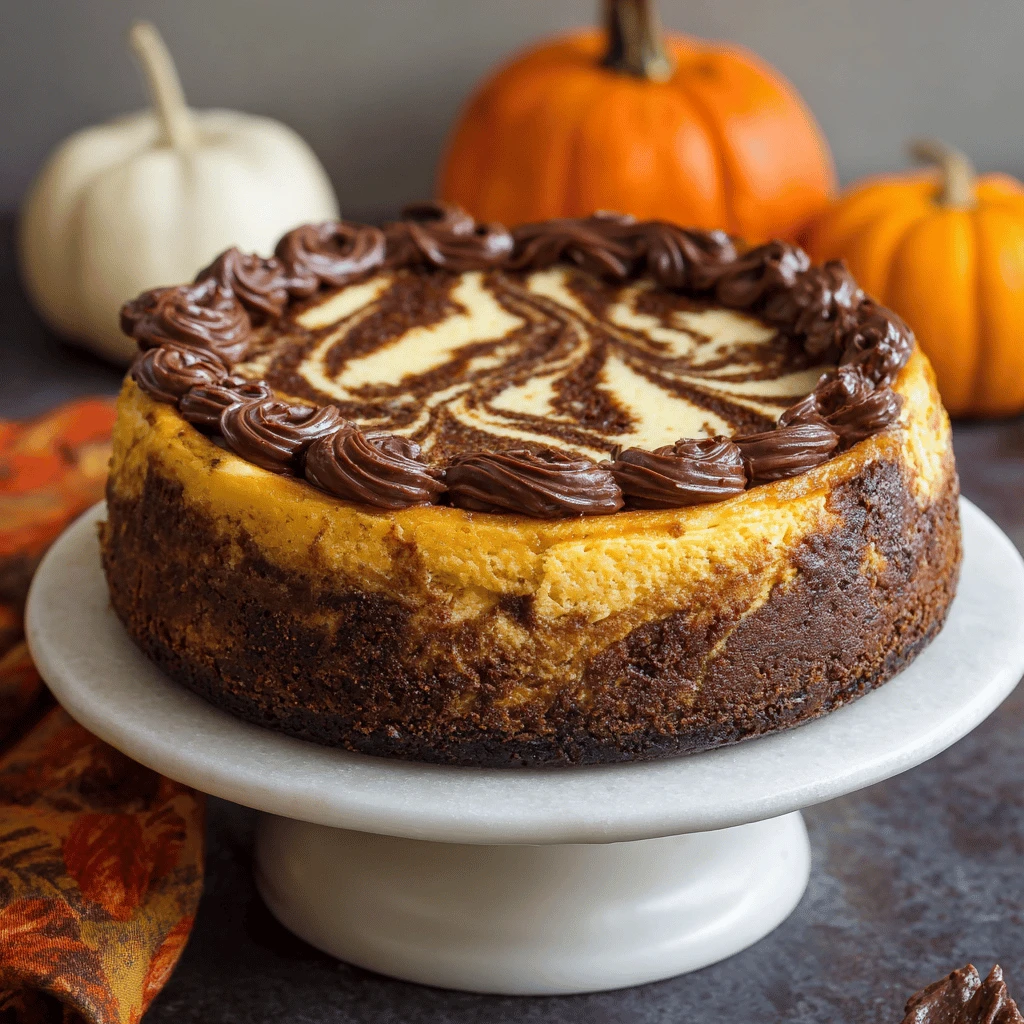
2. If using homemade pie filling, you can swirl it into the cheesecake filling for a marbled effect.
Baking and Cooling
1. Bake for 35-40 minutes, or until the cheesecake is set around the edges but still slightly jiggly in the center.
2. Turn off the oven and let the cheesecake bars cool in the oven with the door slightly ajar for about an hour. This will help prevent cracking.
3. Remove from the oven and let cool completely at room temperature.
4. Cover and refrigerate for at least 4 hours, or preferably overnight, before cutting into bars.
Tips and Tricks for Perfect Pie Cheesecake Bars
Achieving perfect pie cheesecake bars is within reach with these helpful tips and tricks.
Preventing Cracks in the Cheesecake
To prevent cracks, avoid overbaking the cheesecake. It should be slightly jiggly in the center when you remove it from the oven. Also, cooling the cheesecake slowly in the oven helps to minimize temperature shock, which can cause cracks. A water bath is usually not necessary for cheesecake bars, but you can place a pan of hot water on the rack below the cheesecake for added moisture if desired.
Customizing Flavors and Toppings
Don’t be afraid to experiment with different pie fillings and spices. Apple pie filling with cinnamon and nutmeg is a classic choice, while pecan pie filling with a dash of bourbon offers a more sophisticated flavor. For toppings, consider whipped cream, caramel sauce, chopped nuts, chocolate shavings, or even a sprinkle of cinnamon sugar.
Storage and Serving Suggestions
Store leftover pie cheesecake bars in an airtight container in the refrigerator for up to 5 days. For best results, let the bars sit at room temperature for about 15 minutes before serving. This will allow them to soften slightly and enhance the flavors. You can also garnish the bars with a dollop of whipped cream and a sprinkle of cinnamon before serving.
Troubleshooting Common Issues
Even experienced bakers can encounter issues. Here’s how to troubleshoot common problems.
Soggy Crust
A soggy crust can be caused by a few factors. Make sure you press the crust firmly into the baking pan. Blind baking the crust before adding the cheesecake filling can also help to prevent sogginess. If you’re using a particularly juicy pie filling, consider thickening it slightly with cornstarch before adding it to the cheesecake layer.
Runny Cheesecake Filling
A runny cheesecake filling is usually caused by overmixing the batter. Overmixing incorporates too much air, which can cause the cheesecake to deflate and become runny during baking. Mix the ingredients until just combined, and avoid beating the batter for too long. Using full-fat cream cheese and ensuring it is properly softened will also help to prevent a runny filling.
Bars Not Setting Properly
If your bars aren’t setting properly, it could be due to underbaking or using low-fat cream cheese. Ensure that the cheesecake is set around the edges but still slightly jiggly in the center when you remove it from the oven. If you suspect that your oven temperature is inaccurate, use an oven thermometer to verify.

FAQ: Answering Your Burning Questions
- Can I make these bars ahead of time? Yes, pie cheesecake bars are a great make-ahead dessert. They can be stored in the refrigerator for up to 5 days.
- Can I freeze these bars? Yes, you can freeze pie cheesecake bars. Wrap them tightly in plastic wrap and then in foil. They can be stored in the freezer for up to 2 months. Thaw them in the refrigerator overnight before serving.
- Can I use store-bought pie filling? Absolutely! Store-bought pie filling is a convenient option, especially if you’re short on time.
- Can I use a different type of crust? Yes, you can use a graham cracker crust or even an Oreo cookie crust for a different flavor and texture.
- How do I get clean cuts when slicing the bars? Use a sharp knife and wipe it clean between each cut. Chilling the bars thoroughly before slicing also helps to create clean cuts.