The Ultimate No-Bake Butterfinger Pie: Easy & Irresistible! Oh, this Butterfinger Pie! It takes me right back to those lazy summer evenings at my grandma’s house. She had a way of making every meal feel like a special occasion, even if it was just Tuesday. I remember one scorching August afternoon, the air conditioner struggling,…
The Ultimate No-Bake Butterfinger Pie: Easy & Irresistible!
Oh, this Butterfinger Pie! It takes me right back to those lazy summer evenings at my grandma’s house. She had a way of making every meal feel like a special occasion, even if it was just Tuesday. I remember one scorching August afternoon, the air conditioner struggling, and Grandma, with a twinkle in her eye, pulled this magnificent no-bake creation from the fridge.
It was a revelation! Cool, creamy, crunchy, and packed with that unmistakable Butterfinger flavor. From that day on, this easy dessert became a staple, perfect for family dinners, potlucks, and any moment we needed a little extra comfort food. This isn’t just a recipe; it’s a slice of pure nostalgia, and I’m so excited to share our tested family favorite with you.
You simply have to make this incredible Butterfinger Pie. It’s a guaranteed crowd-pleaser that requires no oven, minimal effort, and delivers maximum joy. Prepare to be showered with compliments!
Why You’ll Love This Recipe
- So Easy, No Oven Needed! This is truly the ultimate no-fuss dessert. Perfect for hot summer days when turning on the oven feels like a monumental task, or when you simply need a delicious treat without the baking hassle. You’ll spend more time enjoying it than making it!
- Irresistible Flavor Combo! The classic pairing of rich peanut butter and creamy chocolate from the Butterfinger candy creates a flavor explosion that everyone adores. Each bite is a harmonious blend of sweet, salty, and satisfyingly crunchy. It’s pure dessert magic!
- Perfect for Any Occasion! Whether it’s a casual weeknight treat, a festive holiday gathering, a birthday party, or a backyard BBQ, this pie always fits right in. Its vibrant taste and appealing texture make it a versatile dessert that’s sure to be the star of any spread.
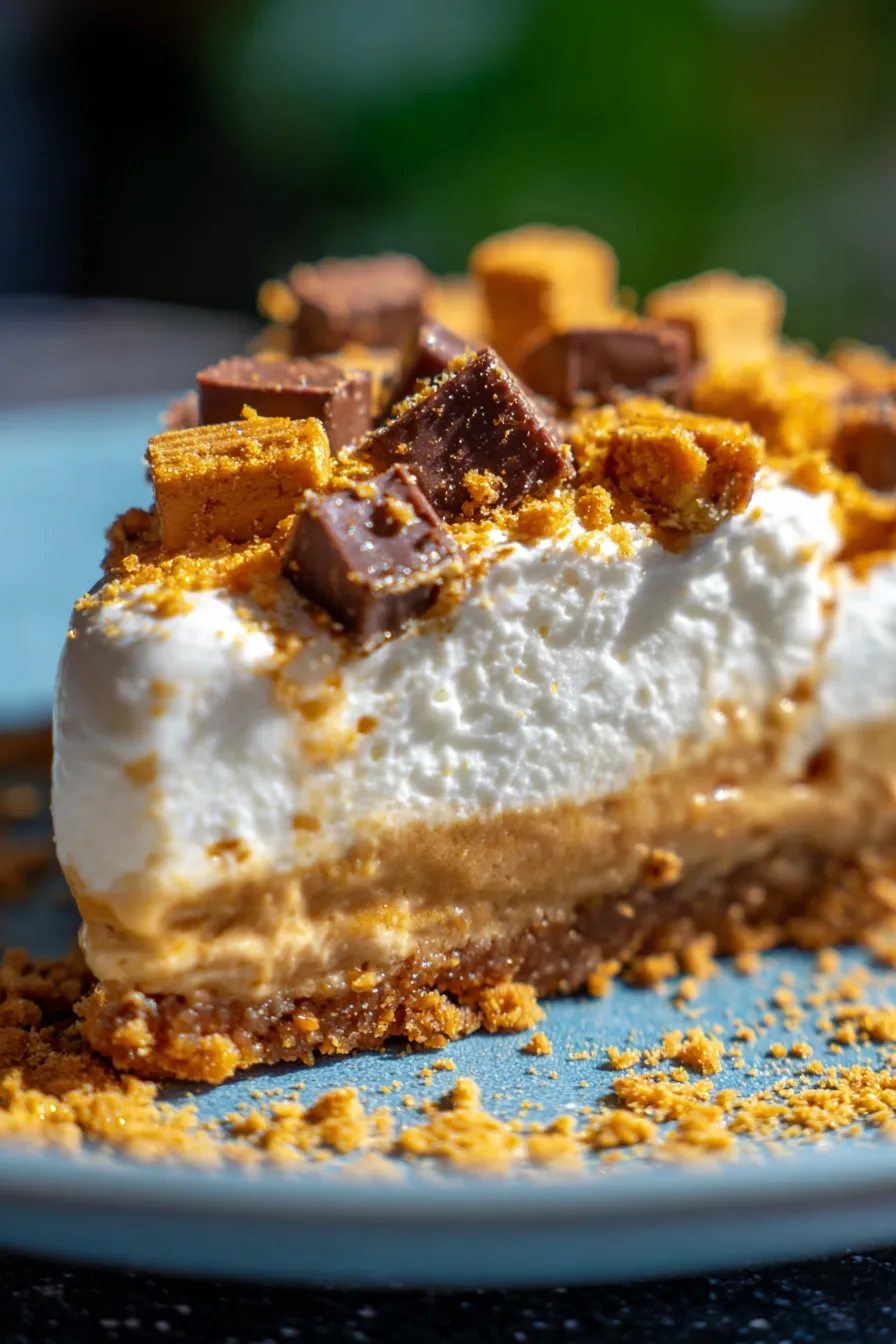
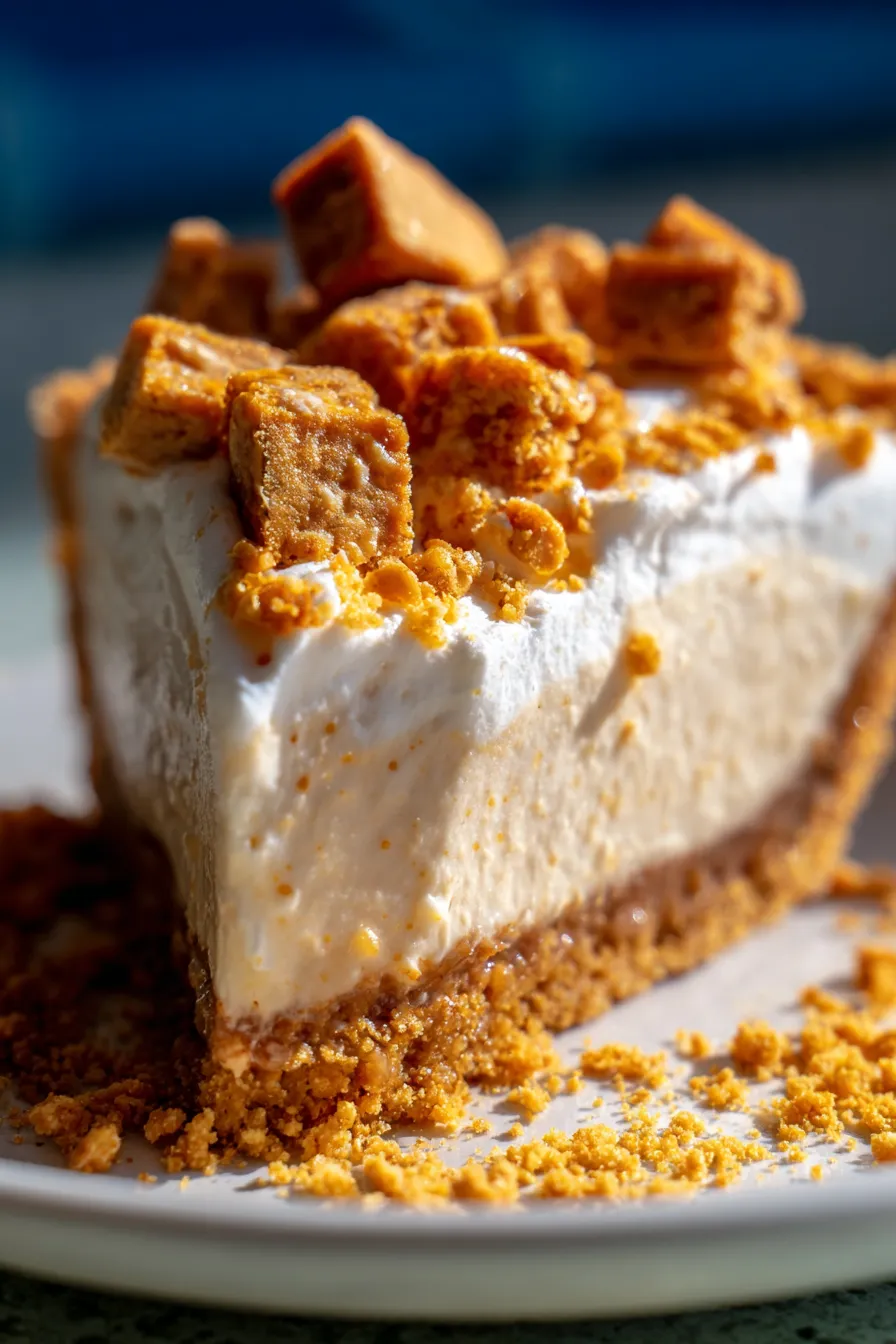
- Guaranteed Crowd-Pleaser! Seriously, I’ve never met anyone who didn’t love this pie. The combination of its creamy filling, crunchy candy bits, and a buttery graham cracker crust is simply irresistible. Get ready for requests for the recipe from all your friends and family!
- Make-Ahead Magic! This pie is a dream come true for meal prep! You can easily assemble it a day or even two in advance, allowing the flavors to meld beautifully and giving you more time to relax and enjoy your event. Just pull it from the fridge when you’re ready to serve.
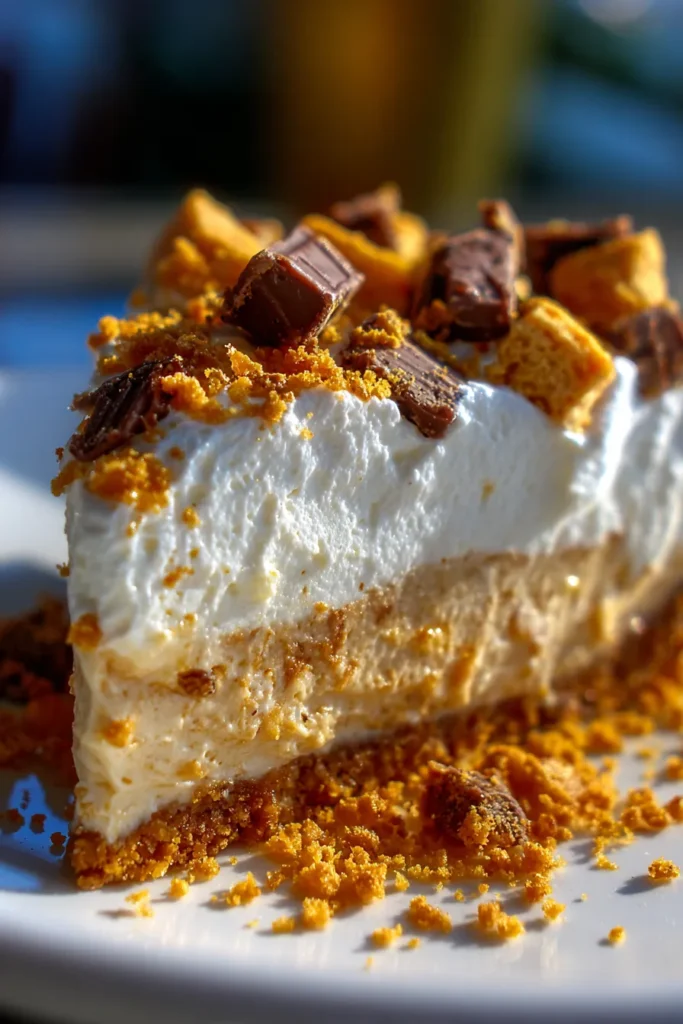
- Texture Sensation! Beyond the amazing taste, the texture profile of this pie is what truly sets it apart. You get the smooth, velvety cream cheese filling, the satisfying crunch of the Butterfinger pieces, and the crumbly, buttery graham cracker crust. It’s a delightful party for your palate!
- Minimal Ingredients, Maximum Impact! You won’t believe how few ingredients you need to create such an impressive dessert. Most items are likely already in your pantry, making this a budget-friendly and super convenient option for a show-stopping sweet treat.
- Customizable Fun! While delicious as is, this pie also welcomes creative twists. Feel free to experiment with different toppings, crusts, or even mix-ins to make it uniquely yours. It’s a fantastic canvas for your dessert imagination!
- Kid-Friendly & Adult-Approved! This pie appeals to all ages. Kids adore the candy bar crunch and sweet flavor, while adults appreciate the sophisticated balance and satisfying richness. It’s a universal favorite that bridges generations.
What You Need
You only need a few simple pantry staples for this recipe! Most of these ingredients are easy to find at any grocery store, making this a super accessible and straightforward dessert to whip up. Check the full printable recipe card below for detailed measurements and exact quantities.
Expert Tips
- Perfectly Crushing Butterfingers: For the ideal texture, don’t over-process your Butterfinger candy bars. You want a mix of fine crumbs and small, recognizable chunks for that signature crunch. Placing them in a freezer bag and gently crushing with a rolling pin works wonders and prevents them from turning into a paste.
- Room Temperature Cream Cheese: This is a non-negotiable step for a smooth, lump-free filling. Cold cream cheese will result in a clumpy mixture that’s impossible to fully combine. Take it out of the fridge at least an hour before you plan to mix.
- Whipped Topping Stability: Ensure your whipped topping (like Cool Whip) is completely thawed but still very cold. This provides the best stability and volume for your pie filling. If you’re using homemade whipped cream, stabilize it with a bit of powdered sugar and a touch of cream of tartar to prevent weeping.
- Graham Cracker Crust: Whether you buy pre-made or make your own, make sure the crust is firm and well-chilled before adding the filling. This prevents it from crumbling when slicing and provides a sturdy base. If making your own, a quick 10-minute bake can make it extra crisp.
- Achieving Ultimate Smoothness: When mixing your cream cheese and peanut butter, beat them on medium-high speed until incredibly light and fluffy before adding any other ingredients. This aeration step is key to a velvety smooth filling. Scrape down the sides of the bowl often!
- The Critical Chill Time: Do not skimp on the chilling! A minimum of 4 hours, and preferably overnight, is essential for the pie to set properly. This allows the filling to firm up beautifully, making for clean slices and a truly satisfying texture. Patience is a virtue here!
- Garnishing Like a Pro: For an extra special touch, reserve some crushed Butterfinger candy and a few whole candy bars (chopped) to sprinkle on top just before serving. A drizzle of melted chocolate or a dollop of extra whipped topping can also elevate its presentation.
- Avoid Overmixing the Whipped Topping: Once you’ve folded in the whipped topping, do so gently. Overmixing can deflate the air, leading to a denser, less airy pie filling. Use a spatula and fold until just combined.
- Pre-Chilling Your Bowl (for homemade whipped cream): If you opt for homemade whipped cream, place your mixing bowl and whisk attachment in the freezer for 10-15 minutes before whipping. This helps the cream whip up faster and holds its shape better.
- Slicing Perfectly: For clean slices, dip your knife in hot water and wipe it clean between each cut. This creates crisp edges, especially with the crunchy Butterfinger bits.
Variations & Substitutions
- Gluten-Free: Easily make this GF by using a gluten-free graham cracker crust. Many brands offer delicious GF options that taste just like the original.
- Dairy-Free/Vegan: Opt for a dairy-free cream cheese alternative, a plant-based whipped topping (like coconut whip or almond-based Cool Whip), and ensure your Butterfinger candy is dairy-free (some specialty versions exist, or you can use a different vegan candy bar).
- Nut-Free: If peanut allergies are a concern, you can use an alternative like sunbutter or almond butter in the filling, and substitute Butterfingers with a different nut-free candy bar or even crushed oreos for a cookies and cream pie.
- Different Candy Bars: Get creative! This recipe is incredibly versatile. Try it with Snickers, Heath bar, M&M’s, or even chopped Reece’s Peanut Butter Cups for a similar but distinct flavor profile.
- Chocolate Crust: For an even deeper chocolate flavor, use a chocolate cookie crust (like Oreo) instead of graham cracker. It pairs beautifully with the peanut butter and Butterfinger.
- Add Chocolate Drizzle: A generous drizzle of melted chocolate or fudge sauce over the top before serving adds an extra layer of decadence and visual appeal.
- Espresso Kick: For coffee lovers, a teaspoon of instant espresso powder dissolved in a tablespoon of milk can be added to the cream cheese mixture to enhance the chocolate and peanut butter flavors without making it taste like coffee.

Storage & Freezing
- Storage: Store leftover Butterfinger Pie tightly covered with plastic wrap in the refrigerator. It will stay fresh and delicious for 3-4 days. The candy bits will soften slightly over time, but the flavor remains fantastic.
- Freezing: Yes, you can freeze Butterfinger Pie! For best results, freeze individual slices or the whole pie (if not pre-sliced) uncovered until firm (about 2 hours). Once firm, wrap it tightly in plastic wrap, then an additional layer of aluminum foil. Label with the date.
- Thawing: When ready to enjoy, transfer the frozen pie or slices to the refrigerator to thaw overnight. You can also enjoy it partially frozen for a delightful ice cream cake-like texture, especially on a hot day! It will keep in the freezer for up to 1 month.
FAQ
Q: Can I make this Butterfinger Pie ahead of time?
A: Absolutely! This pie is a fantastic make-ahead dessert. In fact, making it the day before allows the flavors to meld beautifully and ensures it’s perfectly chilled and set for serving. Just cover it tightly with plastic wrap and refrigerate.
Q: How do I keep the Butterfinger bits from getting soggy?
A: The best way to minimize sogginess is to gently fold the crushed Butterfingers into the filling just before spreading it into the crust. You can also reserve about a quarter of the crushed candy to sprinkle on top right before serving, ensuring a fresh crunch with every bite.
Q: Can I use real whipped cream instead of whipped topping?
A: Yes, you can! If using real whipped cream, I recommend stabilizing it. Whip heavy cream with 1-2 tablespoons of powdered sugar and 1/2 teaspoon of cream of tartar (or a stabilizer like gelatin) until stiff peaks form. This will help it hold its structure better in the pie.
Q: What if I don’t like peanut butter, or have an allergy?
A: No problem! You can easily omit the peanut butter from the filling and just make a vanilla or cream cheese base. For allergies, substitute peanut butter with an equal amount of softened cream cheese or a nut-free spread like sunbutter, if tolerated. You could also swap the Butterfingers for a different candy bar, as mentioned in the variations section.
Q: How long does the pie need to chill before serving?
A: For optimal setting and flavor, this Butterfinger Pie needs a minimum of 4 hours in the refrigerator. However, chilling it overnight truly yields the best results, allowing everything to firm up beautifully for easy slicing and maximum deliciousness.
Conclusion
There you have it – the ultimate recipe for a dreamy, creamy, crunchy No-Bake Butterfinger Pie that’s sure to become a beloved favorite in your home. It’s more than just a dessert; it’s a little slice of joy, perfect for sharing (or not!). So go ahead, whip up this amazing treat, and watch the smiles appear. Don’t forget to pin this recipe for later so you can revisit this incredible pie again and again!
The Ultimate No-Bake Butterfinger Pie: Easy & Irresistible!
Ingredients
- 1 (9-inch) graham cracker crust
- 1 (8 ounce) package cream cheese, softened
- 1/2 cup creamy peanut butter
- 1/2 cup powdered sugar
- 1 teaspoon vanilla extract
- 1 (8 ounce) container frozen whipped topping, thawed (like Cool Whip)
- 6-8 regular size Butterfinger candy bars, crushed (about 2 cups)
Instructions
- Step 1 In a large mixing bowl, beat the softened cream cheese, peanut butter, powdered sugar, and vanilla extract with an electric mixer until smooth and creamy. Ensure there are no lumps.
- Step 2 Gently fold in about half of the thawed whipped topping into the cream cheese mixture until just combined. Be careful not to deflate the mixture.
- Step 3 Gently fold in 1 1/2 cups of the crushed Butterfinger candy bars. Reserve the remaining 1/2 cup for garnish.
- Step 4 Spread the filling evenly into the graham cracker crust.
- Step 5 Top the pie with the remaining half of the whipped topping, spreading it gently to cover the filling.
- Step 6 Sprinkle the reserved 1/2 cup of crushed Butterfinger candy bars over the top of the pie.
- Step 7 Cover the pie loosely with plastic wrap and refrigerate for at least 4 hours, or preferably overnight, to allow it to set completely.
- Step 8 Slice with a sharp knife (dipped in hot water and wiped clean between slices for best results) and serve cold. Enjoy!