Best Ever Creamy Mac and Cheese with Green Peas There are some dishes that just transport you back to childhood, wrapped in a warm, comforting hug. For me, it’s always been a classic bowl of Mac and Cheese. I remember rainy Sunday afternoons at my grandma’s house, the smell of melting cheese wafting from the…
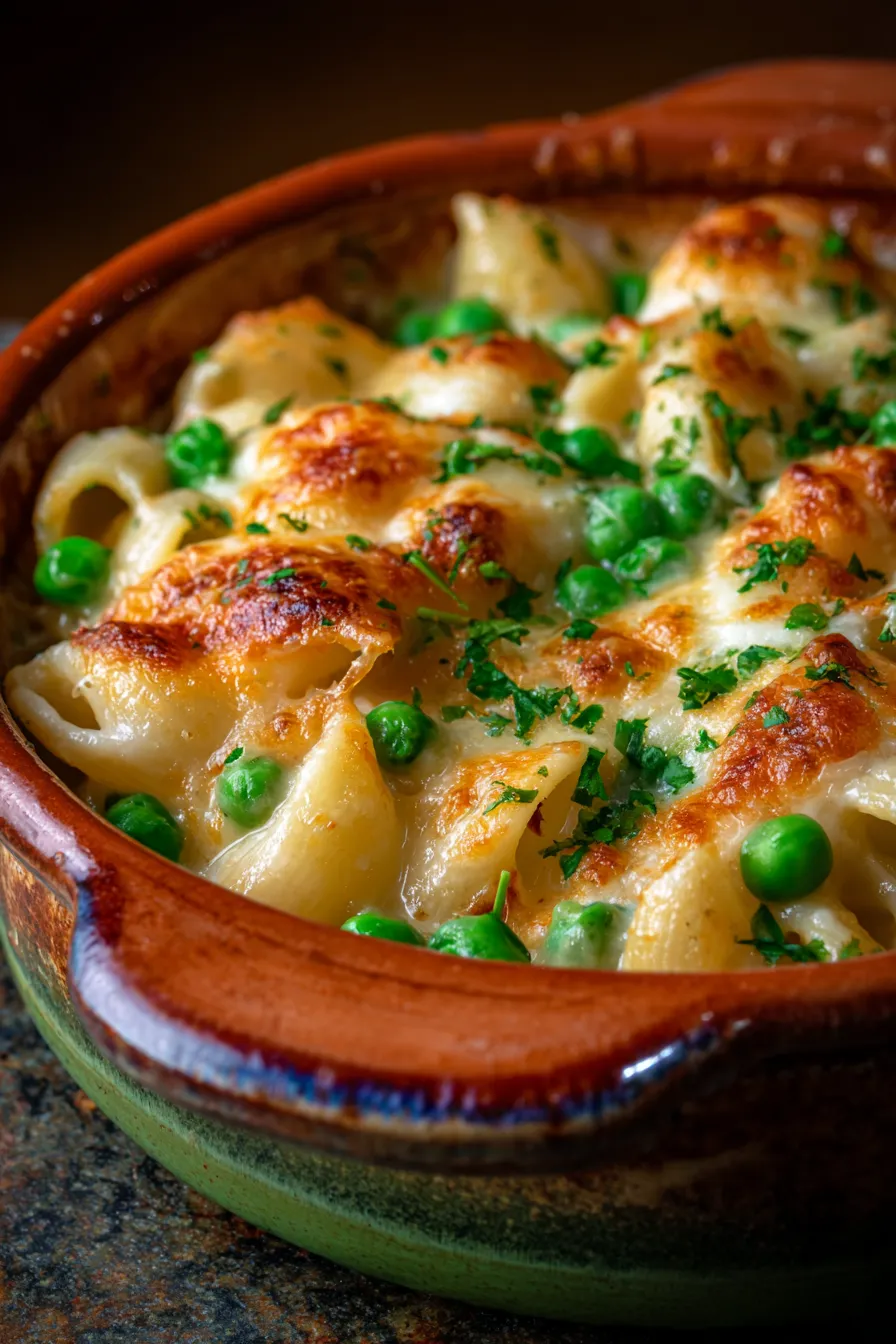
Best Ever Creamy Mac and Cheese with Green Peas
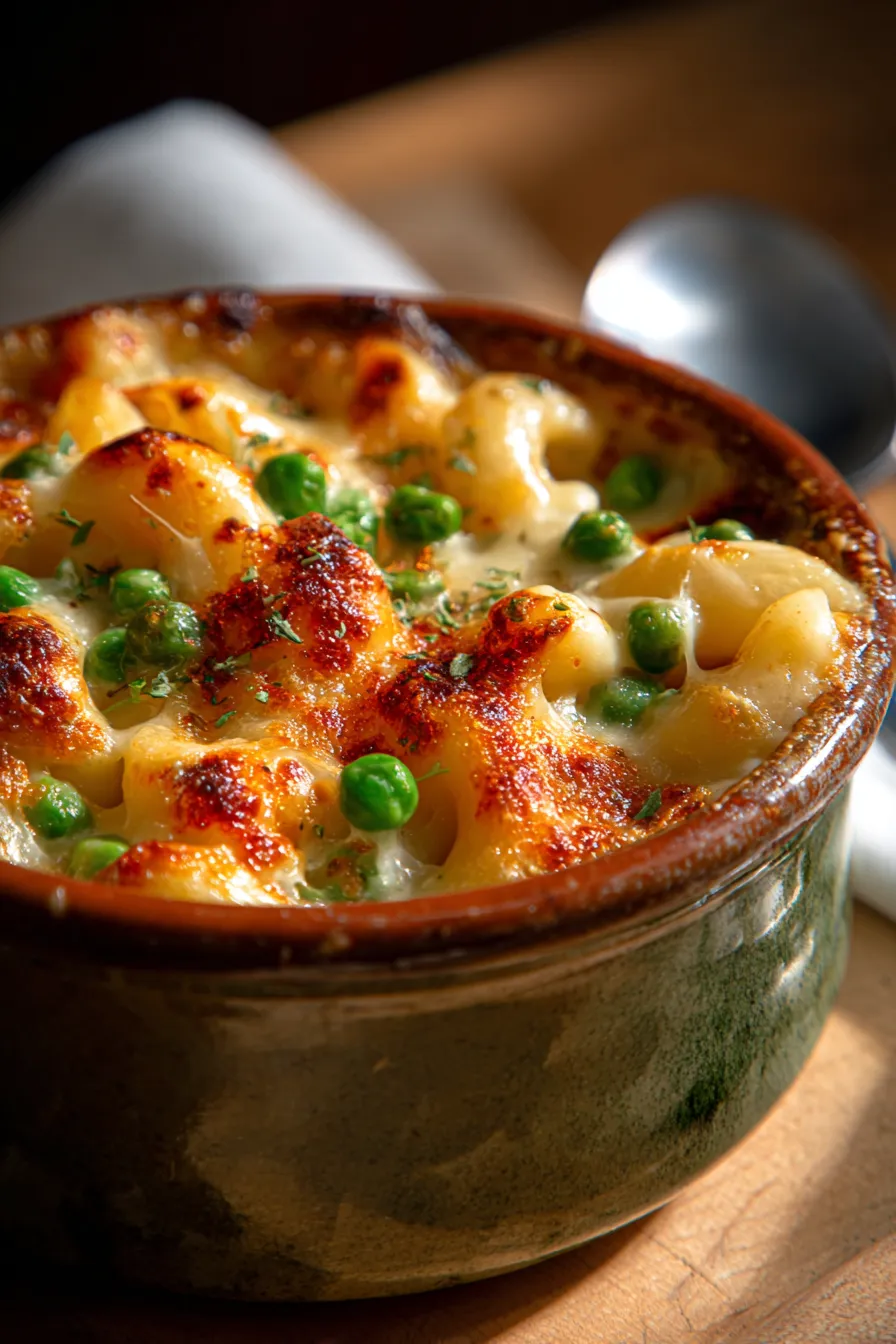
There are some dishes that just transport you back to childhood, wrapped in a warm, comforting hug. For me, it’s always been a classic bowl of Mac and Cheese. I remember rainy Sunday afternoons at my grandma’s house, the smell of melting cheese wafting from the kitchen as she whipped up her famous version. She always insisted on adding a handful of bright green peas, claiming they added ‘a pop of freshness’ and ‘made it a complete meal.’ Little did I know then, she was onto something truly magical.
This recipe for Mac and Cheese with Green Peas isn’t just a meal; it’s a cherished memory on a plate. It brings together that nostalgic creaminess with a delightful burst of sweet peas, making it an elevated take on a beloved classic. It’s perfect for those busy weeknights when you crave something hearty, or for a cozy weekend dinner with loved ones. Trust me, this tested and family-favorite recipe is about to become your new go-to for easy dinner perfection.
It’s incredibly simple to prepare, yet delivers a gourmet-level flavor that will have everyone asking for seconds. Get ready to experience the ultimate comfort food that truly hits all the right notes!
Why You’ll Love This Recipe
❤️ Oh, let me count the ways you’ll fall head over heels for this incredible Mac and Cheese with Green Peas!
- Pure Comfort in Every Bite: This isn’t just mac and cheese; it’s a warm, cheesy hug for your soul. Each spoonful delivers rich, creamy pasta coated in a luxurious cheese sauce that truly satisfies.
- Quick & Easy: Life is busy, and sometimes you need a delicious meal on the table without a fuss. This recipe is designed for simplicity, coming together in under an hour with minimal effort. Perfect for weeknight wonders!
- Vibrant Flavor & Texture: The addition of bright green peas isn’t just for color; they add a delightful sweetness and a tender pop that contrasts beautifully with the gooey, savory cheese sauce and al dente pasta. It’s a texture party!
- Family-Friendly Favorite: From picky eaters to gourmet palates, everyone adores this dish. It’s a guaranteed crowd-pleaser for family dinners, potlucks, or even a cozy night in.
- Pantry Staples: You likely have most of these ingredients in your kitchen already! We’re talking classic macaroni, butter, flour, milk, and your favorite cheeses. Simple ingredients, extraordinary results.
- Customizable: While perfect as is, this recipe is a fantastic canvas for personalization. Want a spicier kick? Add a pinch of cayenne! Craving more veggies? Stir in some spinach or broccoli florets.
- Batch-Friendly: Easily double or triple the recipe to feed a larger crowd or for meal prepping. It reheats beautifully, making leftovers a joyful experience.
- Healthier Twist: Those vibrant green peas aren’t just for show! They sneak in a dose of vegetables, fiber, and vitamins, making this comfort food feel a little more balanced.
- Versatile Side or Main: Serve it as a hearty main course with a simple salad, or as an indulgent side dish to roasted chicken, ham, or meatloaf. It truly shines in any role.
- Impressive & Approachable: You’ll impress guests with its homemade deliciousness, yet the process is so straightforward, even beginner cooks can master it with confidence.
What You Need
You only need a few simple pantry staples for this recipe! We’re talking about classic macaroni, a rich blend of cheeses, and, of course, those lovely green peas. Check the full printable recipe card below for detailed measurements and a complete list of ingredients.
Expert Tips for the Best Mac and Cheese
💡 Achieving that perfect, restaurant-quality mac and cheese is easier than you think with these expert tips:
- Choose Your Cheese Wisely: Don’t just stick to one! A blend of cheeses adds depth and complexity. I love a sharp cheddar for tang and a creamy Gruyère for nutty melt. Monterey Jack or Fontina are also fantastic additions for extra meltiness. Always grate your own cheese from a block; pre-shredded cheeses often contain anti-caking agents that can make your sauce gritty.
- The Perfect Roux: The roux (butter and flour mixture) is the foundation of your creamy sauce. Cook it for just 1-2 minutes until it smells nutty, but don’t let it brown too much unless you want a darker, deeper flavor profile. This short cooking time eliminates the raw flour taste.
- Warm Milk is Key: Gradually whisk in warm (or even room temperature) milk to your roux. Adding cold milk can cause lumps. Gently warming the milk beforehand helps create a smoother, silkier béchamel base.
- Low and Slow for Cheese: Remove the pot from the heat before adding your grated cheese. Stir in the cheese a handful at a time, allowing each batch to melt completely before adding more. High heat can cause cheese to separate, resulting in an oily, grainy sauce.
- Don’t Overcook the Pasta: Cook your macaroni just to al dente (a little firm to the bite). It will continue to cook slightly when mixed with the hot cheese sauce and if baked. Overcooked pasta will turn mushy.
- Freshly Ground Nutmeg: A tiny pinch of freshly grated nutmeg is a secret ingredient in many béchamel-based sauces. It enhances the cheesiness without making the dish taste overtly like nutmeg. It’s a game-changer!
- Season as You Go: Taste your sauce after adding the cheese and adjust salt and pepper. Remember that cheese is salty, so add salt incrementally.
- To Bake or Not to Bake: This recipe is fantastic stovetop, but if you love a crispy topping, transfer it to a baking dish, top with extra cheese and panko breadcrumbs, and bake at 375°F (190°C) for 15-20 minutes, or until golden and bubbly.
- Peas at the End: Add the frozen green peas directly to the hot sauce just before serving. The residual heat will warm them through perfectly without overcooking them and losing their vibrant color and fresh pop.
- Serve Immediately: Mac and cheese is always best served fresh, right off the stove or out of the oven, when the sauce is at its creamiest peak.
- A Touch of Spice: For a subtle kick, consider adding a pinch of cayenne pepper or a dash of hot sauce to your cheese sauce. It won’t make it spicy, but it will add a lovely warmth and depth.
Variations & Substitutions
This Mac and Cheese with Green Peas recipe is wonderfully versatile! Feel free to experiment and make it your own.
- Cheese Blends: Experiment with different cheese combinations! Smoked gouda, white cheddar, provolone, or even a touch of cream cheese for extra tanginess work beautifully.
- Add-ins: Boost the veggie content with finely chopped broccoli florets, spinach (stir in at the end until wilted), or even roasted butternut squash for a seasonal touch. Cooked, crumbled bacon or diced ham are also delicious additions for meat lovers.
- Gluten-Free: Easily make this recipe gluten-free by using your favorite gluten-free elbow macaroni and a gluten-free all-purpose flour for the roux.
- Vegan/Dairy-Free (Requires significant changes): While not a direct substitution, you could adapt this concept using plant-based butter, non-dairy milk (like unsweetened soy or oat milk), and a blend of vegan cheeses. Nutritional yeast can also add a cheesy flavor.
- Spicy Kick: Stir in a teaspoon of Dijon mustard for extra depth, or a pinch of red pepper flakes or a dash of your favorite hot sauce for a gentle heat.
- Pasta Shapes: Any small, robust pasta shape will work – shells, rotini, or even penne are great alternatives to elbow macaroni.
Storage & Freezing
Storing Leftovers: Leftover Mac and Cheese with Green Peas can be stored in an airtight container in the refrigerator for up to 3-4 days. To reheat, gently warm on the stovetop over low heat, adding a splash of milk to loosen the sauce if it’s too thick. You can also microwave individual portions.
Freezing: While you can freeze mac and cheese, the texture of the sauce can sometimes become a little grainy upon reheating. If you choose to freeze, store in an airtight, freezer-safe container for up to 2-3 months. Thaw overnight in the refrigerator before reheating gently on the stovetop, again, adding a little milk to restore creaminess.
FAQ
Q: Can I use different types of pasta?
A: Absolutely! While elbow macaroni is classic, you can use any small, sturdy pasta shape like shells, rotini, or ditalini. Just ensure they are cooked al dente.
Q: Why did my cheese sauce turn out grainy?
A: A grainy sauce is usually caused by overheating the cheese or adding it too quickly. Always remove the pot from the heat before stirring in the cheese gradually, allowing it to melt slowly. Using pre-shredded cheese can also contribute to graininess due to anti-caking agents.
Q: Can I make this ahead of time?
A: You can prepare the cheese sauce and cook the pasta ahead of time, storing them separately. When ready to serve, combine and gently warm the sauce, then add the pasta and peas. This helps maintain the best texture. If making the whole dish ahead, it’s best to undercook the pasta slightly and add a splash of milk when reheating.
Q: Do I have to use frozen peas, or can I use fresh?
A: Frozen peas are perfectly fine and convenient! If using fresh peas, blanch them quickly in boiling water for 1-2 minutes before adding them to the mac and cheese to ensure they are tender.
Conclusion
And there you have it, friends! A truly irresistible Mac and Cheese with Green Peas that’s destined to become a staple in your recipe repertoire. It’s simple, satisfying, and packed with so much flavor and warmth. Whether you’re whipping it up for a quick family dinner or sharing it with friends, this dish is pure culinary magic.
Don’t forget to Pin this recipe for later and share your creations with me! I can’t wait to hear how much you love it!

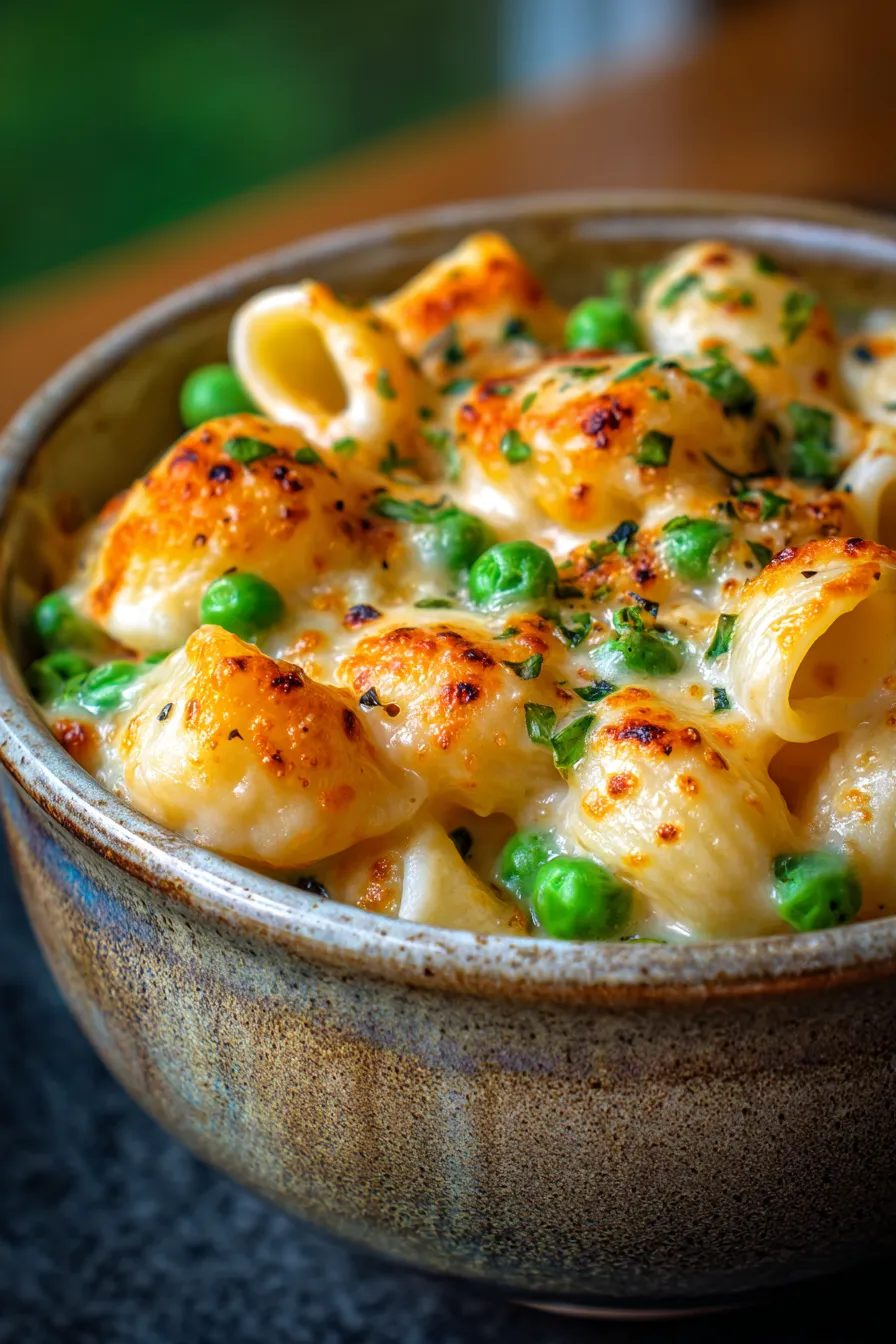
Creamy Mac and Cheese with Green Peas: Easy Comfort Food!
Ingredients
- 1 lb elbow macaroni
- 1/2 cup unsalted butter
- 1/2 cup all-purpose flour
- 4 cups whole milk, warmed
- 1 tsp salt, plus more to taste
- 1/2 tsp black pepper, plus more to taste
- 1/4 tsp freshly grated nutmeg
- 3 cups shredded sharp cheddar cheese
- 1 cup shredded Gruyu00e8re cheese (or other good melting cheese like Fontina)
- 1 cup frozen green peas
Instructions
- Step 1 Cook macaroni according to package directions until al dente. Drain and set aside.
- Step 2 In a large saucepan or Dutch oven, melt butter over medium heat. Whisk in flour and cook for 1-2 minutes, stirring constantly, to create a roux.
- Step 3 Gradually whisk in the warm milk, a little at a time, until smooth and no lumps remain. Continue to whisk and cook over medium heat until the sauce thickens, about 5-7 minutes.
- Step 4 Remove the saucepan from the heat. Stir in salt, pepper, and nutmeg.
- Step 5 Add the shredded cheddar and Gruyu00e8re cheeses, a handful at a time, stirring until each batch is completely melted and incorporated before adding more. Continue until all cheese is melted and the sauce is smooth and creamy.
- Step 6 Add the cooked macaroni and frozen green peas to the cheese sauce. Stir gently to combine, ensuring all the pasta is coated.
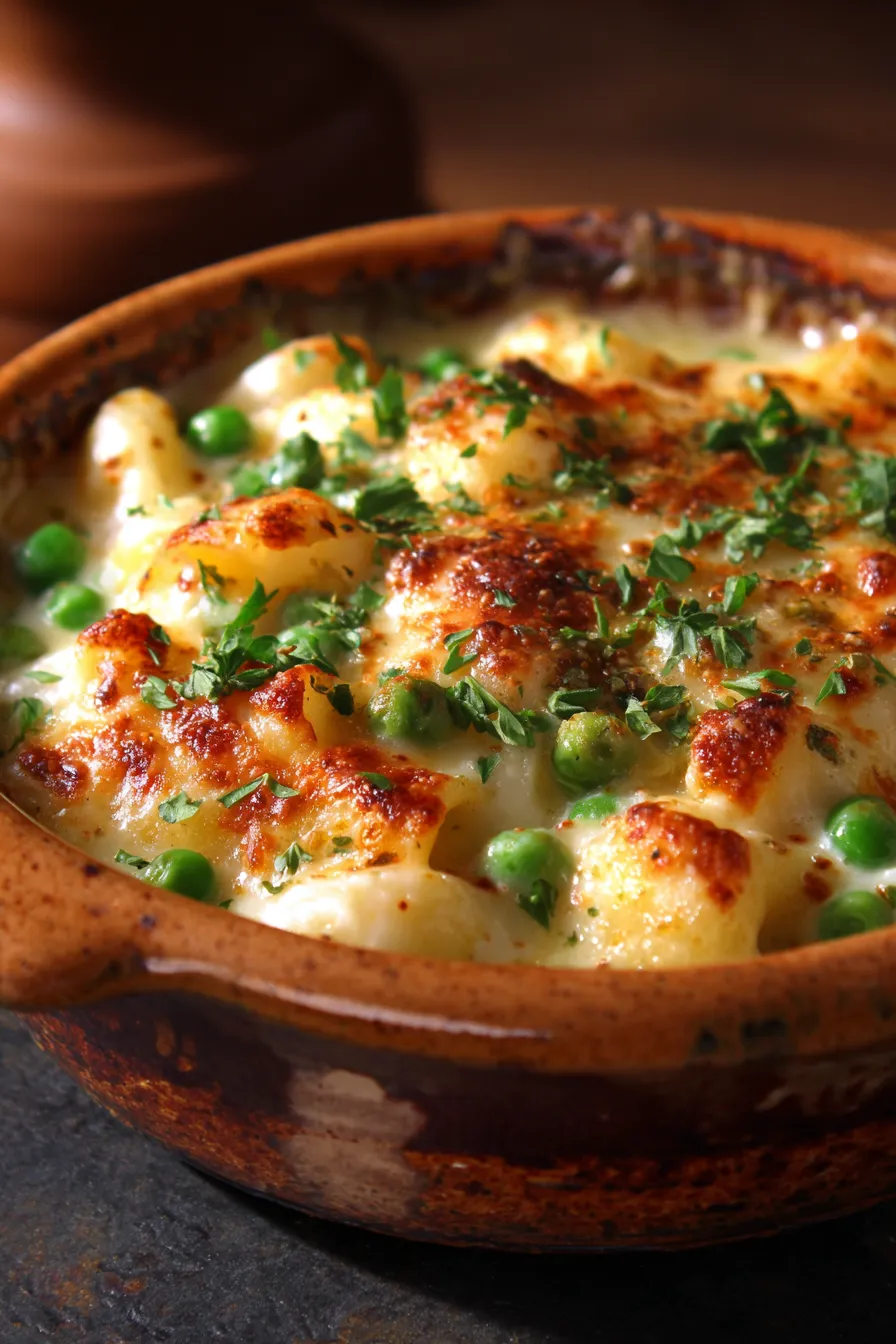
- Step 7 Serve immediately, or transfer to a greased 9x13 inch baking dish, top with extra cheese if desired, and bake at 375°F (190°C) for 15-20 minutes, or until bubbly and golden.
- Step 8 Taste and adjust seasoning as needed before serving hot.