Crispy Baked Chicken: Easy Dinner Perfection Crispy baked chicken is a weeknight dinner champion. It’s faster than frying, healthier than takeout, and infinitely customizable to your family’s tastes. This guide will walk you through creating the perfect crispy baked chicken every single time, focusing on ease, flavor, and minimal cleanup. Achieving Ultimate Crispy Skin: The…
Crispy Baked Chicken: Easy Dinner Perfection
Crispy baked chicken is a weeknight dinner champion. It’s faster than frying, healthier than takeout, and infinitely customizable to your family’s tastes. This guide will walk you through creating the perfect crispy baked chicken every single time, focusing on ease, flavor, and minimal cleanup.
Achieving Ultimate Crispy Skin: The Secrets Revealed
The quest for perfectly crispy baked chicken often boils down to a few key elements. Forget soggy skin forever with these essential techniques:
- Dry Brining is Your Friend: Salt is the secret weapon. Dry brining, essentially salting the chicken before cooking, draws out moisture from the skin. This allows it to crisp up beautifully in the oven. Aim for at least 30 minutes, but ideally, dry brine in the fridge for several hours, or even overnight. Pat the chicken completely dry with paper towels before applying your seasonings.
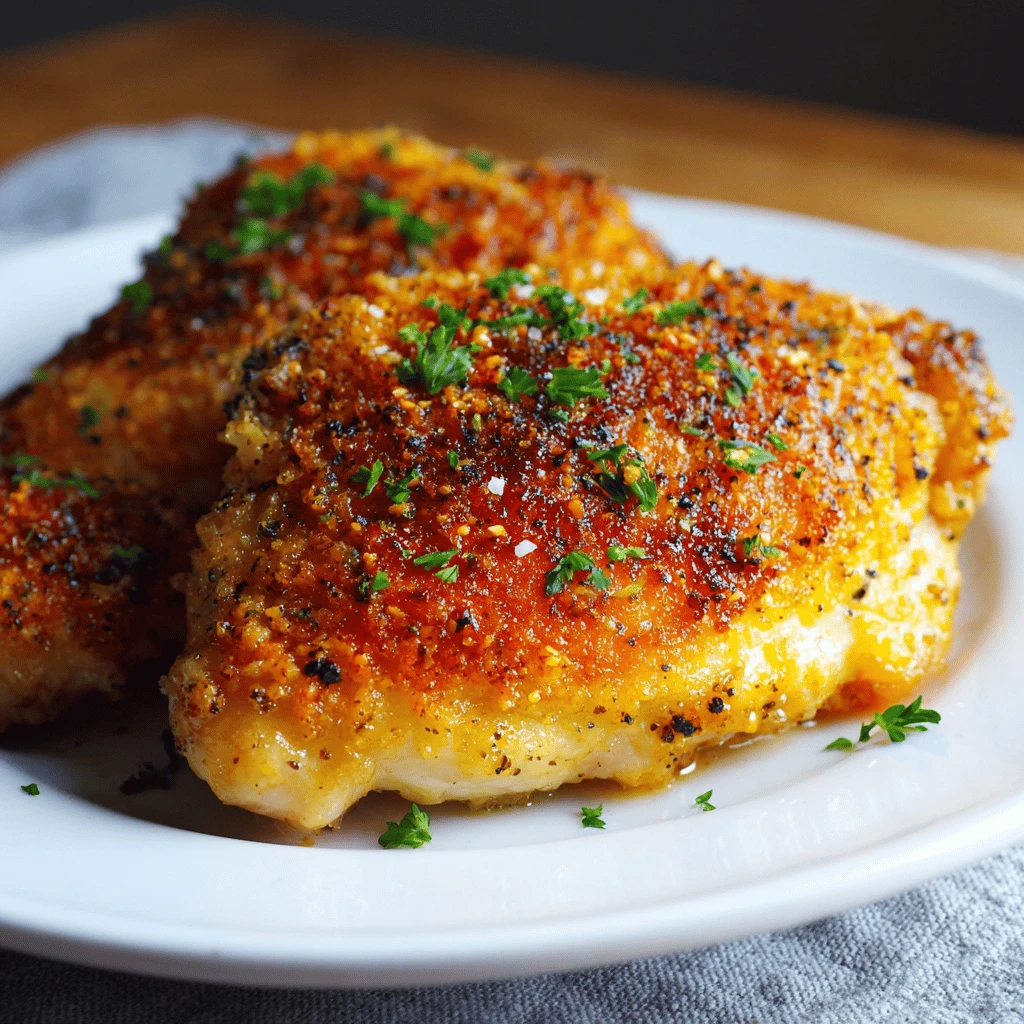
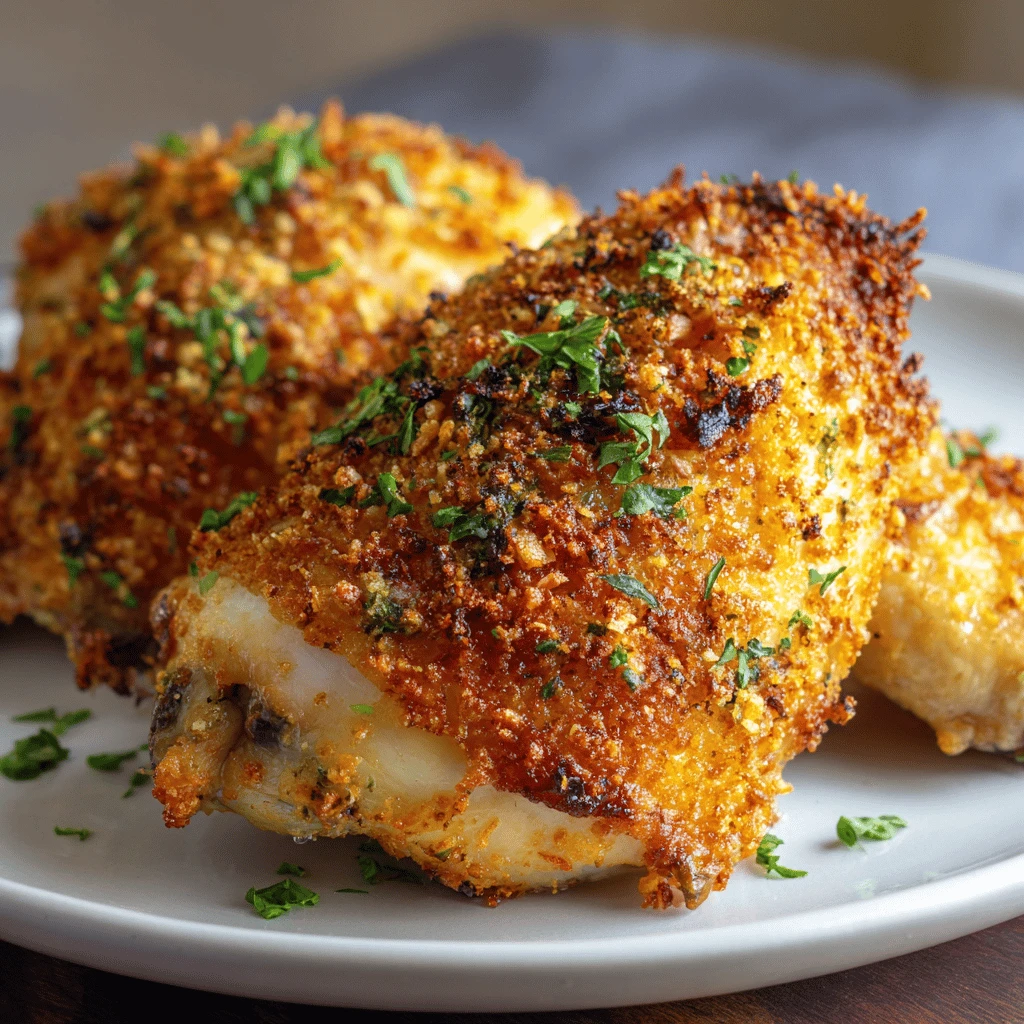
- Temperature Matters: High heat is crucial. We’re not roasting here, we’re crisping. A temperature of 400-425°F (200-220°C) is ideal for achieving that coveted golden-brown, crispy skin. Preheat your oven thoroughly before placing the chicken inside.
- Elevate for Airflow: A wire rack placed inside a baking sheet is a game-changer. It allows hot air to circulate evenly around the chicken, ensuring consistent crisping on all sides. If you don’t have a wire rack, use a sheet pan, but expect the bottom to be slightly less crispy.
- Baking Powder’s Magic Touch: A little baking powder mixed with your seasonings helps to further dry out the skin and promote browning. It’s a subtle addition, but it makes a noticeable difference. Ensure the baking powder is aluminum-free to avoid any metallic aftertaste.
Flavor Explosions: Seasoning Your Crispy Chicken
Once you’ve mastered the technique, it’s time to unleash your creativity with seasonings. Here are a few flavor profiles to get you started:
- Classic Herb & Garlic: This is a timeless combination that never fails. Combine dried herbs like thyme, rosemary, and oregano with garlic powder, onion powder, paprika, salt, and pepper. A touch of lemon zest adds brightness.
- Spicy Southwestern: For a fiery kick, blend chili powder, cumin, smoked paprika, cayenne pepper, garlic powder, onion powder, and a pinch of brown sugar for balanced sweetness.
- Parmesan & Herb: A family favorite. Mix grated Parmesan cheese with Italian seasoning, garlic powder, salt, and pepper. The Parmesan creates a delicious, cheesy crust.
- Lemon Pepper Perfection: Simple yet satisfying. Combine lemon pepper seasoning with garlic powder and a touch of dried parsley. A squeeze of fresh lemon juice after baking adds extra zing.
Experiment with different combinations and adjust the quantities to suit your taste. Don’t be afraid to get creative with your spice rack!
Creating Your Signature Seasoning Blend
The best part about crispy baked chicken is how adaptable it is. Consider these tips for crafting your own signature seasoning blend:
- Balance Flavors: Think about how different flavors complement each other. Sweet, savory, spicy, and acidic elements should be in harmony.
- Start Simple: Don’t overwhelm yourself with too many ingredients. Begin with a few base spices and then gradually add others until you achieve the desired flavor profile.
- Taste as You Go: Seasoning is a matter of personal preference. Taste your blend as you create it and adjust the ingredients accordingly.
- Write it Down: Once you’ve created a winning combination, write down the recipe so you can recreate it again and again.
Step-by-Step: The Easy Crispy Baked Chicken Recipe
Now, let’s put everything together with this easy-to-follow recipe:
Ingredients:
- 4 bone-in, skin-on chicken pieces (thighs, drumsticks, or breasts)
- 1 tablespoon kosher salt
- 1 teaspoon baking powder (aluminum-free)
- 2 tablespoons olive oil or avocado oil
- 2-3 tablespoons your preferred seasoning blend (see suggestions above)
Instructions:
1. Dry Brine: Pat the chicken pieces dry with paper towels. In a small bowl, combine the salt and baking powder. Sprinkle the mixture evenly over the chicken, rubbing it into the skin. Place the chicken on a plate or baking sheet, uncovered, and refrigerate for at least 30 minutes, or up to overnight.
2. Preheat Oven: Preheat your oven to 400°F (200°C). Place a wire rack inside a baking sheet.
3. Season: Remove the chicken from the refrigerator and pat it dry again with paper towels. This is crucial for crispy skin! In a bowl, toss the chicken with olive oil or avocado oil and your chosen seasoning blend, ensuring it’s evenly coated.
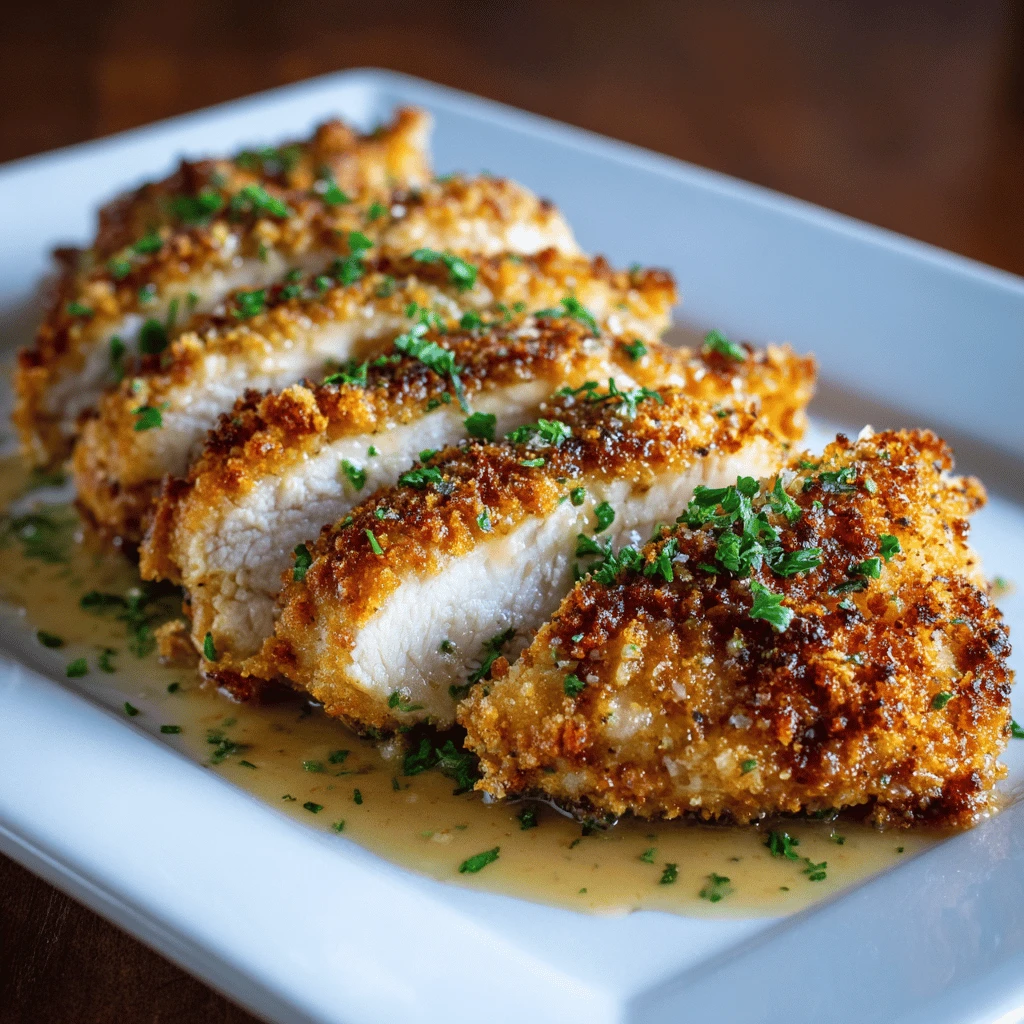
4. Bake: Arrange the chicken pieces on the wire rack-lined baking sheet, making sure they are not overcrowded. Bake for 35-45 minutes, or until the internal temperature reaches 165°F (74°C) in the thickest part of the chicken. The skin should be golden brown and crispy.
5. Rest: Remove the chicken from the oven and let it rest for 5-10 minutes before serving. This allows the juices to redistribute, resulting in more tender and flavorful chicken.
Tips for Perfectly Cooked Chicken
- Use a Meat Thermometer: The only way to ensure your chicken is cooked through is to use a meat thermometer. Insert it into the thickest part of the chicken, avoiding the bone.
- Don’t Overcrowd the Pan: Overcrowding the pan will steam the chicken instead of crisping it. If necessary, bake in batches.
- Adjust Baking Time: Baking time may vary depending on the size and thickness of the chicken pieces.
- Broil for Extra Crispiness: If the skin isn’t quite crispy enough after baking, you can broil it for a minute or two, keeping a close eye on it to prevent burning.
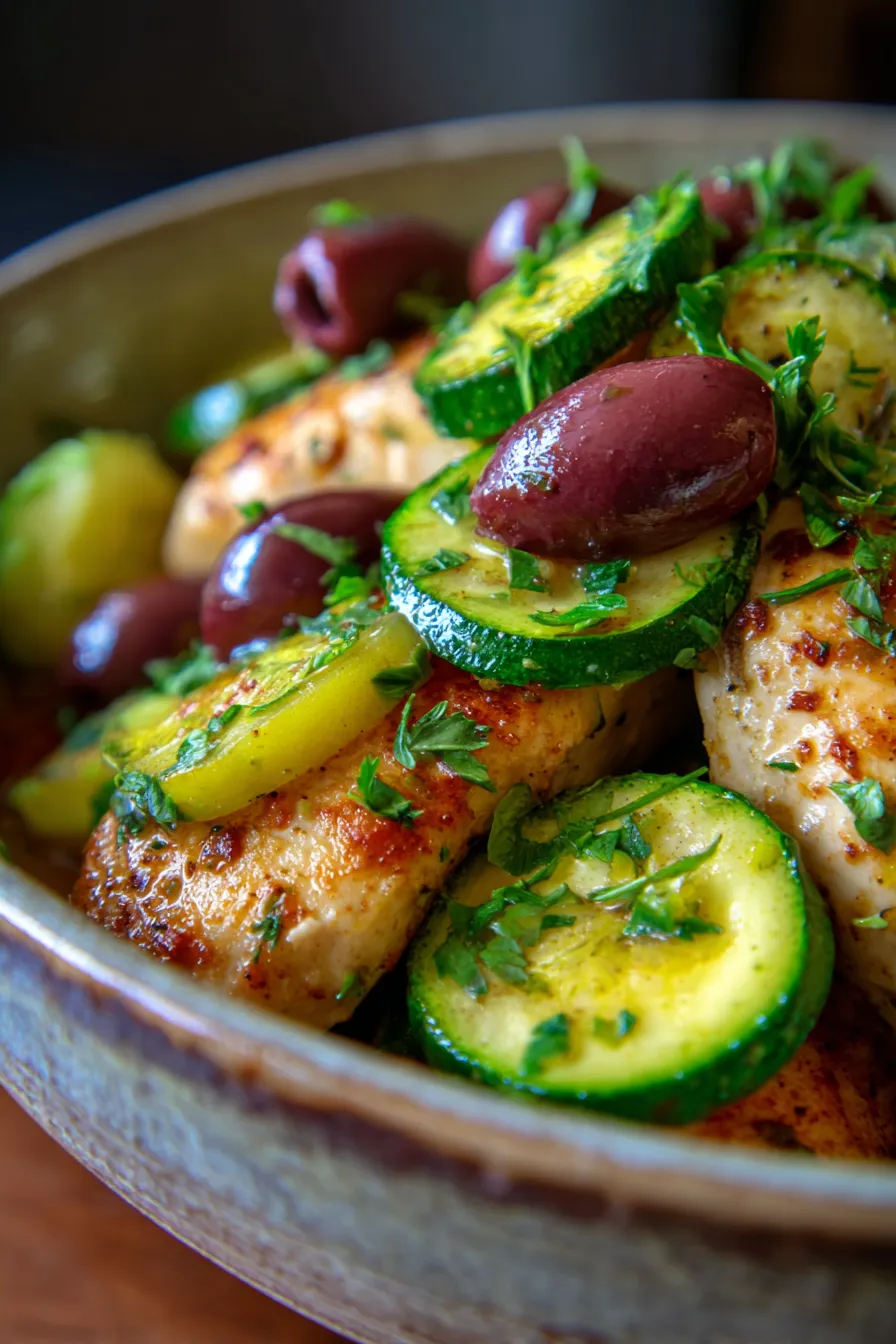
Sides That Shine: Completing Your Crispy Chicken Dinner
Crispy baked chicken pairs well with a variety of sides, making it a versatile dinner option. Here are a few ideas:
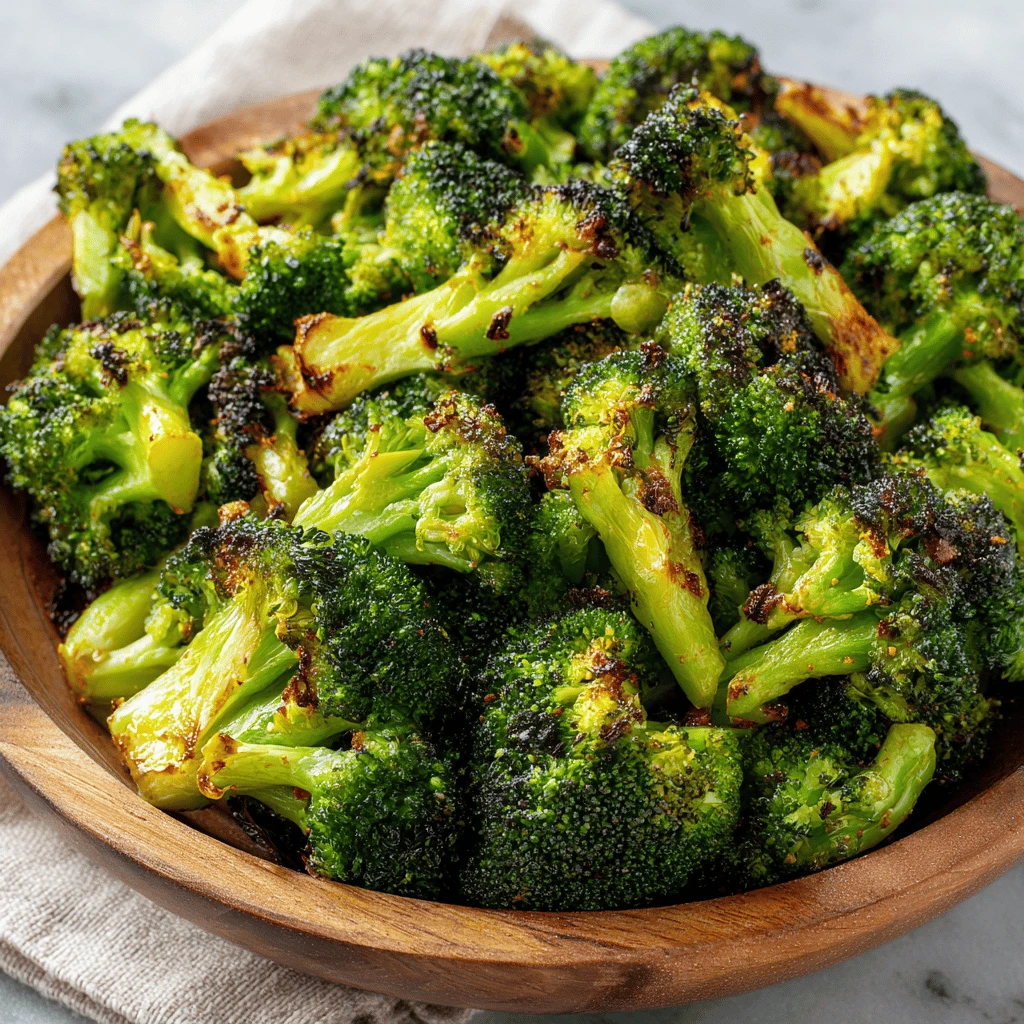
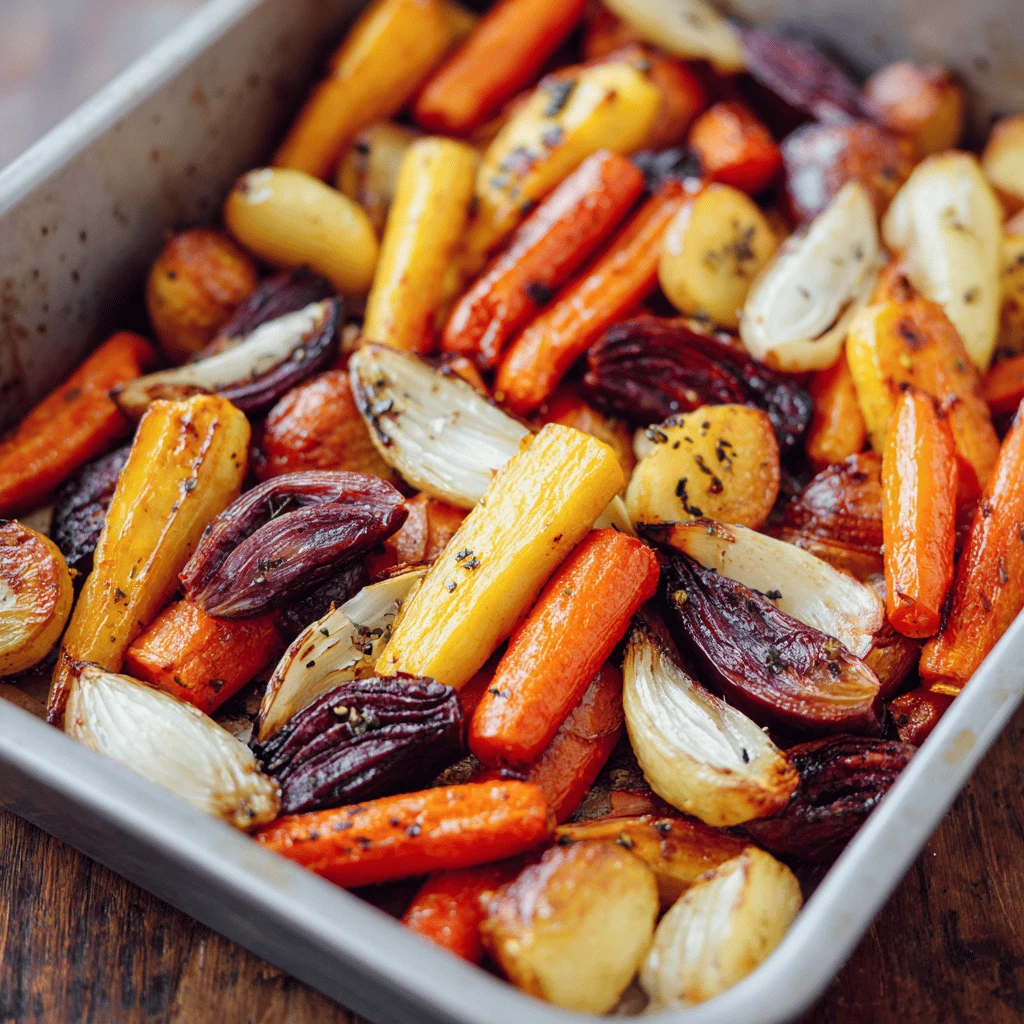
- Roasted Vegetables: Toss your favorite vegetables, such as broccoli, carrots, Brussels sprouts, or potatoes, with olive oil, salt, pepper, and herbs, and roast them alongside the chicken.
- Mashed Potatoes: Creamy mashed potatoes are a classic accompaniment to crispy chicken.
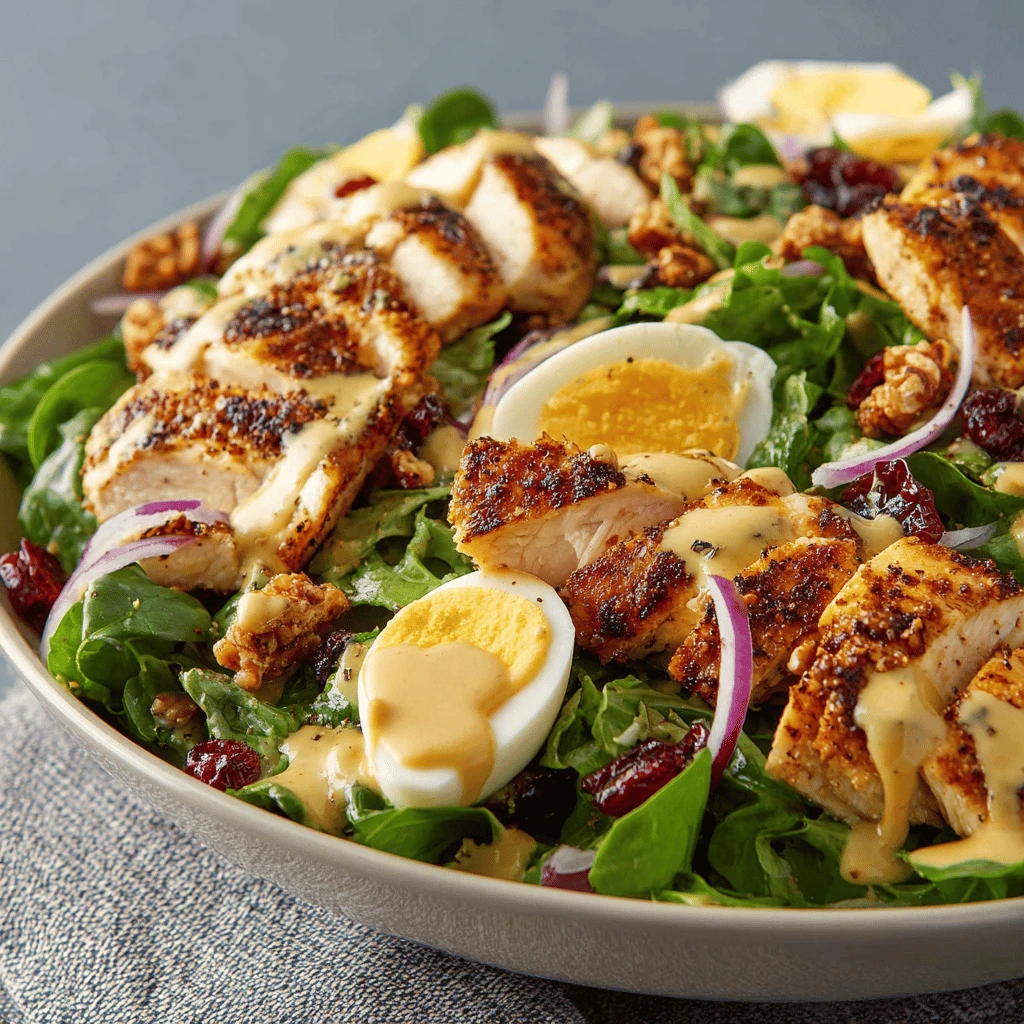
- Green Salad: A simple green salad with a light vinaigrette provides a refreshing contrast to the richness of the chicken.
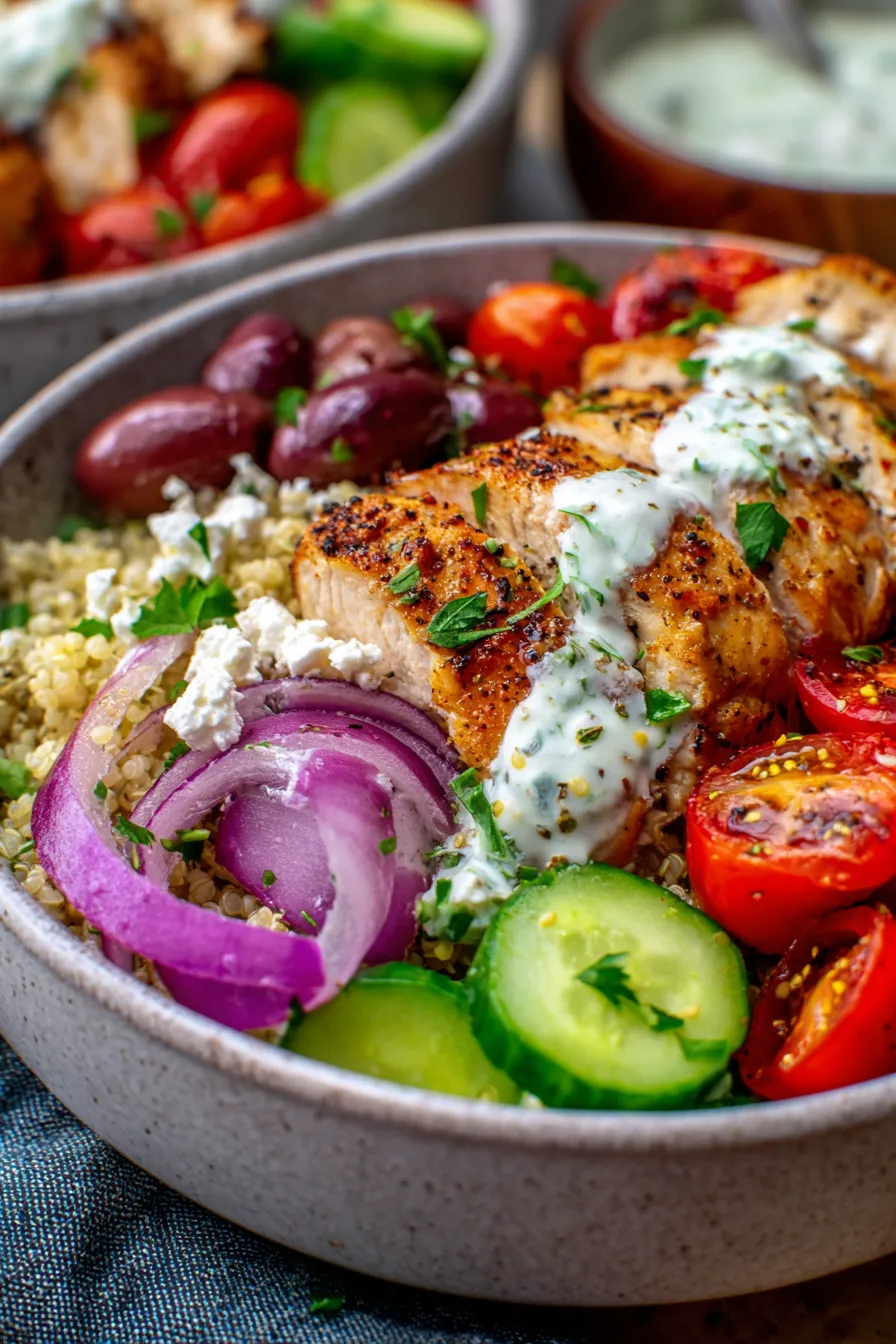
- Rice or Quinoa: Serve the chicken with fluffy rice or quinoa for a healthy and satisfying meal.
- Mac and Cheese: A comforting and indulgent side dish that’s always a crowd-pleaser.
Quick & Easy Side Dish Suggestions
For busy weeknights, consider these quick and easy side dish options:
- Steamed Green Beans: Simply steam green beans until tender-crisp and season with salt, pepper, and a squeeze of lemon juice.
- Instant Pot Rice: Cook rice in your Instant Pot for a hands-off side dish.
- Pre-made Salad Kit: Save time by using a pre-made salad kit from the grocery store.
Troubleshooting & Common Mistakes
Even with the best recipe, things can sometimes go wrong. Here are some common issues and how to fix them:
- Soggy Skin: This is usually caused by not drying the chicken thoroughly enough or not using a high enough oven temperature. Make sure to pat the chicken dry before seasoning and ensure your oven is properly preheated.
- Uneven Cooking: This can happen if the chicken pieces are different sizes or if the oven temperature is not consistent. Use a meat thermometer to ensure all pieces are cooked to 165°F (74°C). Rotate the baking sheet halfway through cooking.
- Dry Chicken: Overcooking is the most common cause of dry chicken. Use a meat thermometer and remove the chicken from the oven as soon as it reaches 165°F (74°C). Letting it rest before serving also helps to retain moisture.
- Burnt Skin: This is usually caused by too high of an oven temperature or by broiling for too long. Keep a close eye on the chicken while it’s baking and adjust the oven temperature if necessary.
Preventing Future Mishaps
- Always Use a Meat Thermometer: Investing in a good meat thermometer is the best way to ensure perfectly cooked chicken every time.
- Read the Recipe Carefully: Before you start cooking, read the entire recipe and make sure you understand all the instructions.
- Don’t Be Afraid to Experiment: Once you’ve mastered the basic recipe, feel free to experiment with different seasonings and techniques to find what works best for you.
FAQ: Crispy Baked Chicken
- What’s the best cut of chicken to use for crispy baked chicken? Thighs and drumsticks are generally the most forgiving cuts and tend to stay moist during baking. Breasts can also be used, but they can dry out more easily, so be sure to monitor them closely.
- Can I use boneless, skinless chicken breasts? Yes, you can, but they won’t get as crispy. Consider pounding them to an even thickness for faster and more even cooking.
- How long does crispy baked chicken last in the refrigerator? Cooked chicken can be stored in the refrigerator for up to 3-4 days.
- Can I freeze crispy baked chicken? Yes, you can freeze cooked chicken for up to 2-3 months. Wrap it tightly in plastic wrap or place it in a freezer-safe container.
- How do I reheat crispy baked chicken? The best way to reheat crispy baked chicken is in the oven at 350°F (175°C) until heated through. You can also reheat it in the microwave, but it won’t be as crispy.
- Why is my chicken not crispy even after baking for a long time? Make sure you’re using a high enough oven temperature, drying the chicken thoroughly before seasoning, and using a wire rack to allow for proper airflow. Adding baking powder to your seasoning blend can also help.