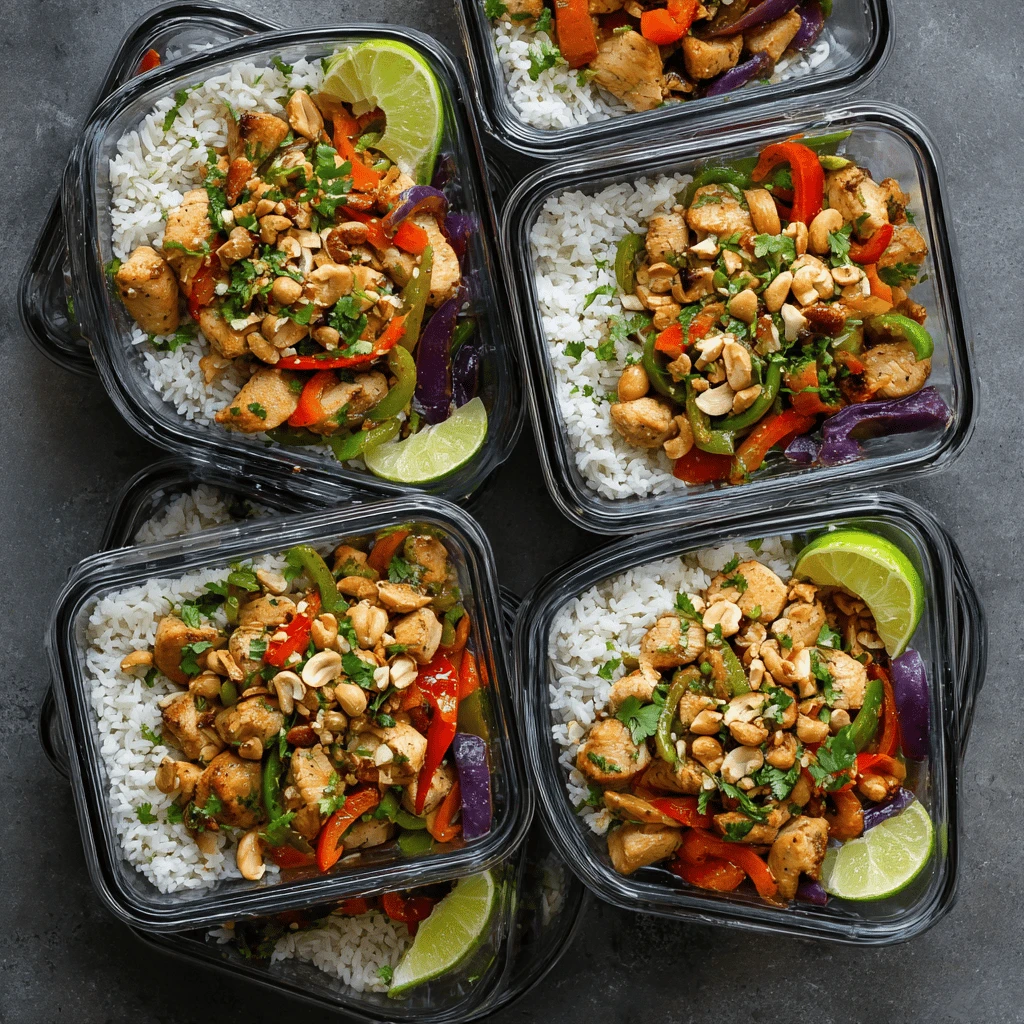
Thai Peanut Chicken Meal Prep: Your Guide to Delicious & Healthy Eating Introduction: Why Thai Peanut Chicken is Perfect for Meal Prep Craving a flavorful and healthy meal that’s easy to prepare and lasts throughout the week? Look no further than Thai peanut chicken! This versatile dish combines succulent chicken with a creamy, savory peanut…
Thai Peanut Chicken Meal Prep: Your Guide to Delicious & Healthy Eating
Introduction: Why Thai Peanut Chicken is Perfect for Meal Prep
Craving a flavorful and healthy meal that’s easy to prepare and lasts throughout the week? Look no further than Thai peanut chicken! This versatile dish combines succulent chicken with a creamy, savory peanut sauce, offering a balanced combination of protein, healthy fats, and carbohydrates. Meal prepping Thai peanut chicken saves you time, money, and ensures you have a nutritious option ready to go whenever hunger strikes. Beyond convenience, it’s a delicious way to incorporate diverse flavors into your diet. This guide will walk you through everything you need to know, from selecting the best ingredients to mastering the perfect sauce and creating satisfying, well-balanced meal prep containers. Get ready to transform your lunch and dinner routine!
Mastering the Thai Peanut Chicken Recipe
The foundation of any successful meal prep is a great recipe. Here’s a breakdown of a classic Thai peanut chicken recipe, designed for easy scaling and customization:
Key Ingredients and Their Benefits
- Chicken: Opt for boneless, skinless chicken breasts or thighs. Breasts are leaner, while thighs offer more flavor and stay moister during reheating. Chicken provides essential protein, crucial for muscle building and satiety. Aim for about 4-6 ounces of cooked chicken per serving.
- Peanut Butter: Use natural peanut butter without added sugar or oil. It’s the heart of the sauce, providing healthy fats, protein, and that signature peanut flavor.
- Soy Sauce (or Tamari): Adds umami and saltiness to the sauce. Choose low-sodium soy sauce or tamari (gluten-free) to control the sodium content.
- Rice Vinegar: Contributes a tangy acidity that balances the richness of the peanut butter. Apple cider vinegar can be used as a substitute.
- Honey (or Maple Syrup): A touch of sweetness enhances the overall flavor profile. Adjust the amount to your preference.
- Garlic and Ginger: These aromatic ingredients add depth and complexity to the sauce. Use fresh garlic and ginger for the best flavor.
- Sriracha (or Chili Garlic Sauce): Provides a kick of heat. Adjust the amount according to your spice tolerance.
- Lime Juice: Brightens the sauce and adds a zesty element.
- Vegetables: Broccoli, bell peppers, carrots, snow peas, and edamame are excellent choices for adding nutrients and texture. Choose a variety of colorful vegetables to maximize your vitamin intake.
- Rice (or Quinoa): Serves as the base for your meal prep. Brown rice or quinoa are healthier options than white rice, providing more fiber and nutrients.
Step-by-Step Cooking Instructions
1. Prepare the Chicken: Cut the chicken into bite-sized pieces. Marinate the chicken for at least 30 minutes or up to overnight in a simple marinade made of soy sauce, garlic, ginger, and a touch of sesame oil (optional). This will tenderize the chicken and infuse it with flavor.
2. Cook the Chicken: Heat a large skillet or wok over medium-high heat. Add a tablespoon of oil (such as coconut oil or avocado oil). Cook the chicken until it’s cooked through and slightly browned. Set aside.
3. Make the Peanut Sauce: In a small saucepan or bowl, whisk together the peanut butter, soy sauce (or tamari), rice vinegar, honey (or maple syrup), garlic, ginger, sriracha (or chili garlic sauce), and lime juice. Add water, one tablespoon at a time, until the sauce reaches your desired consistency. Heat the sauce gently on the stovetop, stirring constantly, until it’s smooth and warmed through.
4. Cook the Vegetables: Steam, roast, or stir-fry your chosen vegetables until they’re tender-crisp. Avoid overcooking them, as they will continue to soften during reheating.
5. Combine and Serve: Add the cooked chicken and vegetables to the peanut sauce. Toss to coat evenly. Serve over cooked rice or quinoa.
Tips for the Perfect Peanut Sauce
- Consistency is Key: Adjust the amount of water to achieve your desired sauce consistency. Start with a small amount of water and add more as needed.
- Taste and Adjust: Taste the sauce and adjust the seasonings to your preference. You may need to add more honey for sweetness, lime juice for acidity, or sriracha for heat.
- Use a Blender (Optional): For an ultra-smooth sauce, blend all the ingredients in a high-speed blender until creamy.
Assembling Your Thai Peanut Chicken Meal Prep Containers
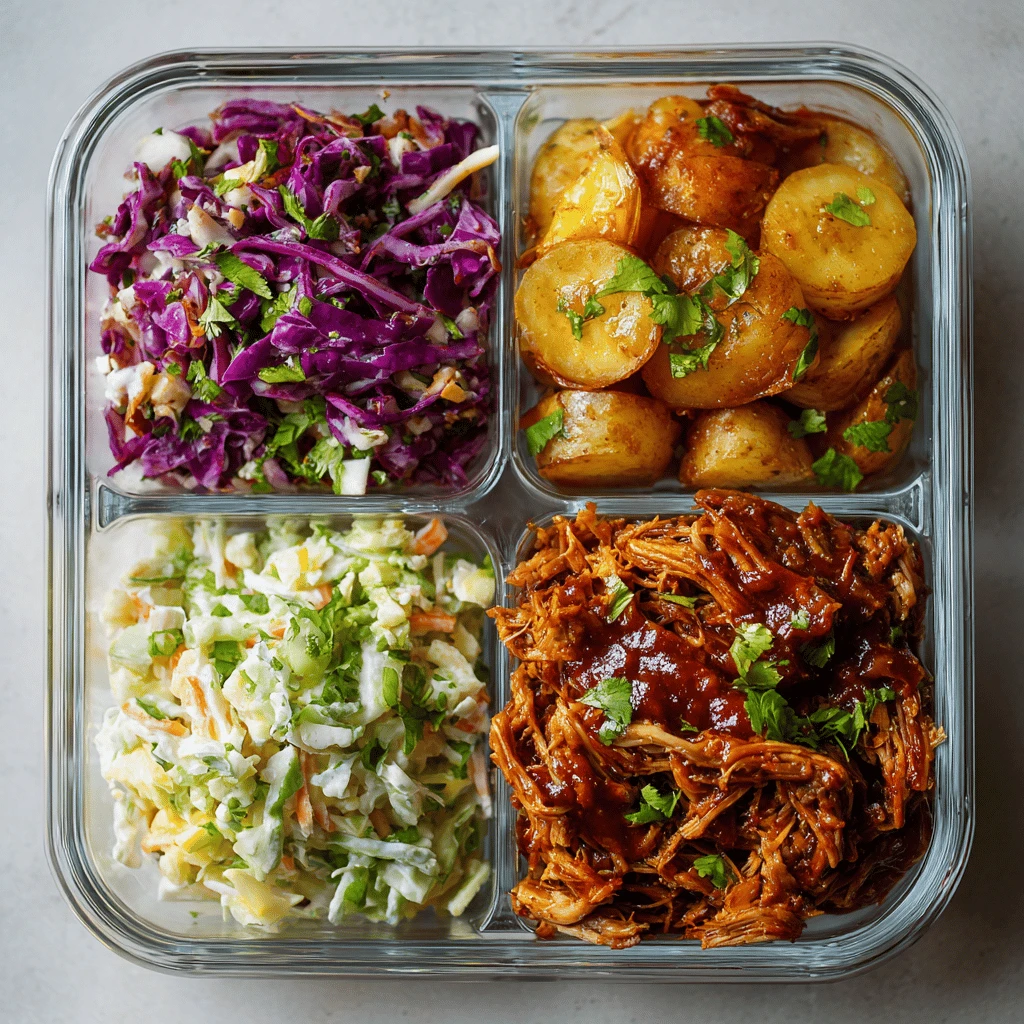
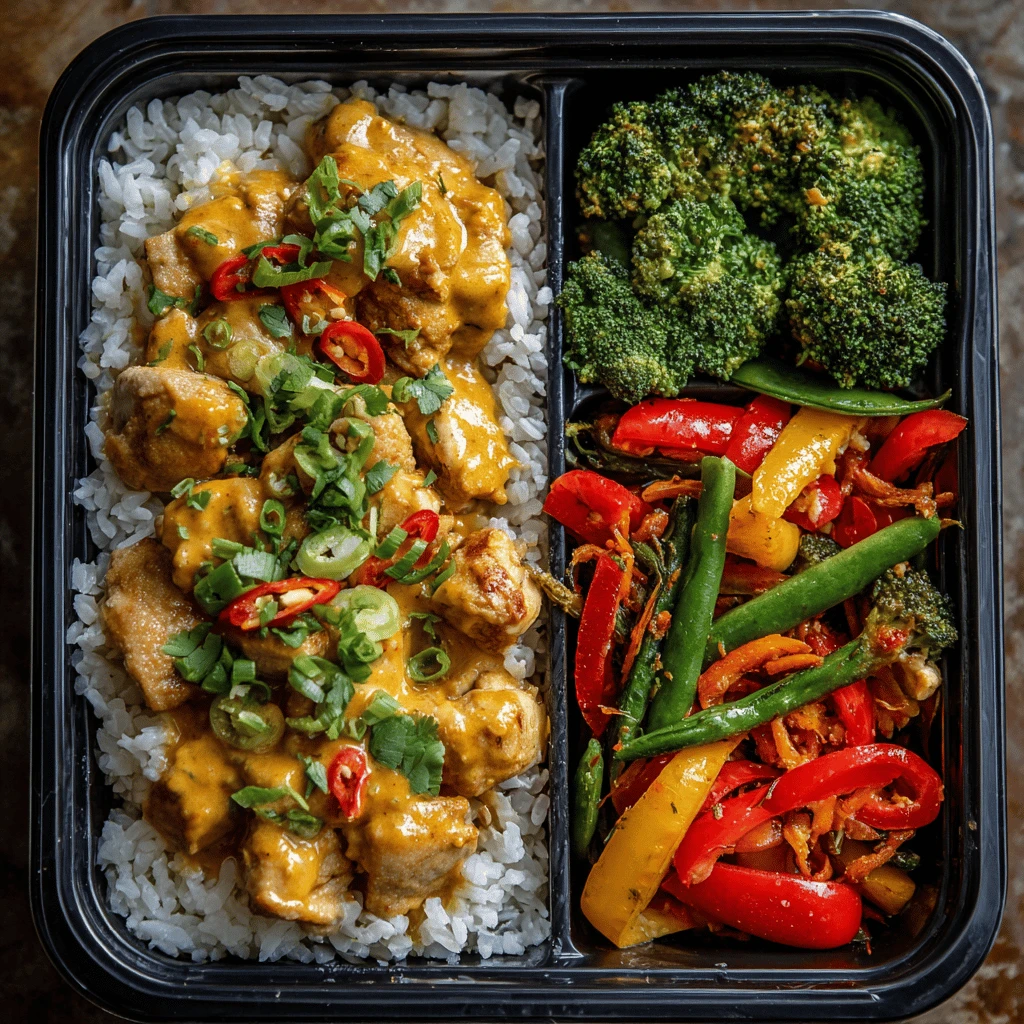
Now that you have your delicious Thai peanut chicken, it’s time to assemble your meal prep containers. Proper assembly ensures your meals stay fresh and appetizing throughout the week.
Choosing the Right Containers
- Material: Glass or BPA-free plastic containers are the best options. Glass is more durable and doesn’t retain odors, while plastic is lighter and more convenient for transport.
- Size: Choose containers that are appropriately sized for your portion sizes. Aim for containers that hold about 2-3 cups of food.
- Airtight Seals: Ensure your containers have airtight seals to prevent leaks and keep your food fresh.
Portioning and Layering for Optimal Freshness
1. Rice/Quinoa: Start with a layer of rice or quinoa at the bottom of the container. This will prevent the chicken and sauce from making the rice soggy.
2. Vegetables: Add a layer of cooked vegetables on top of the rice.
3. Thai Peanut Chicken: Place the Thai peanut chicken mixture on top of the vegetables.
4. Garnish (Optional): Garnish with chopped peanuts, sesame seeds, or green onions for added flavor and visual appeal.
Storage Tips to Maintain Quality
- Cool Completely: Allow the cooked chicken and vegetables to cool completely before assembling your meal prep containers. This will prevent condensation from forming inside the containers, which can lead to spoilage.
- Refrigerate Promptly: Store your meal prep containers in the refrigerator immediately after assembly.
- Storage Time: Thai peanut chicken meal prep can be stored in the refrigerator for up to 4 days.
Customizing Your Thai Peanut Chicken Meal Prep
The beauty of meal prep is its adaptability. You can easily customize this Thai peanut chicken recipe to suit your dietary needs and preferences.
Dietary Modifications (Keto, Vegan, Gluten-Free)
- Keto: Replace the rice with cauliflower rice. Use a sugar-free sweetener like erythritol instead of honey or maple syrup. Increase the healthy fats by adding more peanut butter or coconut oil.
- Vegan: Substitute the chicken with tofu or tempeh. Ensure your soy sauce is vegan-friendly.
- Gluten-Free: Use tamari instead of soy sauce. Ensure all other ingredients are gluten-free.
Variations on the Core Recipe
- Spicy Peanut Chicken: Add more sriracha or chili garlic sauce to the peanut sauce. You can also add a pinch of red pepper flakes.
- Coconut Peanut Chicken: Add coconut milk to the peanut sauce for a creamier, richer flavor.
- Honey Garlic Peanut Chicken: Increase the amount of honey and garlic in the sauce.
- Peanut Noodles: Serve the Thai peanut chicken over noodles instead of rice. Rice noodles or soba noodles are great options.
Ingredient Swaps and Substitutions
- Chicken: Use turkey, shrimp, or beef instead of chicken.
- Peanut Butter: Almond butter or sunflower seed butter can be used as substitutes, although the flavor will be slightly different.
- Vegetables: Feel free to swap out any of the suggested vegetables for your favorites. Broccoli, zucchini, spinach, and other sturdy green vegetables work great as substitutes.
Reheating and Serving Your Meal Prep
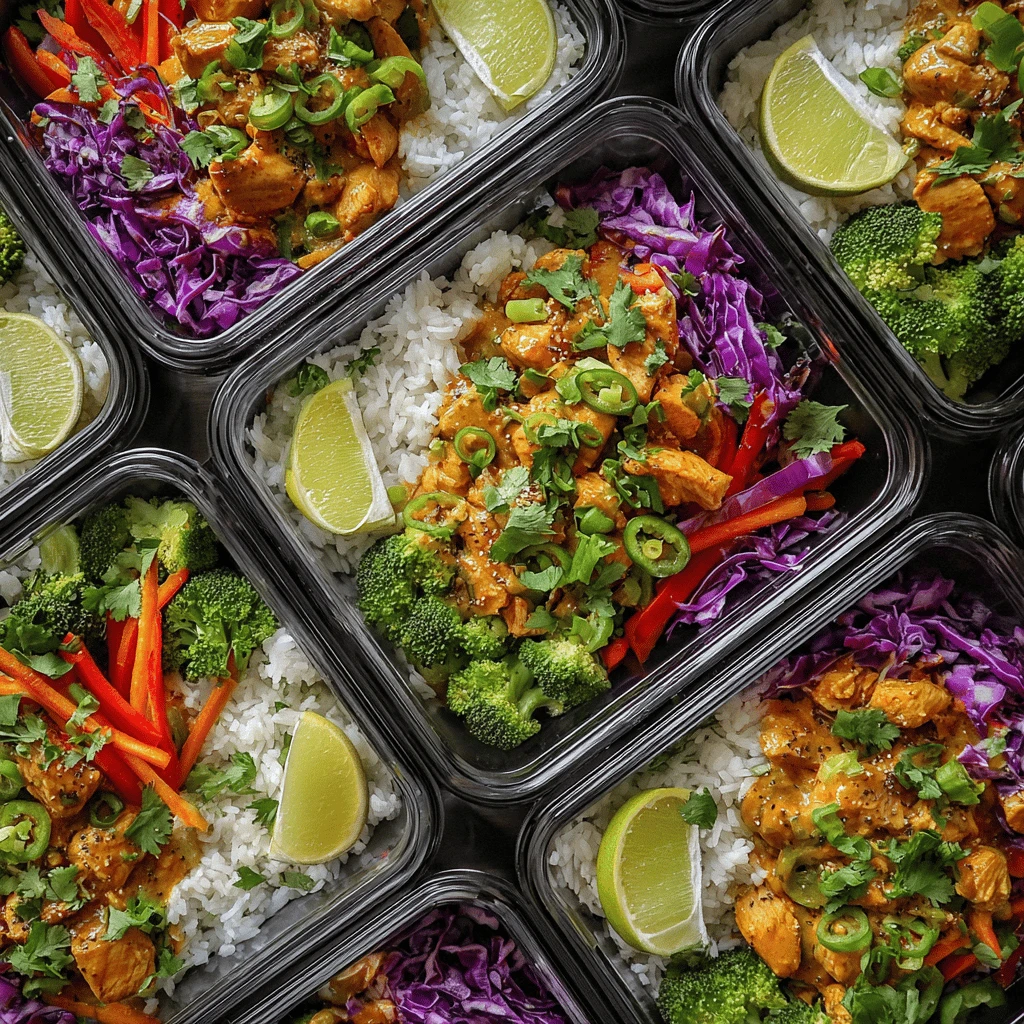
Proper reheating ensures your Thai peanut chicken meal prep tastes just as delicious as it did when you first made it.
Best Reheating Methods
- Microwave: The most convenient method. Heat on high for 2-3 minutes, stirring occasionally, until heated through.
- Stovetop: Reheat in a skillet over medium heat, stirring occasionally, until heated through. Add a splash of water or broth if needed to prevent sticking.
- Oven: Preheat oven to 350°F (175°C). Transfer the contents of your meal prep container to an oven-safe dish. Cover with foil and bake for 15-20 minutes, or until heated through.
Tips for Maintaining Texture and Flavor
- Don’t Overheat: Overheating can dry out the chicken and vegetables.
- Add Moisture: If the dish seems dry, add a tablespoon or two of water or broth before reheating.
- Garnish Before Serving: Add fresh garnishes like chopped peanuts, sesame seeds, or green onions after reheating to brighten the flavor and texture.
Serving Suggestions and Pairings
- Side Salad: Serve with a simple green salad for added freshness.
- Spring Rolls: Pair with fresh spring rolls for a light and refreshing appetizer.
- Edamame: Edamame is a great source of protein and fiber and complements the Thai peanut chicken perfectly.
FAQ: Common Questions About Thai Peanut Chicken Meal Prep
-
- How long does Thai peanut chicken last in the fridge?
Thai peanut chicken can safely be stored in the refrigerator for up to 4 days.
-
- Can I freeze Thai peanut chicken meal prep?
Yes, you can freeze it, but the texture of the rice and vegetables may change slightly. Store in an airtight container for up to 2-3 months. Thaw overnight in the refrigerator before reheating.
-
- How do I prevent my rice from getting soggy in meal prep?
Make sure the chicken and vegetables have cooled completely before assembling your meal prep containers. Layer the rice at the bottom of the container to prevent direct contact with the sauce.
-
- Can I make the peanut sauce ahead of time?
Yes, the peanut sauce can be made ahead of time and stored in the refrigerator for up to 5 days.
-
- What can I use instead of peanut butter?
Almond butter or sunflower seed butter can be used as substitutes, although the flavor will be slightly different.
-
- How can I make this recipe less spicy?
Reduce or omit the sriracha or chili garlic sauce.